
How to Make a Collagraph Portrait
Want a creative project to try at your kitchen table? Here’s how to make a collagraph print portrait, step by step.
The collagraph examples in this post were all made from scrap mat board. Mat board is also known as mount board in England and passe-partout in France.
You’ll find process photos, resource links and video tutorials to make a collagraph portrait below – just scroll on down.
With a reference photo of your model, and an exacto blade knife (I like this cool mini-swivel cutter), you can carve into the back of a sheet of mat board. You can also attach pieces of textured paper cut into shapes to the board.
The Studio Sale mentioned in the title is in the P.S. note below….
Collagraph Printing Process
Once your raised and recessed areas on the mat board plate are sealed first, and then coated with printmaking ink and printed, or wiped of ink and printed, you’ve made a collagraph! (Don’t fret, love, we’re going into more details below…)
The inked mat board is pressed against a sheet of printmaking paper to create a collagraph print. This is similar to traditional printing from linoleum, or wood, or a copper plate, but it’s done with a paper mat board instead.
The reverse, or un-colored side of mat board is smooth, with no “tooth” in the surface. After it’s sealed with an acrylic gloss, that smooth side is ideal for top rolling as a relief print, or wiping ink away for intaglio prints. Making collagraph portraits with mat board is incredibly versatile, so let’s make one, shall we?

Collagraph Print Step by Step
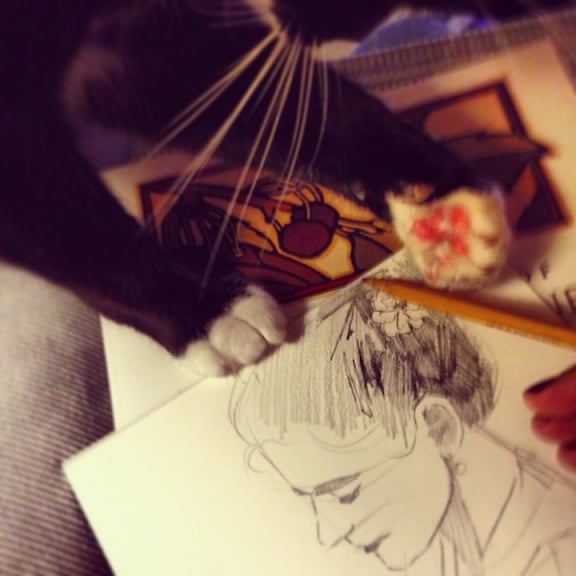
Begin by drawing your favorite person or pet on the smooth, white, back side of the mat board. If drawing is not your strong suit, use carbon paper or seral paper to trace a photograph. (For the record, there’s nothing wrong with tracing, because it teaches you, visually and mechanically…)
Once your basic shapes are drawn, look at your reference photo. Now, shade in the darkest areas you see in the photo – over on your mat board with pencil. These will be the recessed areas you’ll carve and peel away to hold ink.
This video tutorial will demo step by step instructions for you to coat your drawing on the mat board with Liquitex Gloss Medium and Varnish. Be sure to coat front and back, as well as all sides of your plate.
This coating will protect the cotton fibers in the paper mat board from getting wet, and warping during contact with ink, or while cleaning.
Adding Texture to Your Collagraph
You can add texture to your collagraph plate to hold more ink, even after you’ve wiped the plate. Create dark, rich passages by applying carborundum – also known as sand-paper grit – to the surface of your plate. The ink stays lodged between the granules, and get’s picked up when the paper is pressed hard against those areas.
You can use carborundum loose, and dry, sprinkled onto wet glue. Or, you can purchase it in a paste and paint or roll it onto the collagraph plate.
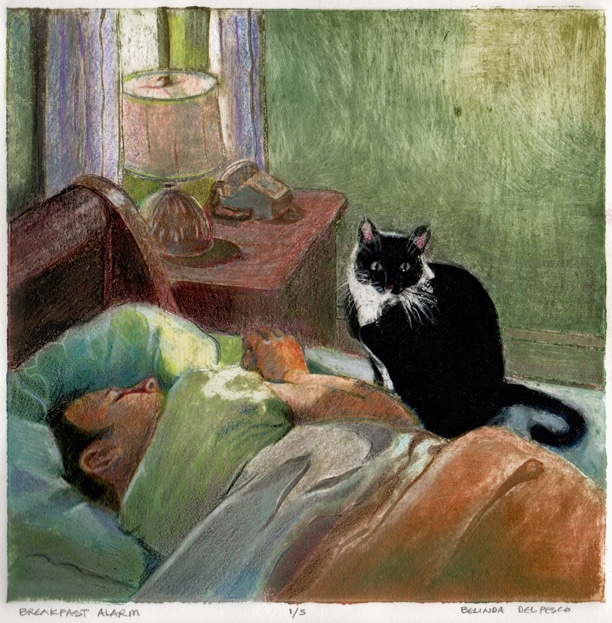
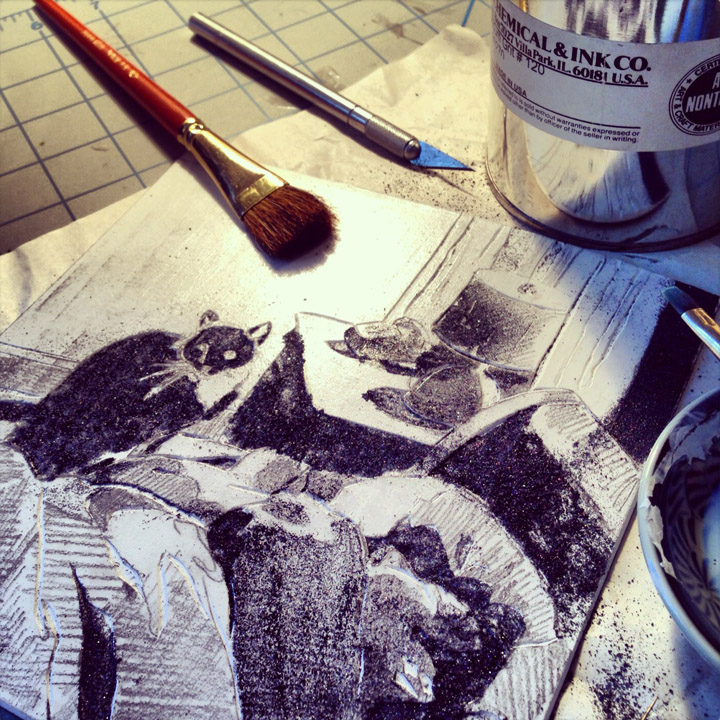
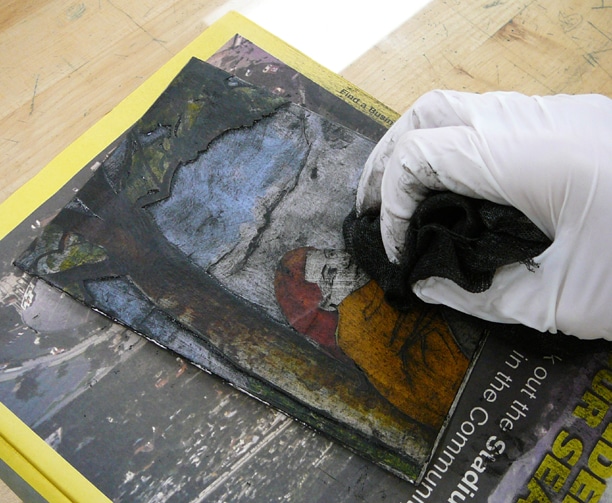
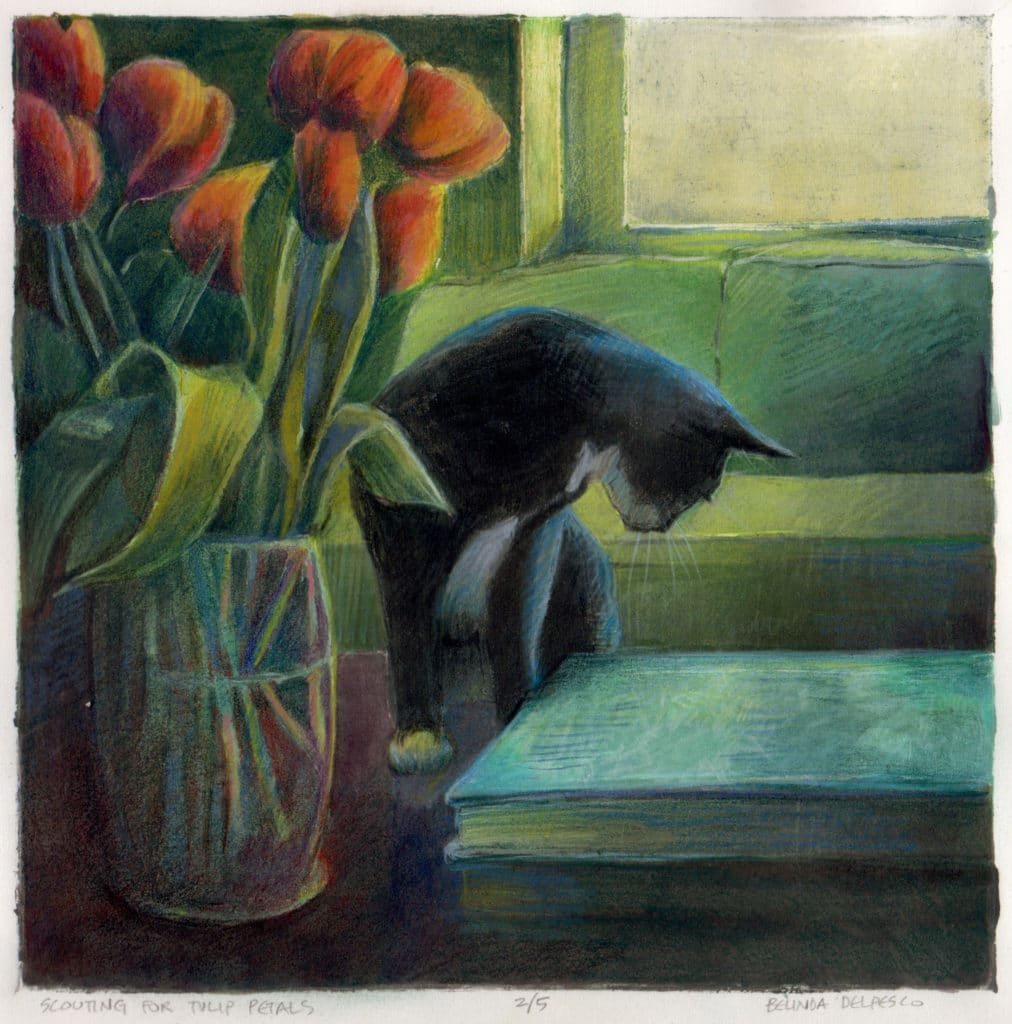
The figurative collagraph portrait at the top of this post uses all three of those elements: carved lines to lodge ink, the smooth side of the mat board for the option of buffing ink away ink in highlighted areas, and carborundum to hold ink and create dark values.
Cutting your Mat Board Collagraph
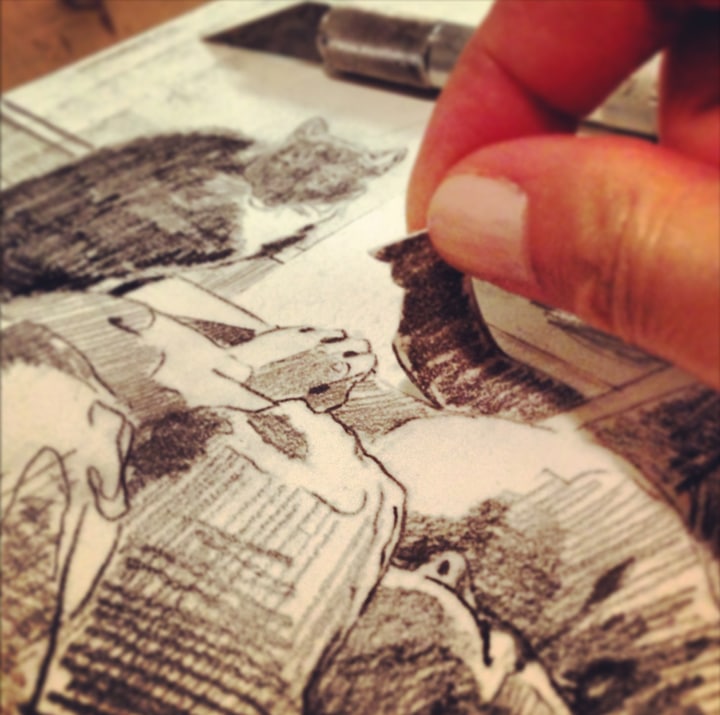
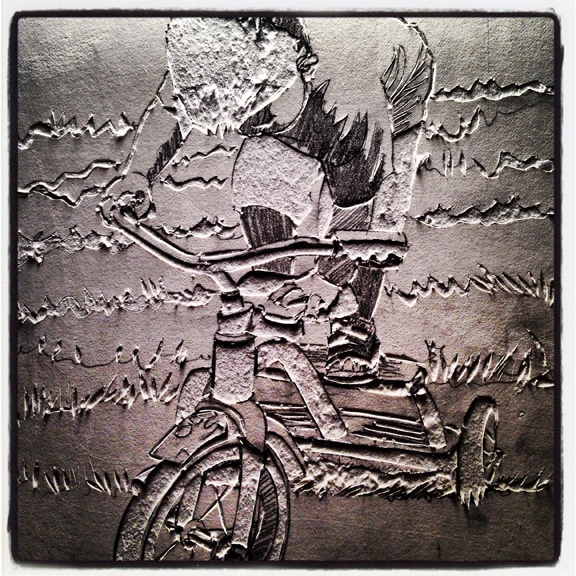
Cutting and peeling that first shallow layer of paper from the mat board is the fun beginning. And it’s even more effective if you do a little design planning first. Look at your drawing, and take note of where varied and interesting cutting approaches will work best.
For example: use shallow, skinny, linear cuts to outline figures. Broader, blocky shapes can be peeled from the uppermost layer to represent a dark back ground or a head of hair (there are some examples of this in the process photos below). Cut repeat patterns to represent prints on fabric, or the stripe of a shirt. Poke textural details into the mat board surface to enhance a landscape. Can you picture that?
Keep the cutting simple at first, because you’ll get better with practice.
You’re going to make a lot of these.
This first collagraph doesn’t have to be perfect, right? Right!
Look at the collagraph at the top of this post – the man in bed with his cat hovering. Notice the shallow, simple shapes carved into the mat to suggest folds of the blanket and sheet draped over him. Those are simple shapes, meant to suggest fabric folds, without trying to replicate them. You can do that too.
Always Seal your Collagraph Plate
After all of your cutting is finished, seal the entire plate (the mat board) again with liquitex gloss medium and varnish – paying close attention to coating the cut areas to protect the exposed paper from absorbing your inks, and warping.
What is Carborundum?
Loose carborundum – also known as Aluminum Oxide, or sand paper grit – comes in a variety of granule sizes. In the photo above, I’m using Graphic Chemical #120 grit.
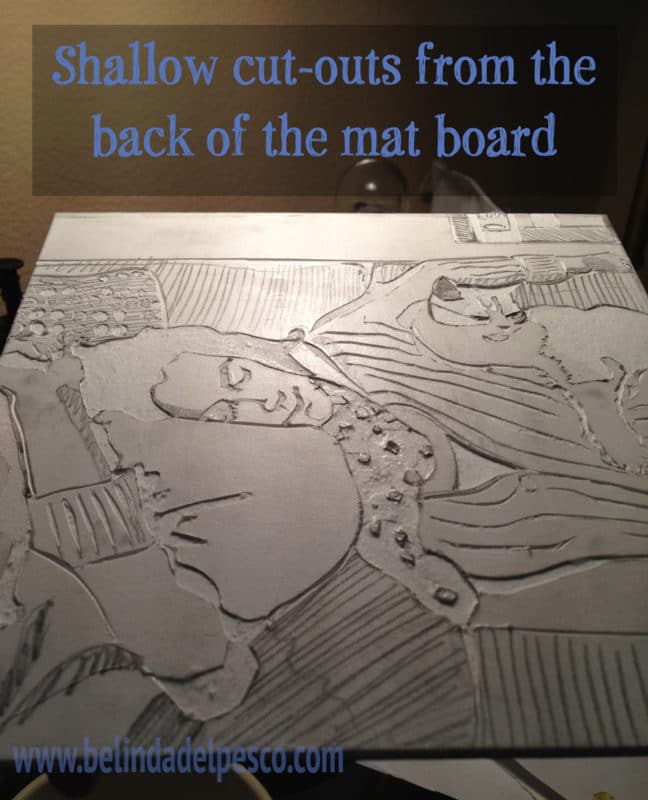
The mat board was incised with shallow grooves carved from the surface with a blade, and peeled away to leave recessed troughs to hold ink. Then I adhered aluminum oxide – or carborundum – by sprinkling the loose powder on still wet acrylic gloss medium till it dried in place.
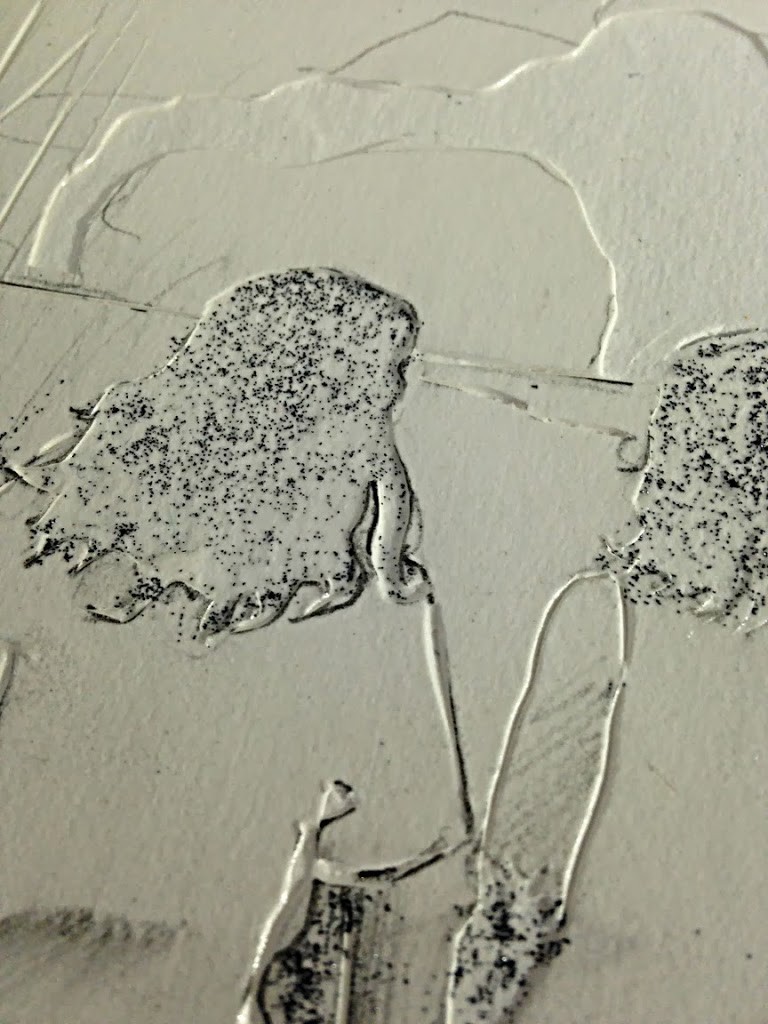
Note: When you peel the upper layer off the back of a sheet of mat board, it reveals the textured, cottony pulp filler (see image below). So, you don’t have to use carborundum. This is meant to let you know about it as an option. You may find there’s plenty of texture for your purposes in the exposed mat board.
Once this textured area is sealed, it will hold more ink and produce more textures in your print than the smooth upper surface of the mat board.
If you don’t have access to carborundum, try printing with the natural textures under the top layer of the mat board plate.
Inking Your Plate
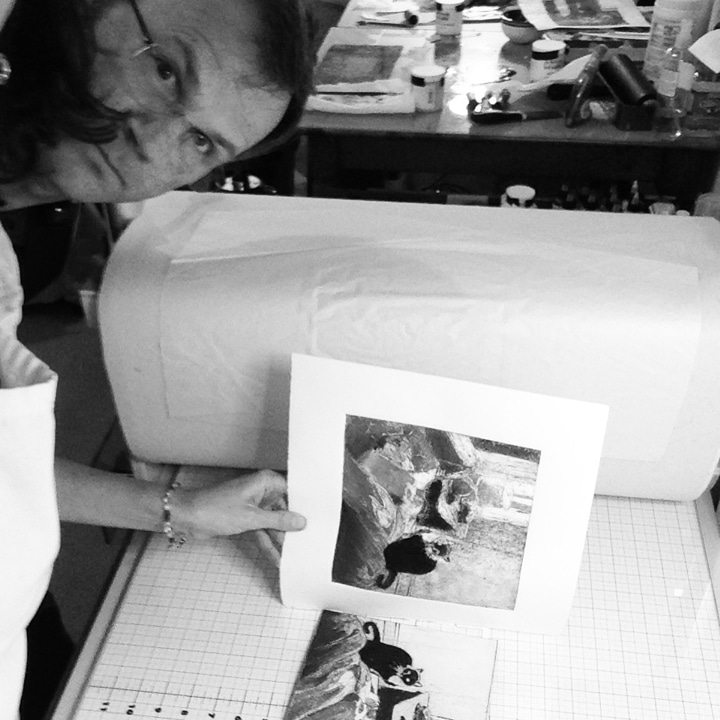
Using printmaking ink, you can coat your new collagraph plate entirely with one color, wipe it down with tarlatan, and print it against paper as a single color like this.
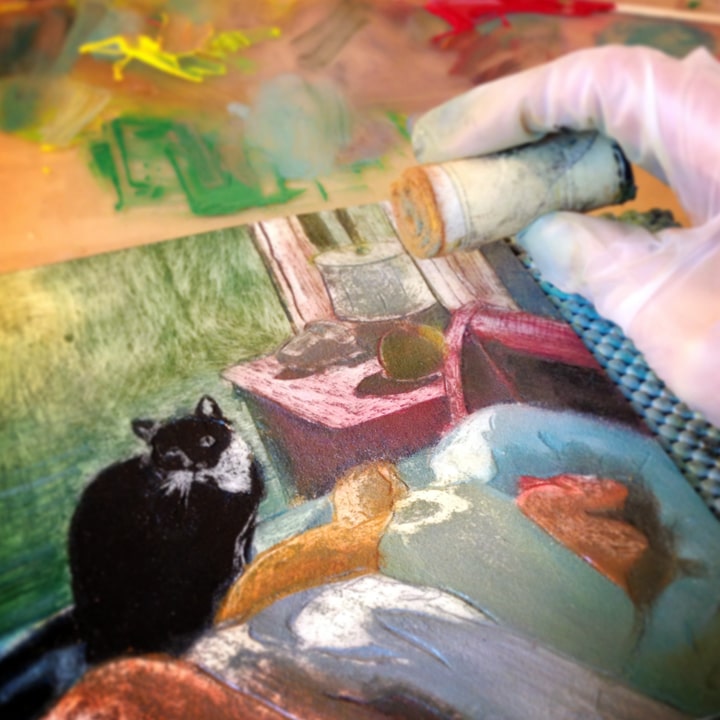
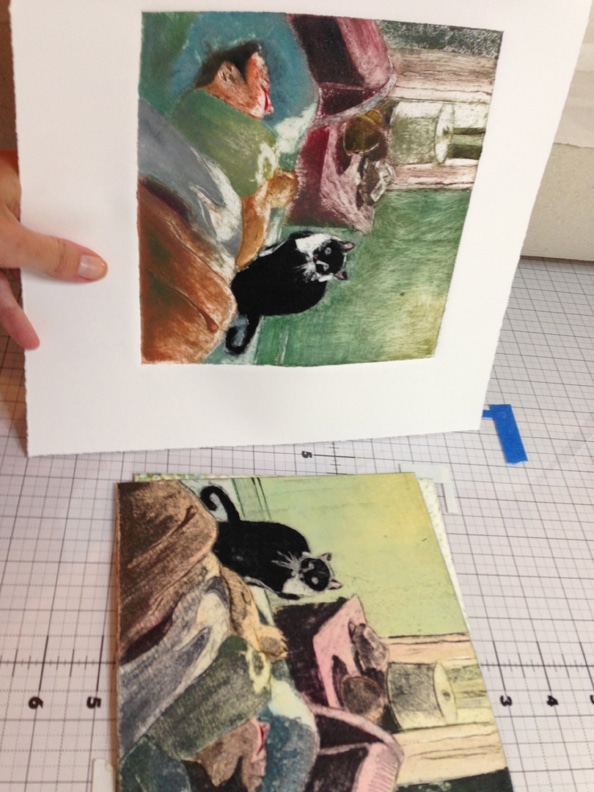
Or you can apply different colors to the plate (see below), and wipe them down strategically. This will create a full color print as demonstrated in the video tutorial of the sink portrait above. Watch the video.
Wiping the Collagraph Plate
Intaglio printmaking means you’re printing from the recessed areas of the plate, rather than the upper surface, like you would with a stamp or a linocut. To do this, you ink the plate, and then use tarlatan to wipe the plate, being careful to leave ink huddled against, and embedded inside the curbs and cuts and textures you’ve put in place to print as dark lines and shapes.
Wiping ink from a printmaking plate sounds strait forward enough. Just like wiping dishes dry after dinner, right? But wiping a printmaking plate is an art. No joke… Printmakers take years of repeated practice of inking and wiping plates to get it right.
The trick with wiping an intaglio print is that you want to clear ink of the top surface of the plate, and leave ink nestled into the troughs of your textures and line work. It’s a bit strategic, and requires attention to the details.
You also want to control that veil of ink left behind on the plate overall. That’s called plate tone. With practice, a printmaker can manipulate those transparent tints of remaining ink into beautiful halftones and values that add enormous depth to the finished art.
Learning to Wipe an Intaglio Plate
I had a wonderful opportunity to look at Anders Zorn’s prints and plates, side by side at an exhibit a few years ago. The lessons I learned by comparing his engraved plates next to the prints he made from those same plates was a windfall of printmaking knowledge. So much of the beauty in his printmaking is in the ink: what he wiped away, and what he strategically left behind.
Watch this video of a master printmaker wiping a copper etching to see what I mean – the inking and wiping process begins at about the 3-4 minute mark.

Collagraph Printmaking Fun
When you print your collagraph on the press, consider shoring it up with one or two layers of mat board cut to the same size as your collagraph print. It will help the press squeeze your paper down into the recessed areas of your plate design.
If you’re planning to print a collagraph portrait by hand, take a look at this video tutorial, and this one too for some tips on paper, and transferring the image.
I hope you feel inspired to make a collagraph portrait. This is just one approach in a myriad of ways to make a collagraph print. They can be printed in relief and intaglio, carved, or built up in layers. Collagraphs are endlessly fun to make and print.
Gather some friends, and have a printmaking party. Share your work with links to it in the comments below. And let me know if you have any questions.
Thanks for stopping by and I’ll see you in the next post!
Belinda
P.S. Subscribe to this art blog here to get each new post via email.
P.P.S. Do you know about the limited time Cyber Monday sale in my Etsy Shop? Twenty percent off and free shipping (domestically) with the coupon code Cyber2019. One week only, from November 25th to December 2.
More Examples of Collagraph Prints


Art Quote
King George VI was looking through a set of newly completed drawings of Windsor Castle commissioned by the Queen from John Piper (1903-1992).
The King had volunteered to receive her visitors that morning as well as his own when a sudden cold obliged her to cancel engagements. Piper sat silent. Etiquette required that he should say nothing before His Majesty spoke.
The King, a connoisseur, quite clearly found it extremely difficult to shape any suitable comment on these challengingly dramatic, dark visions in a modernist idiom of the Round Tower and other familiar landmarks.
The silence grew tense, almost painful. The King spoke at last….. “You had darned bad weather!”
Noel Barber ~ Conversations with Painters
The model and the cat so close together on the bed made me laugh. I know that guy and that cat!
Hah, they know you too! Thanks for the giggle. I’m not sure the model finds it so funny on a sleep-in day, when Scout is still on the 5am schedule from the rest of the week. Hopefully, the whiskery cuteness makes up for the early wake up. 🙂