


Making a Mat Board Collagraph Plate
Let’s make a collagraph printmaking plate from a scrap piece of mat board!
I’ve got some process photos, blog posts and video tutorials for you. To source the mat board, you can order it on amazon here, or visit your local art-framer. Ask if you can pilfer the scraps of mat board they recycle after cutting mats for clients (Note: this material is also called mount board in other parts of the world.)
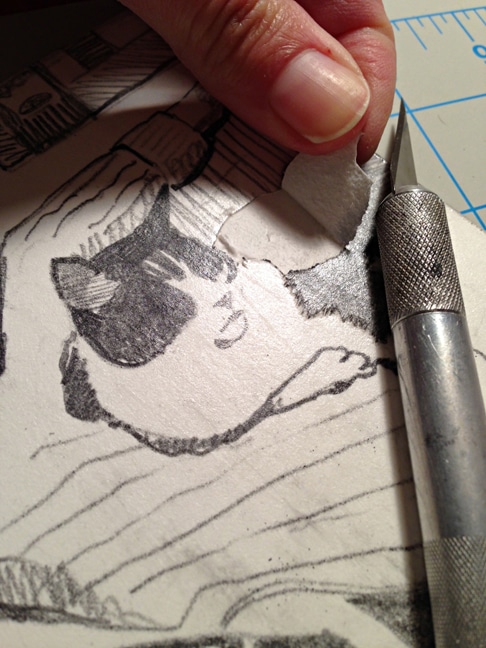
Cutting Pieces of a Puzzle
Using a sharp blade, cut very shallow outlines of relevant shapes as though you’re making a puzzle, and peel the uppermost layer away, as in the photo above. It’s important to keep your cutting, and your peeling shallow, as these areas will hold ink.
In order for your printmaking paper to make contact with your collagraph plate fully during the printing process, the recessed wells have to remain close to the surface. If they’re too deep, your paper will not be able to drape down and make contact with the ink. Deep cuts will result in white shapes with no pigments.
Sealing the Plate is Important
After you finish cutting and peeling your shapes from the back of the mat board, it’s important to seal the plate again, to protect it from warping and bubbling after contact with moisture in the inks, and your soaked and blotted paper.
I use liquitex gloss (not matte) medium and varnish to seal the plate because it cleans up with water. It dries in a very sturdy, shiny coating that printmaking ink will release from when paper is pressed against the plate.
When you seal the plate with that second thin layer of gloss medium, be sure to coat the edges, the back of the mat board, and inside all your cuts – without filling them.
Don’t trowel the medium into those recessed areas – use a brush to coat a thin seal on all of the entire surface of your collagraph plate.
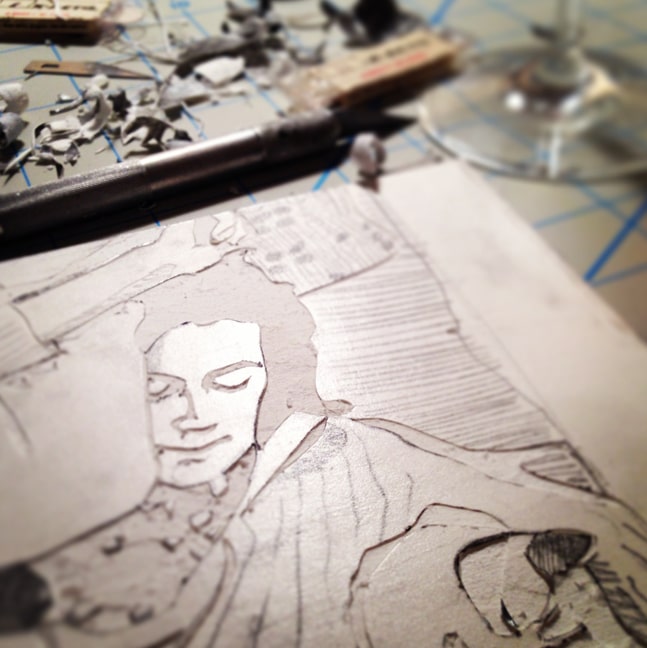
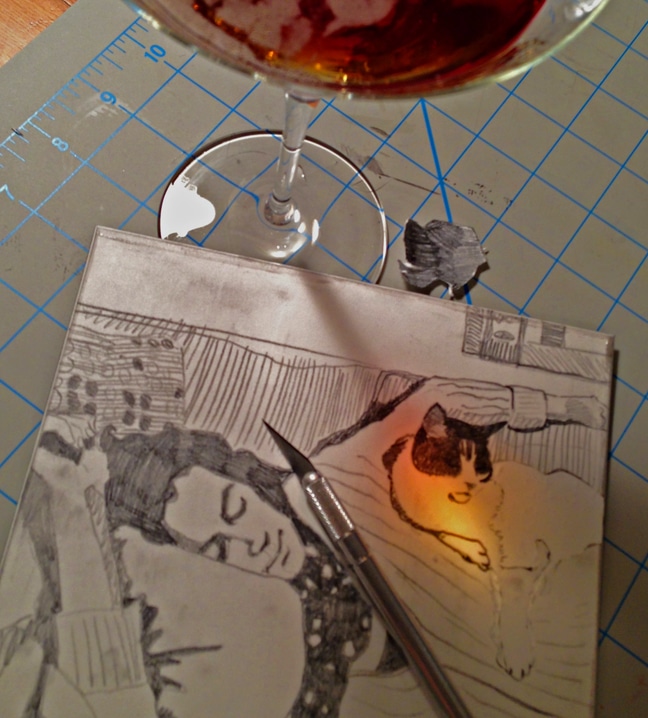
Take Your Time
You can see in the photo above that the un-cut surface of the mat board is shiny from the first coat of gloss medium and varnish.
The cut-and-peeled areas are textured and fuzzy, because pulling the uppermost surface of the mat board away exposes the internal cotton rag pulp. This texture will hold ink very well.
Those recessed areas will be your dark, pigment filled wells when you print, so take your time planning, drawing and mapping out those shapes. Think about where to place your cuts so they will alternate with the light (or uppermost) areas.
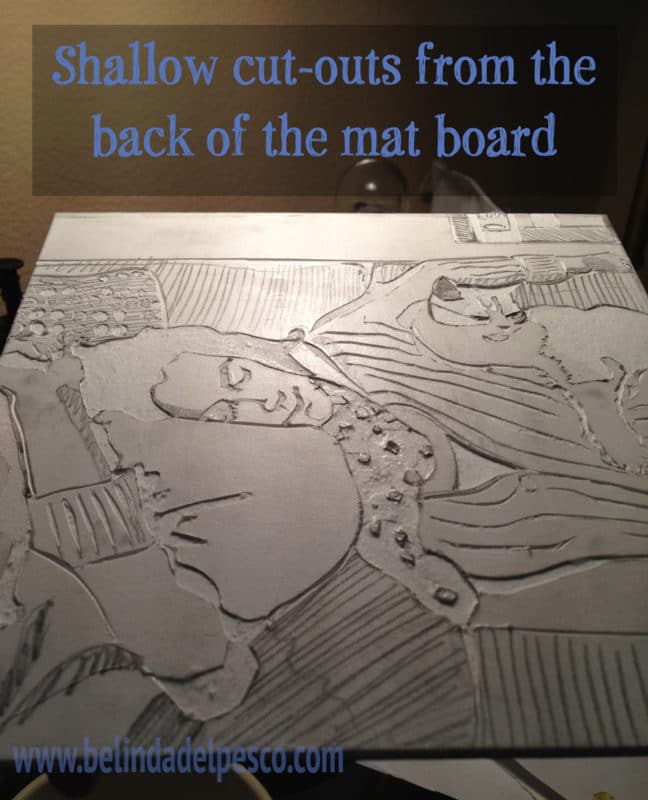
Ready to Print
In the photo above, the carving and peeling on the back of the mat board is finished, and the plate has been sealed with one more coat of gloss medium and varnish. You can still see the texture in the recessed areas, because the varnish was applied thinly, so the cotton rag will still hold ink.
Imagine trying to wipe spilled tomato sauce – from a ceramic dinner plate vs a window screen. The red sauce will wipe clean from the plate, but smear into the recesses of the window screen. That’s an exagerated example, but can you picture how textured areas of your collagraph plate will hold ink?
The top parts of your collagraph plate are smooth and will release ink with intaglio style wiping, and the textural, recessed areas will have much darker plate tone.

Inking and Paper
Th mat board collagraph plate in this post was inked in the a la poupee method (you can watch more about that in a tutorial video here).
The paper used for the print was Arches 88. This printmaking paper is unsized, bright white, smooth, sturdy and flexible enough to dip into the recessed cavities in a collagraph plate on a press.
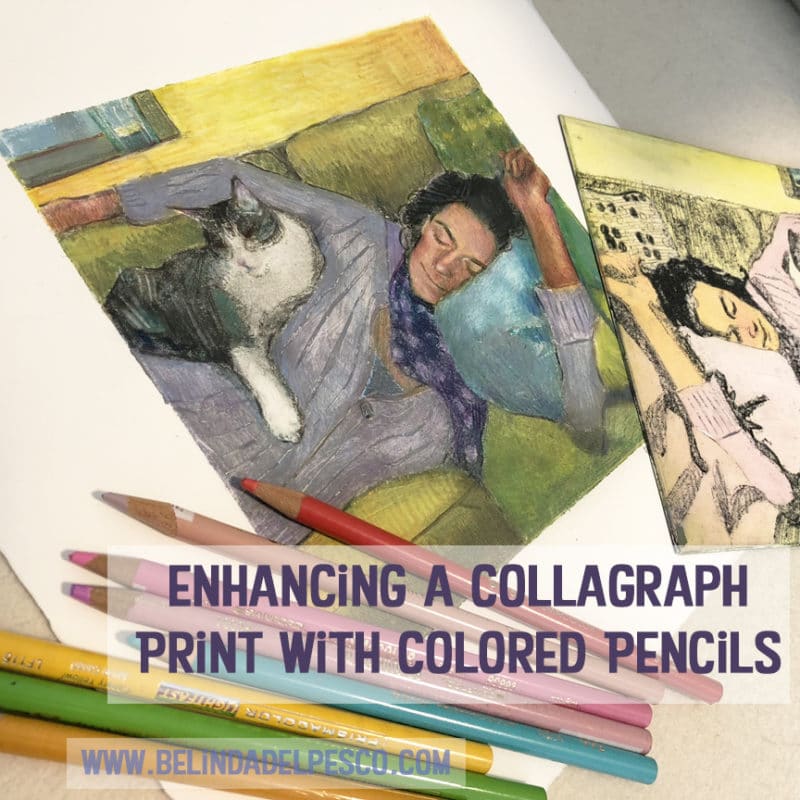
This plate was printed in an edition of 10, with each one in slightly different colors. The print at the top of this post is #2. After the ink was dry, I added colored pencil to enhance details.
If you’d like to see more about adding other media to your collagraph prints, you can watch this video tutorial.
Spread the Love
If you’ve made collagraphs from other materials (the possibilities and combinations are endlessly creative and fun) please share links to your work, tips and suggestions in the comments. You can also forward this post to an artist friend to make a collagraph date.
There are no hard and fast rules about collagraph printmaking, so be sure to wear your experimental cape when you get started. I hope this particular method of plate building has inspired you to give it a go.
Thanks for stopping by, and I’ll see you in the next post!
Belinda
P.S. You can subscribe to get each new post from this blog as soon as it’s published by signing up here.
P.P.S. Check out (and join) a few collagraph groups on Facebook to swell your inspiration up to mountainous heights here and here.

Art Quote
N.C. Wyeth’s children were beginning to reveal artistic sensibilities.
Watching them sketch one evening in 1920, Convers remarked “Drawing! That’s the outstanding stunt in this house! All five around a lamp, each one seriously bent over a tablet of paper, recording all sorts of facts & fictions of Nature.
One would guess this was night art school – or that we’re all nutty in the same way!”
K. Jennings
Shallow cuts! Read the directions over a few times! These were my mistakes. Great tutorial, if you’re not me!
I love the image, too.
Thanks, Kirsten! Yes, Shallow cuts! I hope your next print comes out fabulous! (Don’t give up.) 🙂
@Celia, thanks for the compliment. The title seemed like a mouthful of syllables at first, so I’m glad you like it.
I love the composition and title!
Love this piece!
It´s beautiful, thank you.
@Sue, Thanks for your kind words. And hearty belated congrats on True Vines! 🙂
@Pierre – Thanks for stopping by, and do share your results if you make a collagraph!
What a lovely composition and print.
Really nice and interesting!! Thanks for showing all these steps, really curious to try this technic when times allow!