
Watercolor Techniques for Beginners, or Returning Artists After a Long Hiatus
Welcome Back
Here are 5 watercolor techniques to try if you’re a beginner painter. Are you rounding the bend to return to your art? As a previously absent watercolor painter myself, I’m welcoming you with pompoms and cheerleading. You’ve got this!
Each watercolor technique in this post has an example painting where the results of the method can be reviewed.
Every description has an accompanying video tutorial by a round-up of talented youtube artists. The videos will show you exactly how you can try these watercolor techniques.
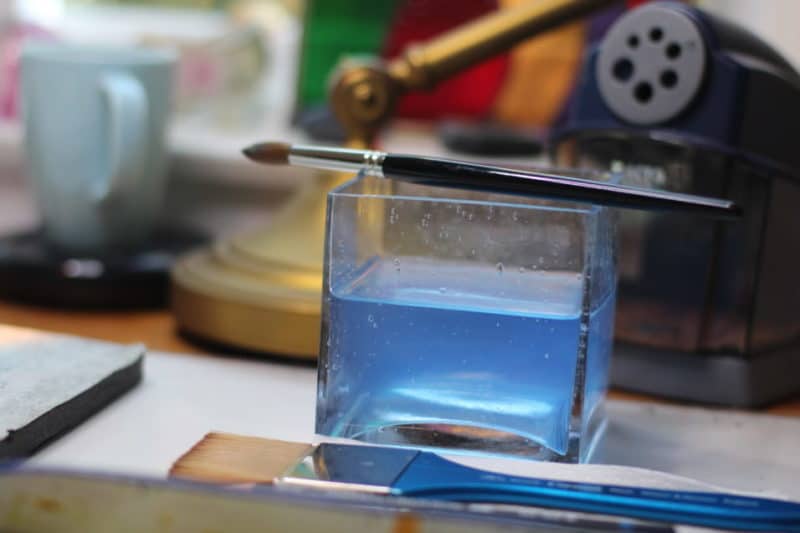
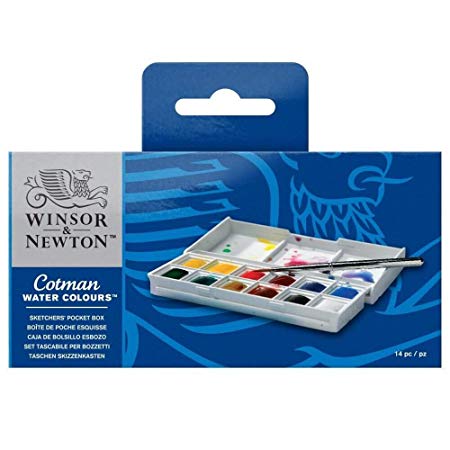
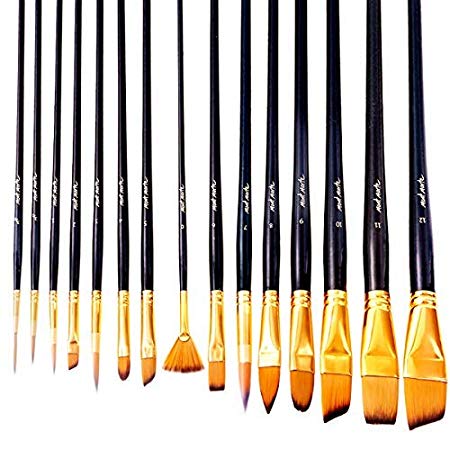
Let’s pull out watercolors, brushes, and paper to give these 5 watercolor techniques a try, shall we?
Wet into Wet Watercolor
Let’s talk about wet-into-wet watercolor technique.
The premise of this method is that you paint into a passage that is already wet. Before you even lay down a stroke of pigment, the paper itself is wet with clean water before your brushes carry pigment to that spot.
Subsequent colors can be added to still-wet passages, giving the pigments a chance to travel and mingle on their own, facilitated by water.
Now Let’s Try It!
The video (below) demonstrates how to paint watercolor wet in wet, three ways:
- a controlled gradient of one watercolor pigment, from dark to light, using more and more water to dilute the color gradually
- a controlled gradient of two full-strength watercolor pigments starting at opposite ends of a rectangular frame to meet and blend seamlessly in the middle.
- and multiple colors laid into a wet-paper area in close enough proximity to encourage blooming and mingling, on their own.
Watercolor and Paper Exercises for the Beginner, or Returning Artist
Wet-into-wet watercolor experiments will acquaint you with the pigment brands on your palette, color mixing, and paper characteristics!
Wet-into-wet painting also showcases the contrast between a controlled watercolor technique (like glazing, which we’ll go over later in this post) and a free-form wet into wet painting, that features pigment blooms and watery effects.
Watercolor can get muddy if we over-mix it with the brush on paper. But that rarely happens when we allow two or three colors to meet and mingle on the paper, without help, while still wet. This is one of the beauties of wet-into-wet painting.
Wet into Wet Watercolor on Different Papers
Once you get comfortable with each of these wet-into-wet methods, test swatches that bring two or three of your palette’s colors together in a wet shape on your paper. Let them dry, and observe the new colors you’ve mixed.
Wet into wet works beautifully as backgrounds for your watercolor paintings. Especially behind a painting of a single flower, or a portrait. And they’ll give you different effects on each of the papers you have.
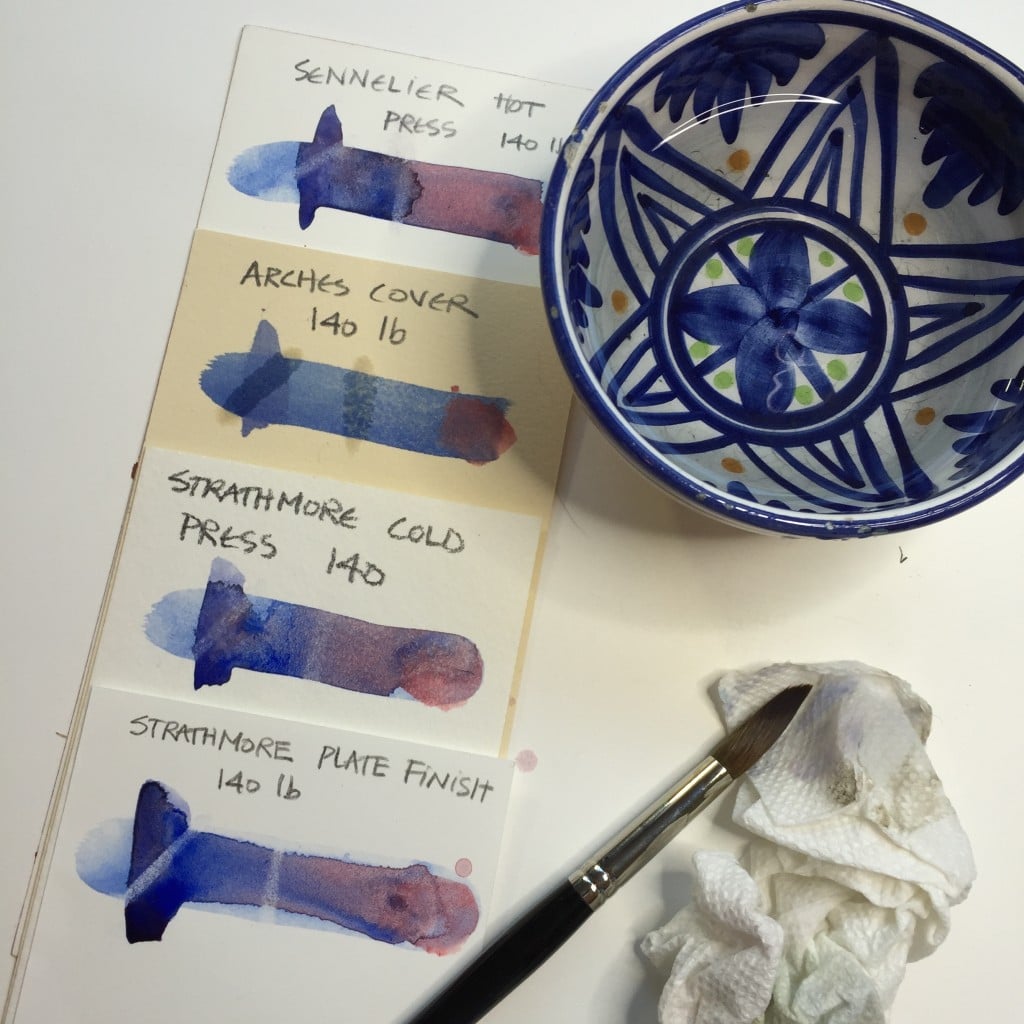
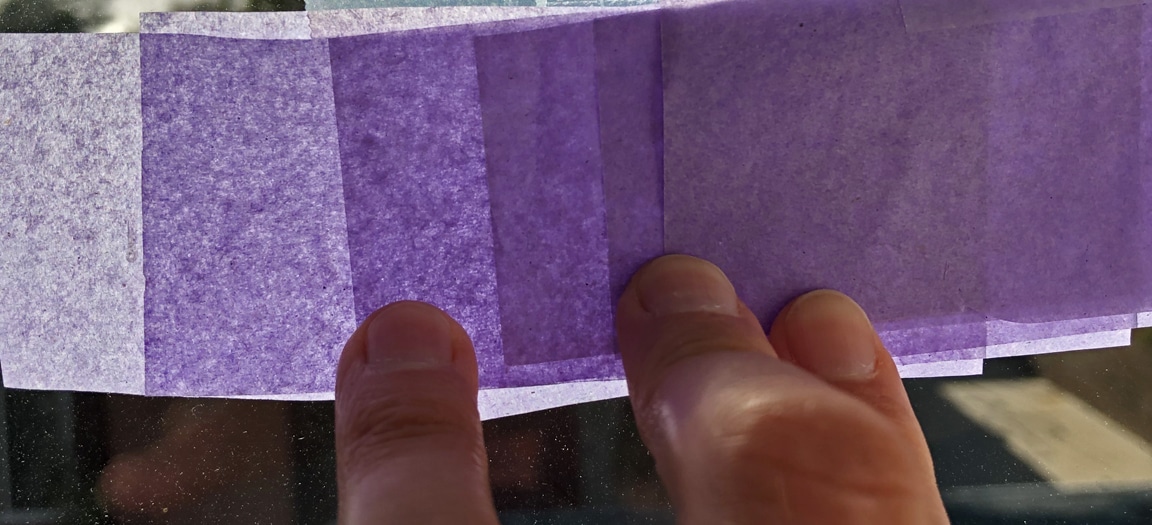
If you have different weights, surfaces, and manufacturers of watercolor paper in your arsenal, tape a small sample of each of them down to a sheet of cardboard or mat board for these wet-on-wet experiments.
Label each piece of paper in pencil so you can keep track of the manufacturer, surface, and weight. You’ll find surprising differences between every manufacturer, even with matching weights and surfaces.
The exercises in the wet into wet videos in this post work well as an after-dinner painting session for the beginner watercolor artist. They don’t require a lot of time, but I can’t guarantee you won’t want to just keep painting till bedtime.
Gradient Washes in Watercolor 2 Ways
Gradient washes are similar to the wet-into-wet method outlined in the first video tutorial, but this artist (above) demonstrates a transitional method of grading two colors so they meet seamlessly in the center.
Starting with two colors on opposite ends of a rectangle, you’ll learn to pull them gradually to meet in the middle, with no seams or laps. And you’ll learn to do this with a wet-into-wet method, and a wet-on-dry method, so you can follow along and try both.
Lifting Watercolor to Lighten a Painting
One of the frustrating characteristics of watercolor is the need to preserve the white of the paper, and the fear of painting a passage too dark.
Since watercolor is transparent, lighter pigments can’t cover and lighten a darker color (for example: you can’t make a dark blue shape lighter by painting it with a light blue).
Artists who are nervous about going too dark may shift towards colors that are too light in their paintings. This limits accuracy in depicting values (lights and darks).
It helps to choose pigments that don’t stain in areas you’re trying to paint darker.
The Power in a Clean, Wet Brush
I prefer the option to dial back values by lifting with a clean, wet brush after the paint has dried completely. You can facilitate this by using watercolor paper that is sealed with sizing. Pigments are blocked from sinking into and dispersing in the cotton pulp of the paper when it’s treated with internal and external sizing.
When the pigments stay on the surface, they are brighter and more concentrated. The still-white paper illuminates the watercolors from underneath. You also have the option of lifting or removing non-staining colors sitting on the surface if you want to lighten areas.

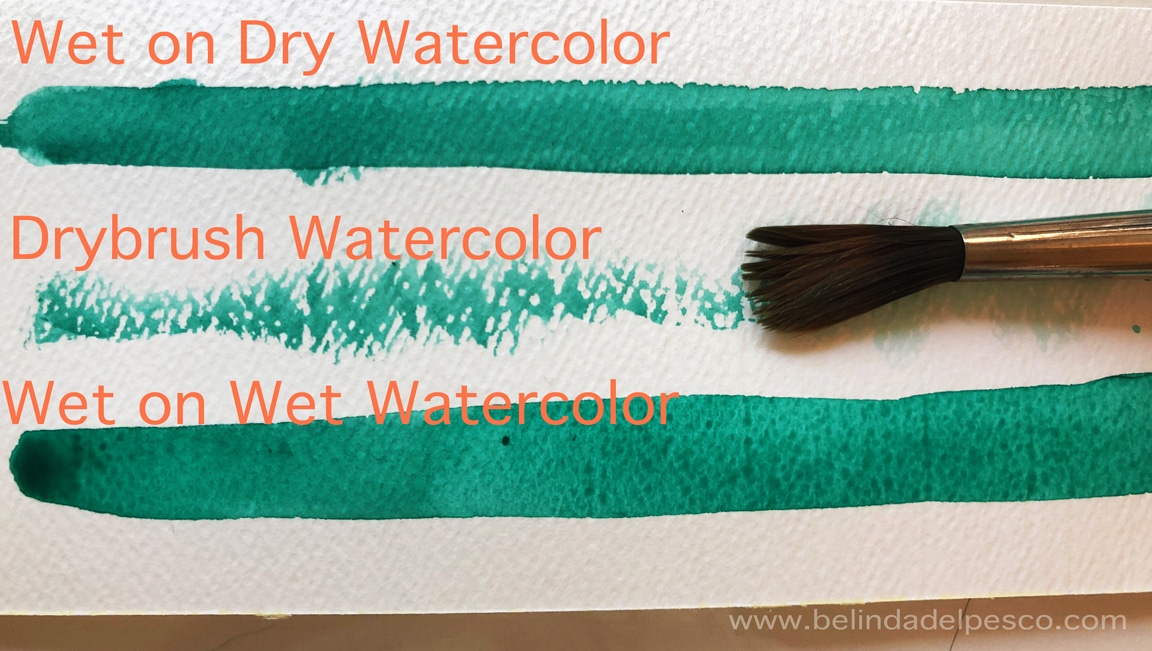
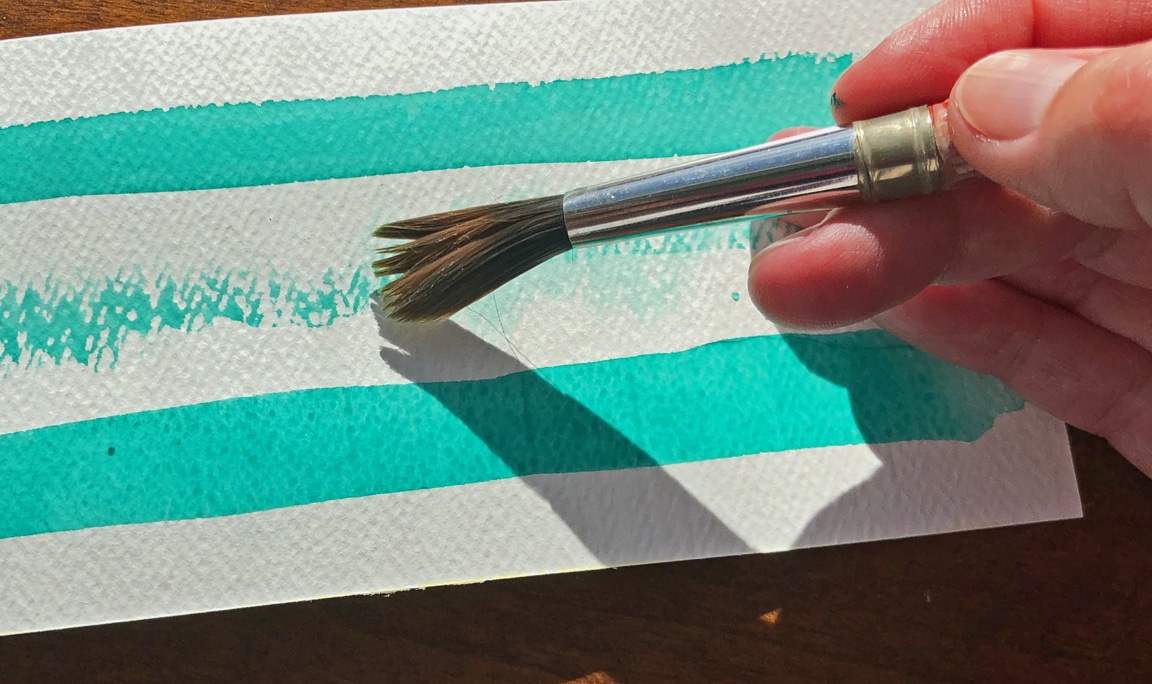
Drybrush Methods in Watercolor
Drybrush with watercolor is a painting technique that uses less water, and a slightly thicker pigment applied from the tips of separated brush hairs.
Once the brush is loaded with color, the bristles are blotted against a rag or a paper towel. The splayed tips of the brush are skimmed on textured watercolor paper, like skimming a stone on water, leaving a skipped pigment streak.
Drybrush painting Can be similar to halftones in graphics, or a dot pattern in magazine printing. The paint only touches the uppermost peaks of the paper, and the lower valleys remain white. This method is quite effective for water, stones, stucco, tree bark, and grassy meadows, etc.
Drybrush Watercolor by Itself, or in Layers
Drybrush watercolor methods can be layered, either on top of flat, transparent base colors to suggest texture and shape, or it can be layered over and over again to merge into optical color mixes.
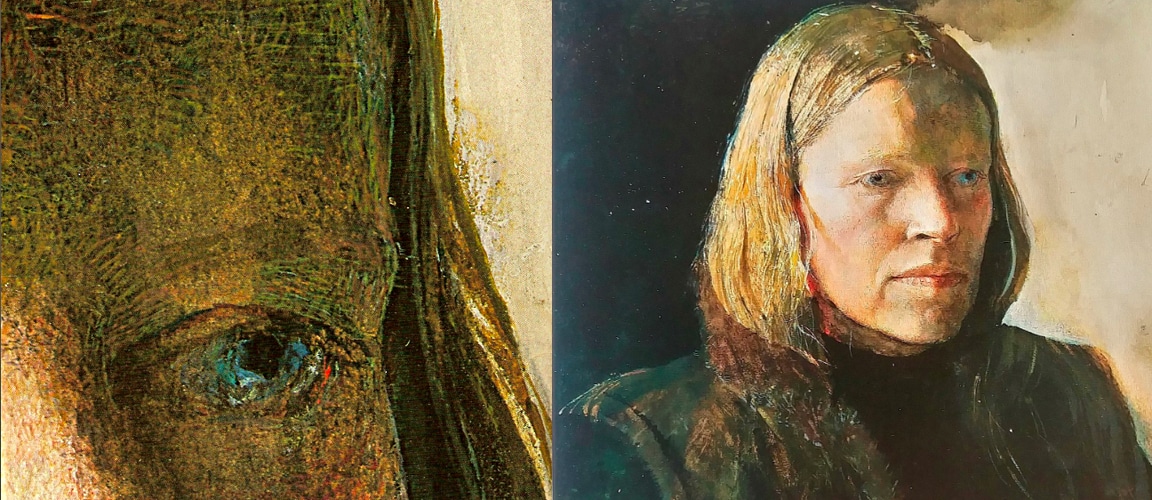
Andrew Wyeth was a master at using drybrush watercolor for skin tones and natural textures. He layered drybrush pigment bristle trails into rich, braided strands of color that resolved – at a distance – into beautiful skin, hair, and textiles.
How to Paint DryBrush with Watercolor
- Wet your paint brush, and load it with a darker-hued watercolor pigment of your choice. (Note: You can also start with a DRY paint brush, and pick up moderately wet pigments on your palette to begin at Step 4.)
- Remove fully wet paint and water from the brush by dabbing or dragging the bristles across an absorbent paper towel or a cotton rag.
- The goal is to remove most of the water, but leave some pigment in the bristles.
- Hold the paintbrush at a 45-degree angle, like you’re mimicking the steep roof line of a house. Bring the bristles of your paintbrush close to your dry watercolor paper, and then make contact with just the tip of the brush – at an angle – and skim across the surface – dragging slowly and lightly over the texture of the paper, pulling the brush in the direction the handle is pointing towards.
- If your brush is a round or a rigger, and it makes a straight, single line, try separating the bristles with your fingertips before you drag the pigment over the paper. You can also splay the bristles when you’re dabbing the excess water on your rag or paper towel.
- Rough surface paper, cold press, and a synthetic brush with a little body to the bristles will work best for this.
- It’s also important to look at your new brush strokes from a bit of a distance, or through an eye-squint, to appreciate the mottled, bark-textured, ruffled, soft-edged marks you just made.
Give Drybrush Painting a Little Practice Time
In watercolor, we usually want to load the brush with the maximum volume of pigment and watercolor, in the perfect ratio.
We try to lay pigment on paper for a complete, single-stroke coverage, to keep the colors vibrant and fresh. So, this drybrush method may feel counterintuitive. Give it some practice time.
The beauty of dry brush is that it’s very effective for rounding soft contours in skin tones, layering close-value color harmonies, or creating organic textures in nature.
It’s worth the time to play with the watercolor drybrush method on scrap watercolor paper, till you get the hang of it.
The video below will give you a sense of how you can use it over areas already painted. Here is a little demo video to help you get started (below).
Layers and Glazing Techniques in Watercolor
I love using layers and glazing in watercolor. It offers more control in colors, values, and details because the pigments are applied in transparent layers, one on top of the other. The video above is a demonstration of this process. And here’s another one if you need more details.
Watercolor Glazing as Cellophane
Imagine colored cellophane in a shade of purple. A single sheet of purple cellophane laid on white watercolor paper would be very sheer, with hardly any color visible at first glance.
Add another layer of cellophane and the value increases. Add a few more, and the transparency is reduced with layers of purple blotting out light of the paper, till you can’t see it at all (see above).
Layering Watercolor
Watercolor does the same on the luminosity of white watercolor paper. Apply sheer layers of color, one at a time, letting them dry while you work on another area of your painting.
Since watercolor dries lighter than it looks when it’s wet, you’ll see the actual value when it’s dry. This will help you decide if that area needs to be darker, or if it’s good as is.
Paint in sheer, transparent watercolor glazes, so you can survey your painting against your reference photo before you decide to add another layer of color.
How to Create Dry Brush Watercolor Painting Techniques
Dry brush with watercolor is a painting technique that uses less water, and a slightly thicker pigment, applied from the tips of splayed paint brush hairs in a skimming motion on textured watercolor paper. The effect is almost a halftone of pigment, since the paint only touches the uppermost peaks of the paper, and the lower valleys in the watercolor paper's surface remain white.
Materials
Instructions
- Wet your paint brush, and load it with a darker-hued watercolor pigment of your choice.(Note: You can also start with a DRY paint brush, and pick up moderately wet pigments on your palette to begin at Step 4.)
- Remove fully wet paint and water from the brush by dabbing or dragging the bristles across an absorbent paper towel or a cotton rag.

- The goal is to remove most of the water, but leave some pigment in the bristles.
- 4. Hold the paintbrush at a 45 degree angle, like you're mimicking the steep roof line of a house. Bring the bristles of your paint brush close to your dry watercolor paper, and then make contact with just the tip of the brush - at an angle - and skim across the surface - dragging slowly and lightly over the texture of the paper, pulling the brush in the direction the handle is pointing towards.
- If your brush is a round or a rigger, and it makes a straight, single line, try separating the bristles with your fingertips before you drag the pigment over the paper. You can also splay the bristles when you're dabbing the excess water on your rag or paper towel.
- Rough surface paper and cold press and a synthetic brush with a little body to the bristles works best for this.
- It's also important to look at your new brush strokes from a bit of a distance, or through an eye-squint, to appreciate the mottled, bark-textured, ruffled, soft-edged marks you just made.
Recommended Products
As an Amazon Associate and member of other affiliate programs, I earn a wee-tiny commission from qualifying purchases, at no additional cost to you. Thank you for supporting this art blog so I can share the results of my painting and printmaking studio experiments with you.
Watercolor Painting Practice Mindset
I hope these 5 watercolor techniques inspire you to pull out your paints, paper, and brushes. If you’re new to watercolor, or you’ve been away from your art supplies for a while, these sorts of exercises help get you familiar with your tools again.
You can’t build a house till you know how to cut wood, frame the structure, and hammer nails. Art is no different, so lock your inner critic in the freezer for a few hours, and give yourself permission for a play date with your watercolors and brushes. Get acquainted with your tools.
Thanks for your visit, and I’ll see you in the next post!
Belinda
P.S You can subscribe to this blog to get each new post via email by signing up right here.
Art Quote
If people knew how hard I had to work to gain my mastery, it would not seem so wonderful at all.
Michelangelo Buonarroti
Hi Belinda. Thanks so much for the excellent post. . . so much wonderful information to digest!
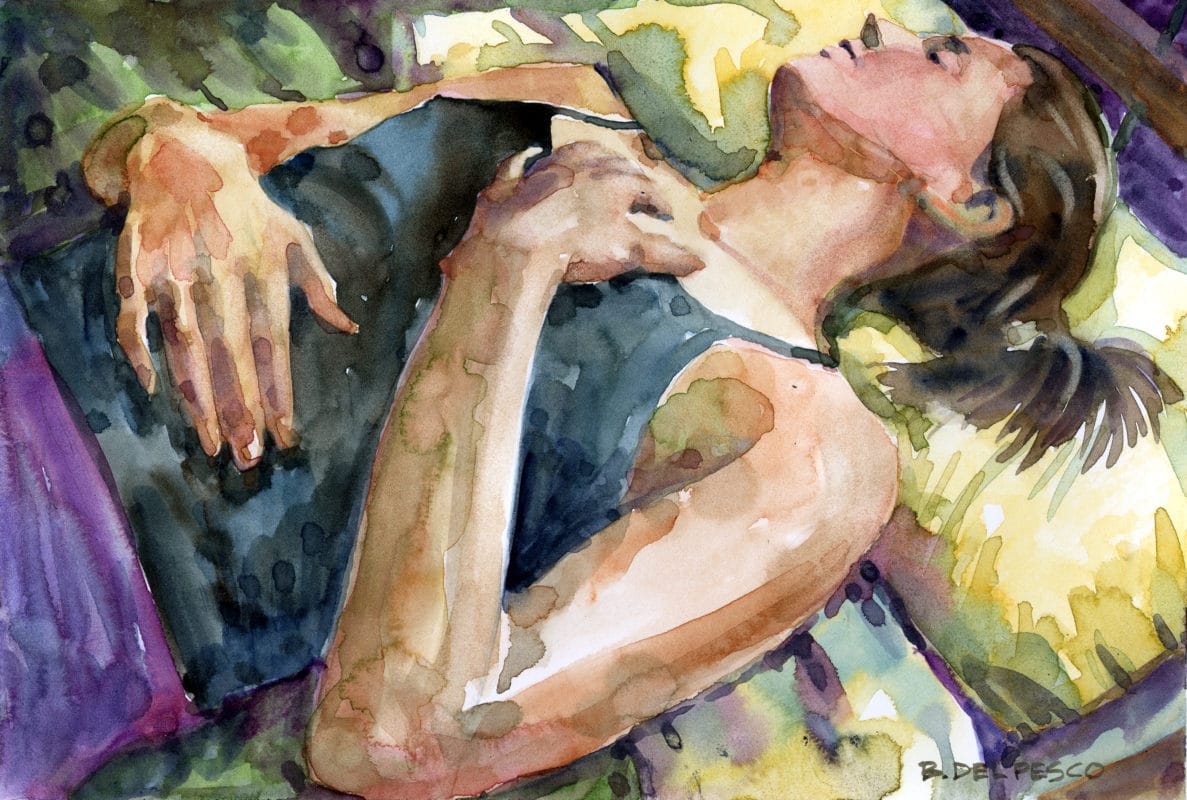
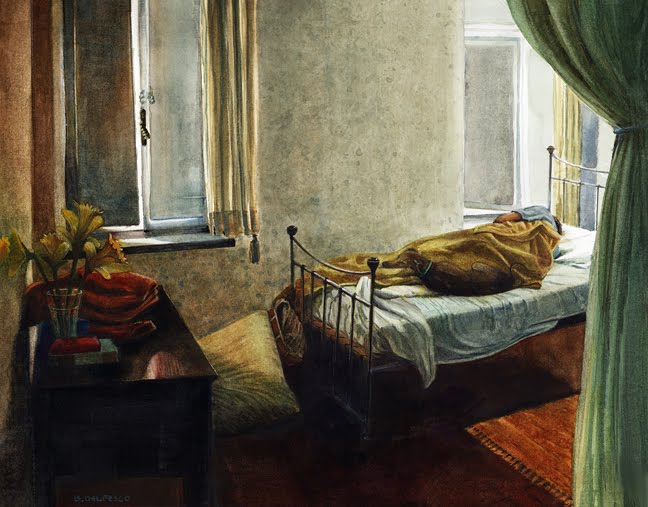
I was excited when I saw your first watercolor of the woman lying with her hands across her body. The looseness is exactly what I’ve been struggling so hard (maybe that’s my first clue!) to do with my figurative work. However, even if I start out good it always ends up tight! So, when I saw your painting I thought I would get some clues on how to accomplish this effect. I’ve looked but can’t find any mention of the method you used for your painting. Have I overlooked something?
Looking forward to any instruction you can give me. . . and thanks again for your informative and fun blog.
Judy Herring😉
Hi Judith! Thanks for your visit and the great feedback… I’m glad the information compiled here might be useful for you. As for the watercolor you’re referring to – it was done before I started to document watercolor painting process with photos & details. However, two things that might help are 1) this video about a house portrait has tips for letting watercolor do what it does naturally: https://youtu.be/pabDpD3tvKc, and 2) that watercolor was done on hot press watercolor paper, which shows brush strokes and pigment blooms & granulation beautifully. Have you ever painted a figurative watercolor on hot press paper?
Belinda, you brightened my day! Thank you for an information packed, lovely artwork packed post! Have a fabulous week!
Hey there, Candy7! Thanks for the noce note. I hope your art supplies are busy, and your week ahead is loaded with eureka’s and creative adventures!