What is Monotype Printing?
What is Monotype Printing?
A monotype is a hand-pulled art print, created with pigment alone (usually printmaking ink) applied to a smooth plate (usually metal, acrylic, Gelli, or glass) that is pressed against paper (usually printmaking paper) to transfer the still-wet pigments from the plate to the paper.
The root word ‘mono” means one because you get a single print. This printmaking method results in a single, printed, original art image.
Monotypes are not editionable the way relief or intaglio prints are. There are no repeatable mark-making elements like incised lines, or adhered shapes, attached to the plate.
There are no repeatable mark-making elements laid in the ink, such as stencils, or organic materials like leaves, or flowers, etc.
The design of a monotype print is made with manipulated pigments alone, and therefore it is considered a very painterly form of singular image printmaking. (See resources below for details on how to make a monotype print.)

How to Make a Monotype Print
Here is a monotype printmaking tutorial video on my youtube channel. The process outlined in these photos – with the resulting print above – is a perfect example of a first monotype printmaking project for you. Especially if you don’t want to carve with sharp tools, and if you don’t have a press, or a whole day to play with ink.
The demo of a monotype print that you see in this post is a single color of ink rolled out directly on a sheet of plexiglass.
If you don’t have a sheet of plexiglass to use as a plate, you can roll your ink out on a sheet of drafting film, aluminum foil, yupo paper, or a piece of glass from a photo frame.
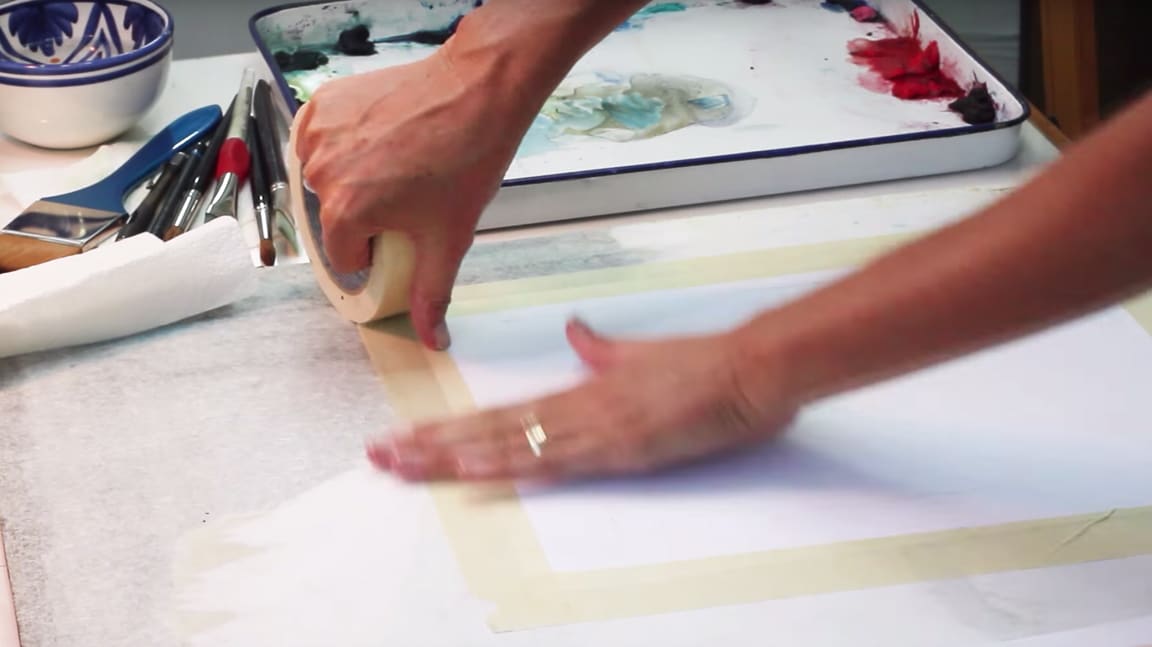
If you use a sheet of glass, tape it down to a table with a narrow frame of masking tape or duck tape along the edges to keep it from sliding around and to protect your hands from the sharp edges.
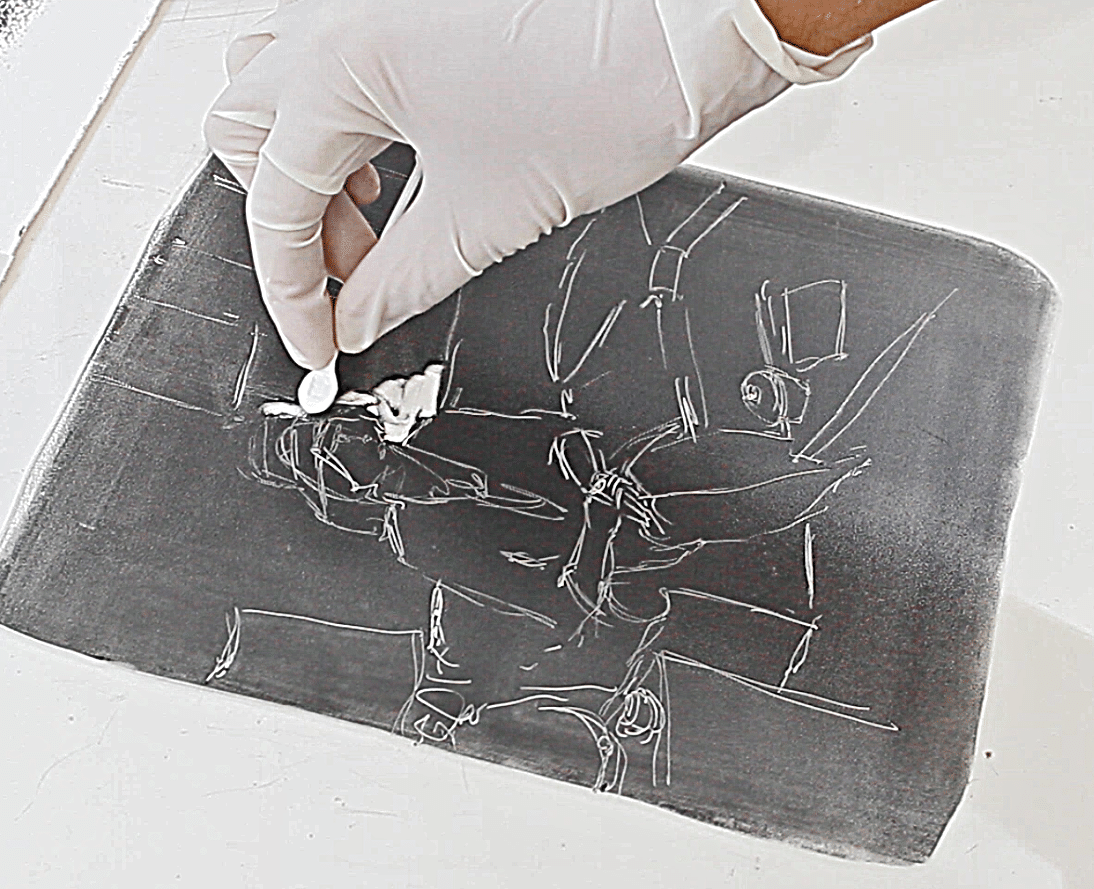
Use what you have for tools… I’ve used the back of a paintbrush handle in the demo video below to sketch shapes into the wet printmaking ink. Use a chopstick, a pencil, a knitting needle, etc.
The reference photo for this demo was taken in the 1950’s in Scottsdale, Arizona, where it almost never rains. Use any photo you like, with simple shapes in light and dark. Avoid lots of detail in your first monotype. There will be plenty of opportunities to master details in your 2nd, 5th, and 30th monotype.

Monotype Printing Demonstration Videos
You can watch the video below, or click here to watch it directly on my channel. There are five other tutorials posted there, so have a look if you think you’d like to experiment with this painterly form of printmaking.
And if you’d like to take my online course on monotype printmaking, sign up here to be notified as soon as the monotype printing class is published!


Helpful Printmaking Posts from this Art blog
- Adding watercolor to a landscape monotype ghost print
- Preparing a plate for a large interior light field monotype
- A light field monotype of a still life printed from mylar with no press required
- How to make a trace monotype without a press
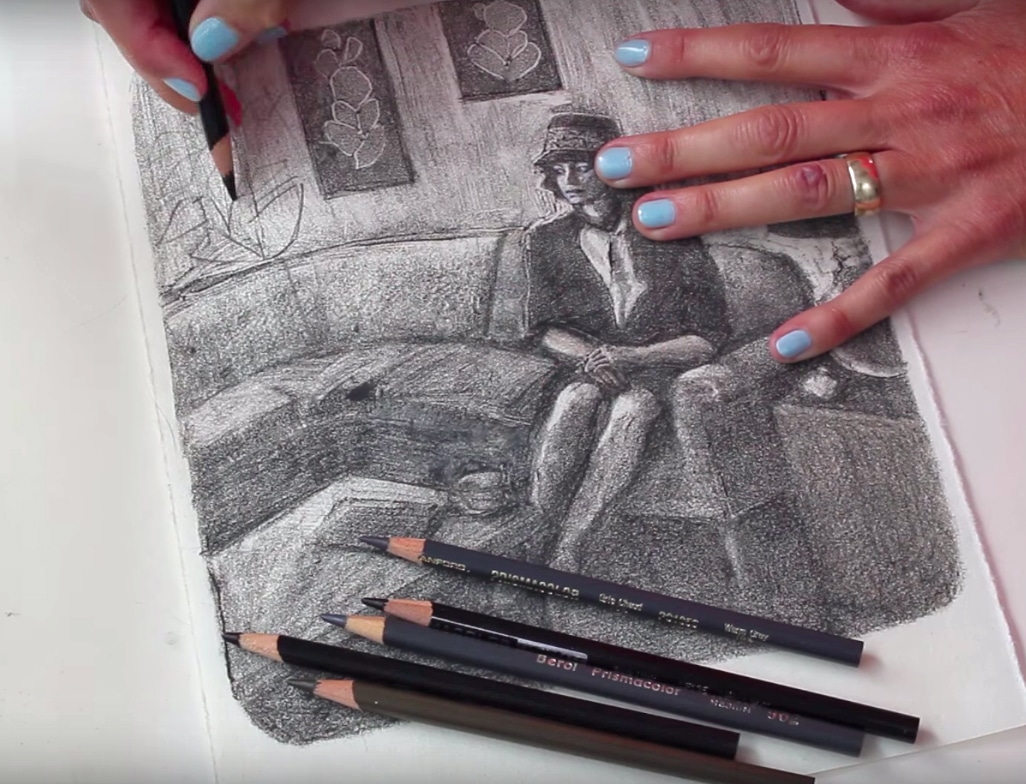
- Refining Details on a Light Field Monotype Print with Colored Pencil
- Gift Ideas for the Beginner Printmaker looking to try Linocut or Relief Printing
- Make a Monotype Print from Recycled Plastic Food Containers and Acrylic Paint
- Monotype Ghost Prints – Adding Colored Pencil to Enhance Details and Increase Values


Tools for a Successful Monotype Printmaking Session
Monotyping Tutorial Videos
- Watch a video tutorial on a Trace Monotype print mash-up with watercolor and pastel (Tutorial #1)
- Here is a Trace Monotype print demonstration with a mash up of separate photo references, and colored pencil (Tutorial #2)
- Make a Full-Color Monotype Still Life Print with this Fun Video Tutorial
- (Sign up to be notified when my online Monotype Printmaking class series is released here.)

Monotype Printing Supplies
- Check the links below for supplies used in this video so you can experiment with this fun printmaking method too:
- Rubber gloves http://amzn.to/1bNmWvu
- Apron http://amzn.to/1fWXkIh
- Wood stir sticks for your ink http://amzn.to/23vAWRk
- Plexiglass for your tabletop http://amzn.to/1R7gI7z -or- 12×12 acetate sheets to roll your ink out on http://amzn.to/1UfjNru
- Newsprint to slide under your plexi table top http://amzn.to/1RZTm5n
- G-tip low-lint cotton swabs http://amzn.to/1RZTp0Z
- Rubber-tipped wipe-out tools https://amzn.to/2DDenov
- akua ink https://amzn.to/2DDbCUl
- Fine Mist Spray Bottle to spritz your paper if you need to, or if you happen to be using fast drying inks http://amzn.to/1qhOzoG
- 4-inch soft rubber brayer http://amzn.to/1vOHPzY
- Drawing bridge http://amzn.to/22ngGyR
- Clothespins for hanging/drying art http://amzn.to/20tuPLq
- Prismacolor Premier Soft Core Colored Pencils http://amzn.to/1HZ9mjp
- Brown Handle Synthetic Craft Brush http://amzn.to/1SK120Y
- Japanese kozo paper http://amzn.to/1C97v9I
Monotype Reference Books
- The Painterly Print http://amzn.to/1Ld9aUU
- Monotype: Mediums and Methods http://amzn.to/1P0aghm
- Printmaking Bible http://amzn.to/1Ld9gvQ
- Print Workshop http://amzn.to/1QMmFYl
- If you have any questions about the process, please leave them in the comment section, and I’ll do my best to answer them quickly!
Thanks for stopping by today, and I’ll see you in the next studio post!
Happy Making,
Belinda
P.S. You can sign up here to subscribe and get each new art post from this studio via email as soon as it’s published.
P.P.S. You can join the Monotype Printmaking Group on Facebook, and share your work there for feedback!

What is the Difference Between a Monotype and a Monoprint?
A monotype uses pigments alone, manipulated into a design on a smooth plate with paintbrushes, fingertips, or cotton swabs, etc. The artist adds, removes, and manipulates wet pigments – either a single color or a full spectrum of colors. The still-wet pigment is pressed against printmaking paper to transfer the design from the plate to the paper, resulting in a single print – a monotype.
A monoprint uses some form of repeatable mark-maker, either beneath the ink, or above it. Underneath the ink examples would be incised lines, or carved marks in the plate that would be repeated in each print. Above the ink, repeatable mark-making examples are stencils, stamps, organic materials like leaves and plants pressed into the ink, etc.
Repeatable mark-makers can still be manipulated in a way that makes each print unique, as with a monotype, but there is some form of repeatable shape-maker impressed into the pigment from above – or an incised, repeatable impression beneath the pigment. That is a monoprint.
How to Make a Monotype Print
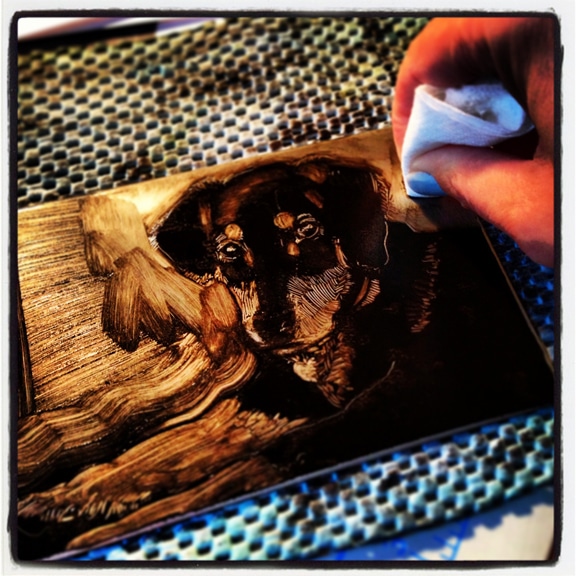
If you've ever wondered how to make a dark field monotype print, you've come to the right place! Here are step by step monotype process photos, videos, and a supply list with links to the items you'll need to get started.
You don't need a press, or any fancy printmaking equipment.
And if you learn best by watching a demonstration, here is a list of monotyping tutorial videos that cover dark field and light field monotype, as well as trace monotype printmaking demos.
With a little space cleared on a kitchen table, a few supplies, and some reference photos, you'll be making monotype prints in no time at all! Happy Printing!
Materials
Tools
Instructions
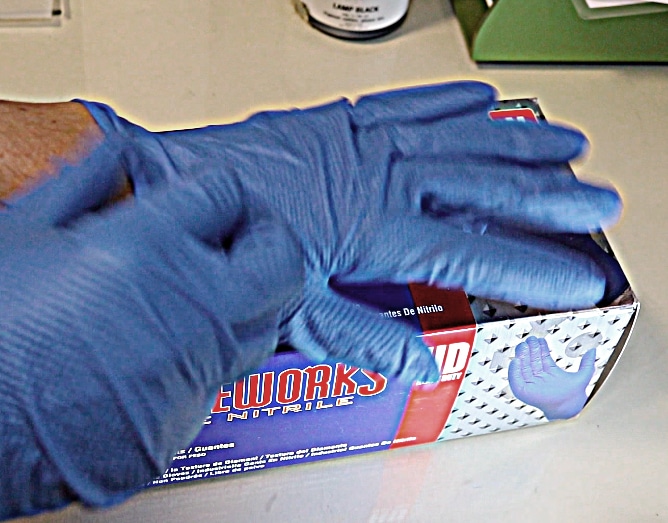
- Prepare a flat, clear surface to work on by covering it with newspapers. Gather all supplies close at hand, and put on your apron and rubber gloves.

- Tape down your ink slab.

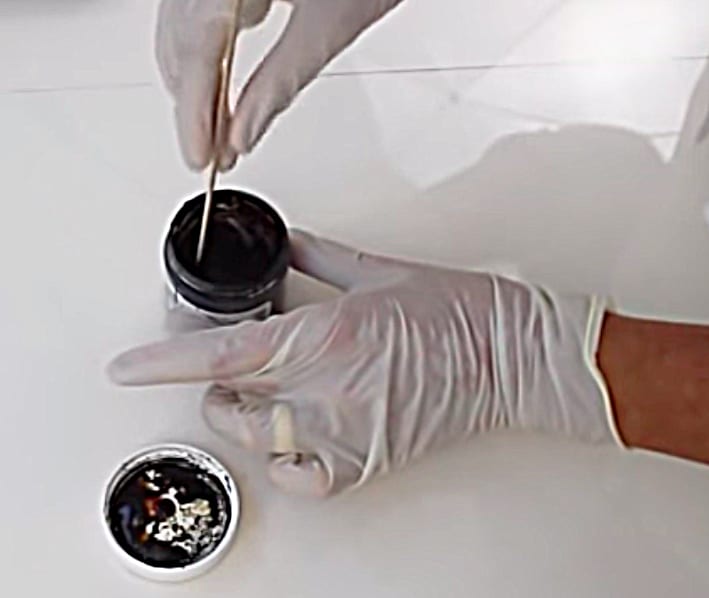
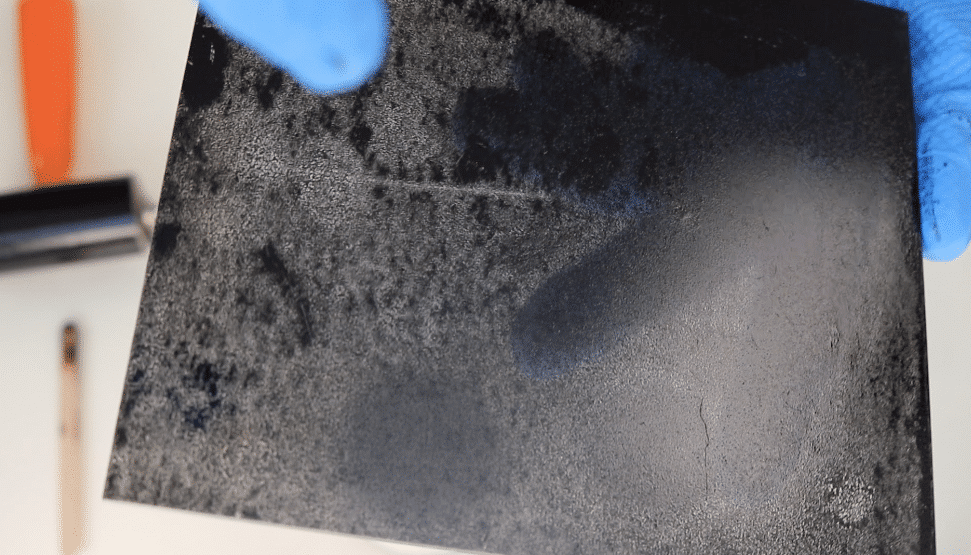
- Stir your printmaking ink until it's smooth and mixed well. Put a dollop of ink on the slab about the size of a cashew nut.

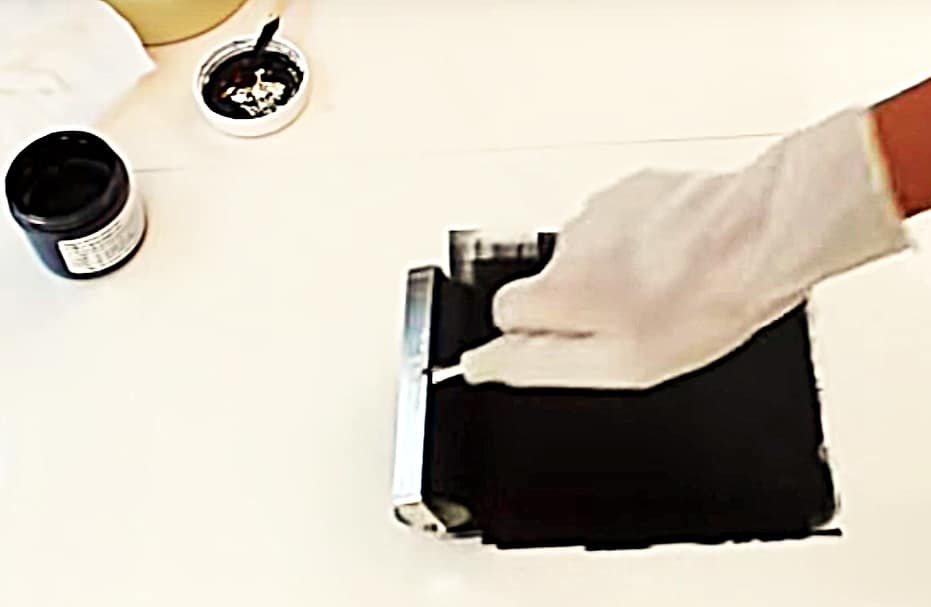
- Use your brayer to roll the ink out on the slab until it's evenly covering the brayer, and the slab, and you hear the ink "hiss" as you roll back and forth

- Put a piece of non skid under your plexiglass printmaking plate (not necessary if you're printing from a gelli plate) and begin coating your plexiglass with a smooth, even coat of ink

- When the plate is completely covered, if the ink appears loose, shiny or thick, lay a piece of newsprint on the plate, and very gently, with light pressure, smooth it with your hand as though you were smoothing a wrinkle from a bed sheet

- Peel the newsprint from the inked plate and discard it. Now that your ink has been blotted, it should be less shiny, and a bit thinner on the plate.

- Pull out a reference photo, and without touching the inked plate with your hand, begin drawing into the ink with your rubber tipped tool, and cotton swabs.

- If you need to rest your wrist while drawing, slide your drawing bridge over your ink plate so you can rest your hand on it above the ink.

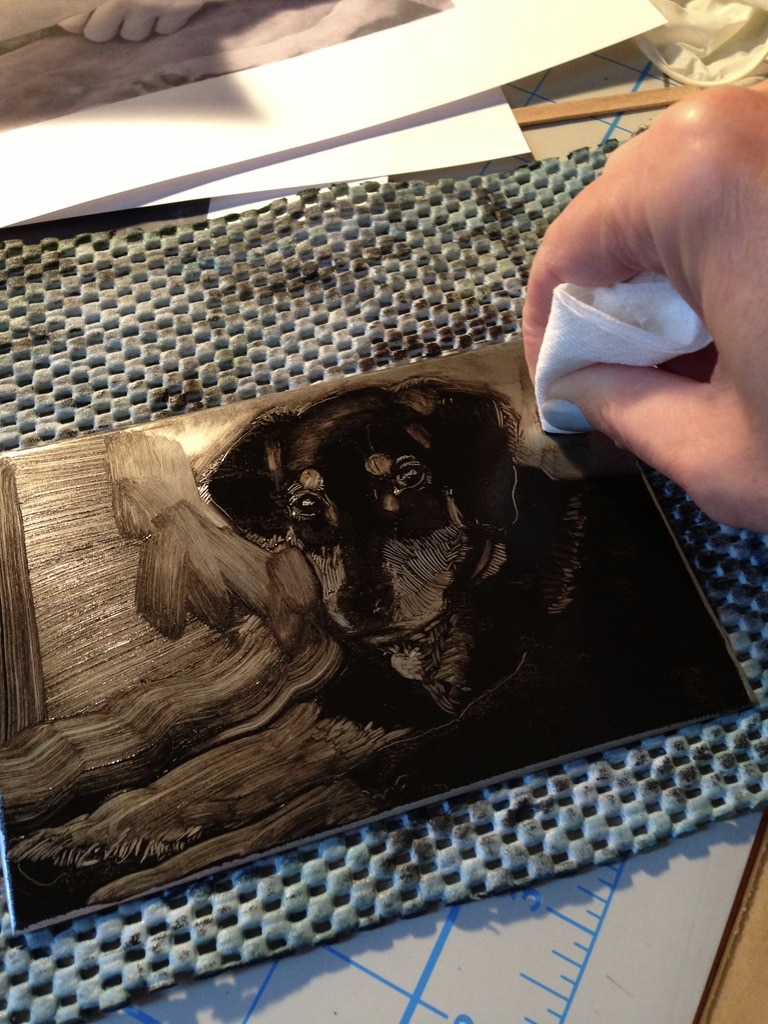
- Use your brushes or your gloved finger tip, or rolled paper towel, or cotton swabs to feather halftones in your design. You can also use them to add more ink by dipping in the ink slab and adding darks to your design.

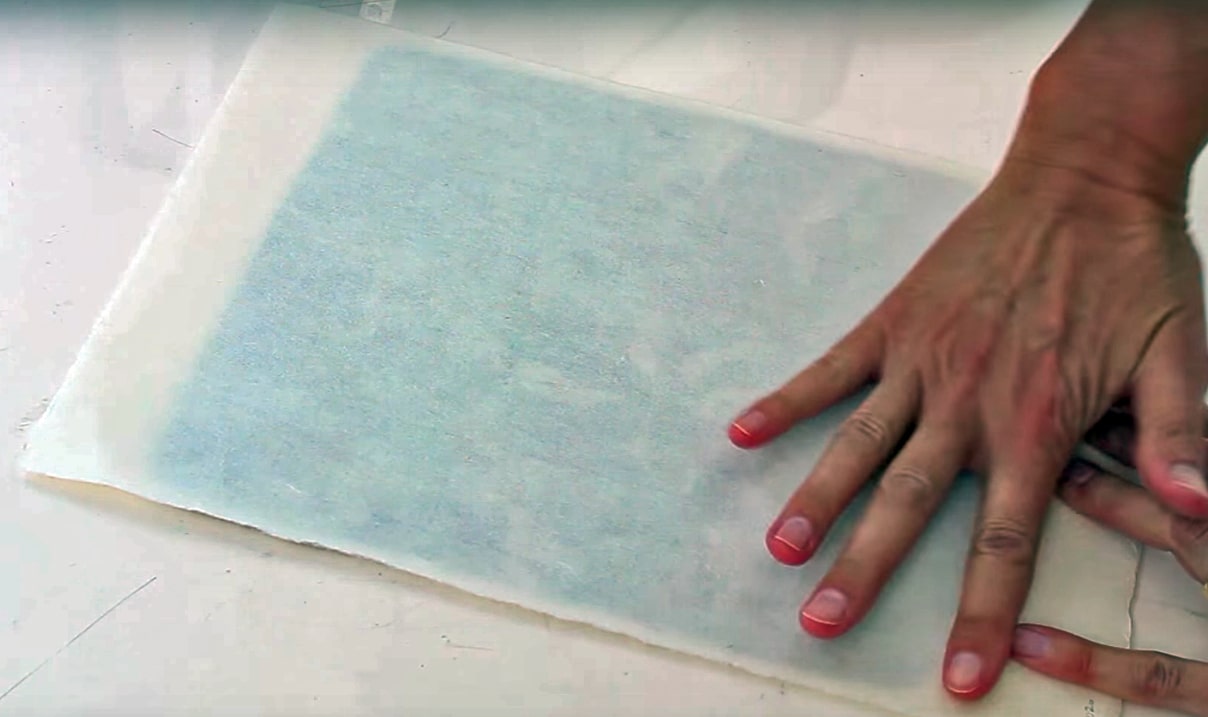
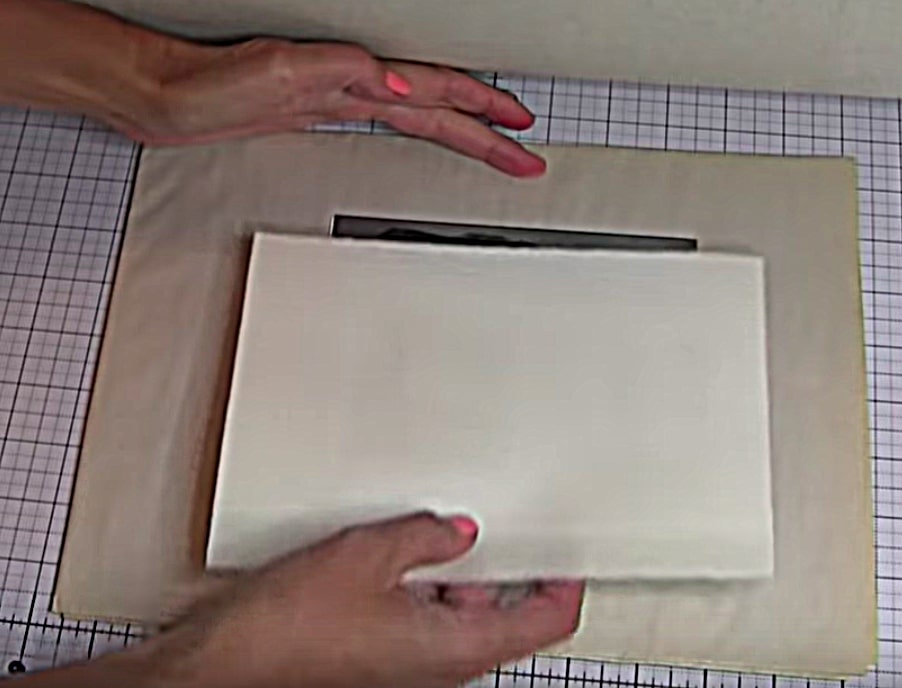
- When your design is ready to print, pull a sheet of printmaking paper from the package or pad, and with your spray bottle, lightly spritz the side you'll be printing on. Blot with a paper towel, and lay the damp side down on your inked and designed monotype.

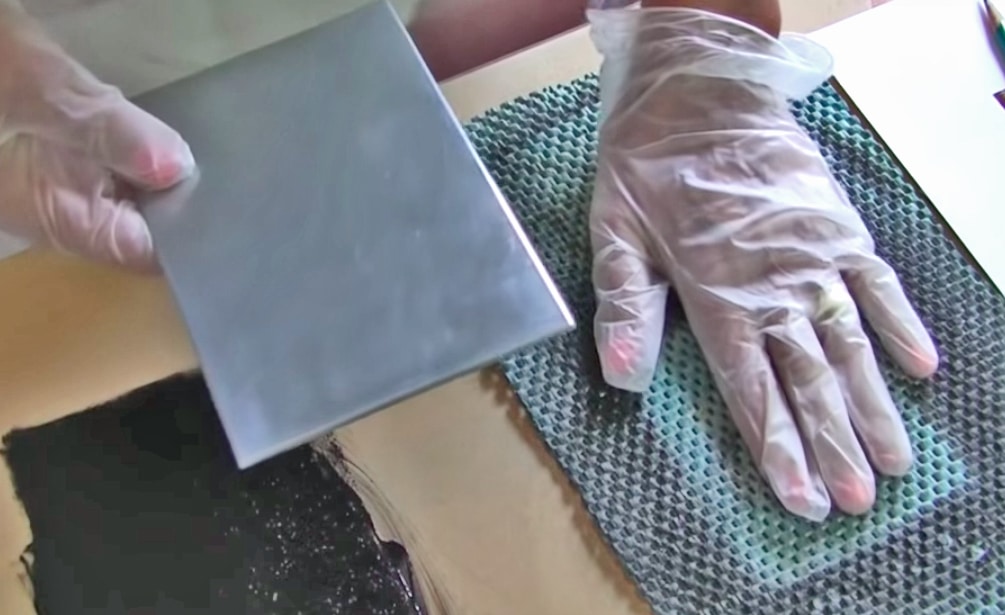
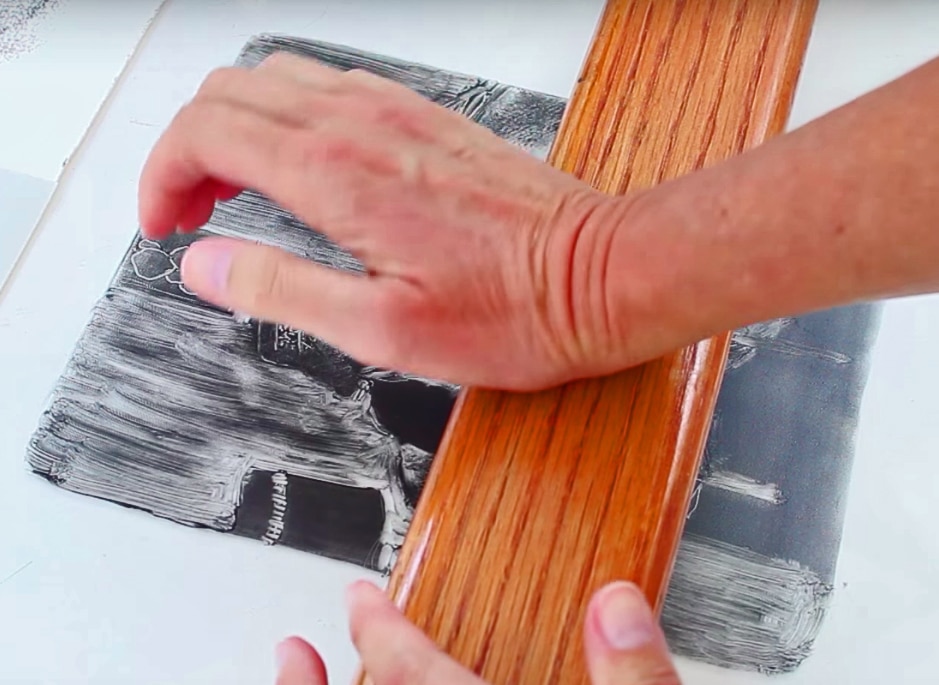
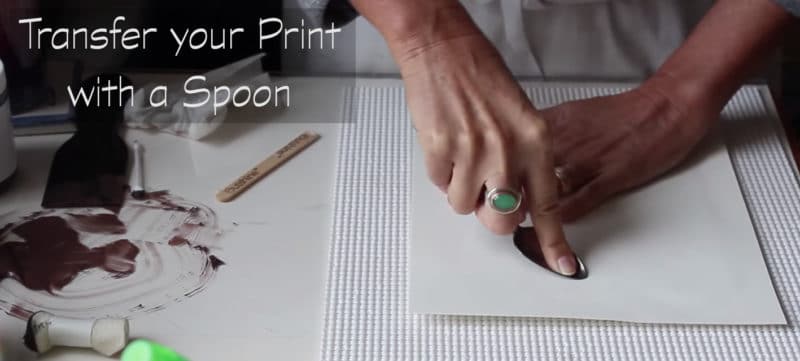
- Hold the paper steady with one hand, while rubbing the back of the paper with either the baren or a metal spoon.

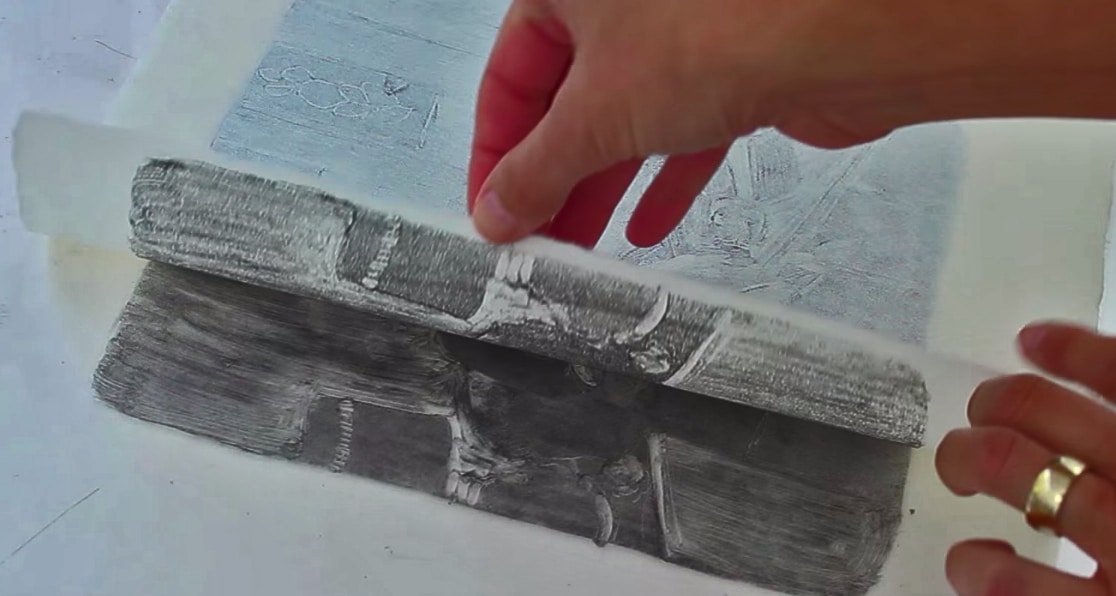
- Keep the paper in place with a firm hand, and peel up a corner to see how your ink is transferring to the paper. If it looks too light, or mottled, apply more pressure with the spoon in circular motions.

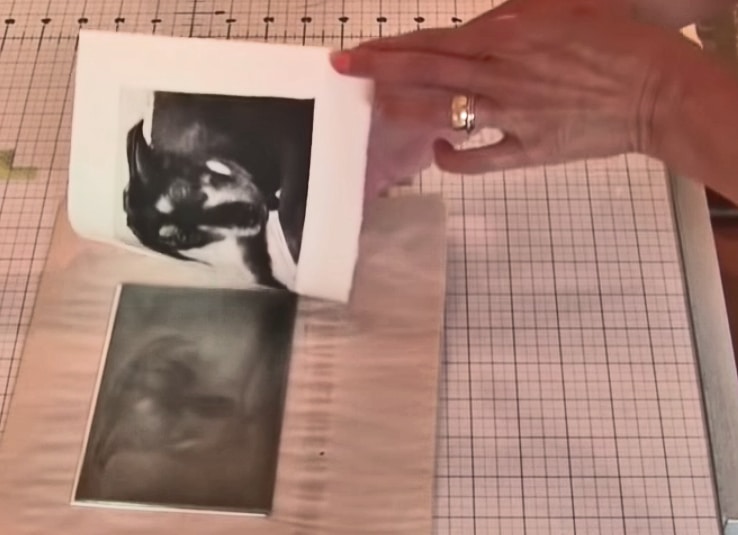
- When you feel like you've transferred enough ink from the plate to the paper, pull your print, and take delight in your beautiful monotype.

- After the ink is dry, feel free to add color to the print with colored pencil, pastels, or watercolor (provided you didn't use re-wetting ink, like Speedball).

Notes
If you make a mistake on a portion of your plate while you're designing and clearing ink, re-roll your ink, and re-blot if necessary. The inks (if you're using akua) stay wet for a very long time, until they are pressed to paper, so take your time, and get the hang of this painterly printmaking process.

Hi Belinda, I have watched a lot of your videos on YouTube, they are fantastic, thank you for sharing your knowledge. I am finding the biggest problem I have is how to smoothly roll out the medium on the plexiglass surface. It slips and slides and doesn’t actually roll. I have tried using Golden Open acrylics, watersoluble oils (Cobra) … i don’t have actual printing inks, is this the problem? Will this only work with oil based printing inks? Best regards Janice (Norfolk, UK)
Hi Janice, The acrylics are looser than printmaking inks, and the cobra oils may be about the same viscosity, but I haven’t tried them, so I can’t say. First, does your brayer spin freely? Can you spin the rubber cylinder so it keeps going on it’s own?
Thank you Belinda. Looks clear. I liked the colored one in the garden.
Hi Celia, Thanks for the feedback. The landscape with the artist was printed in a single color ink (black) with colored pencil added after the ink was dry. I hope you make one too!
Than You so much .. How wonderful and helpful, you are generous.
Hi Pauline, Thanks for your visit, and your compliments! Happy art-making to you!