Repurpose Plastic Food Containers into Printmaking Plates
Your enthusiasm for this post about converting a plastic cookie container into a drypoint engraving inspired another monotype printmaking experiment.
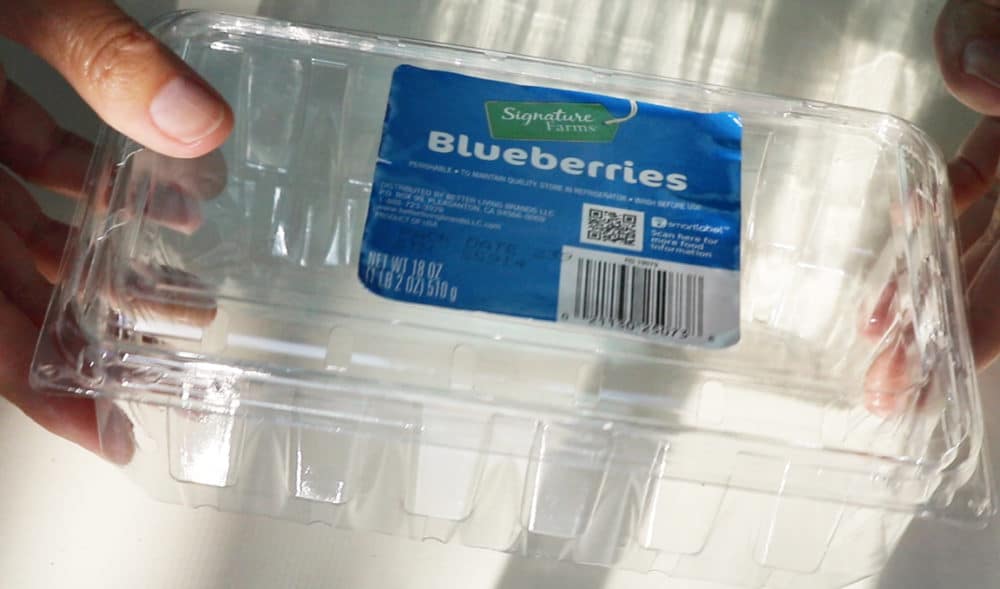
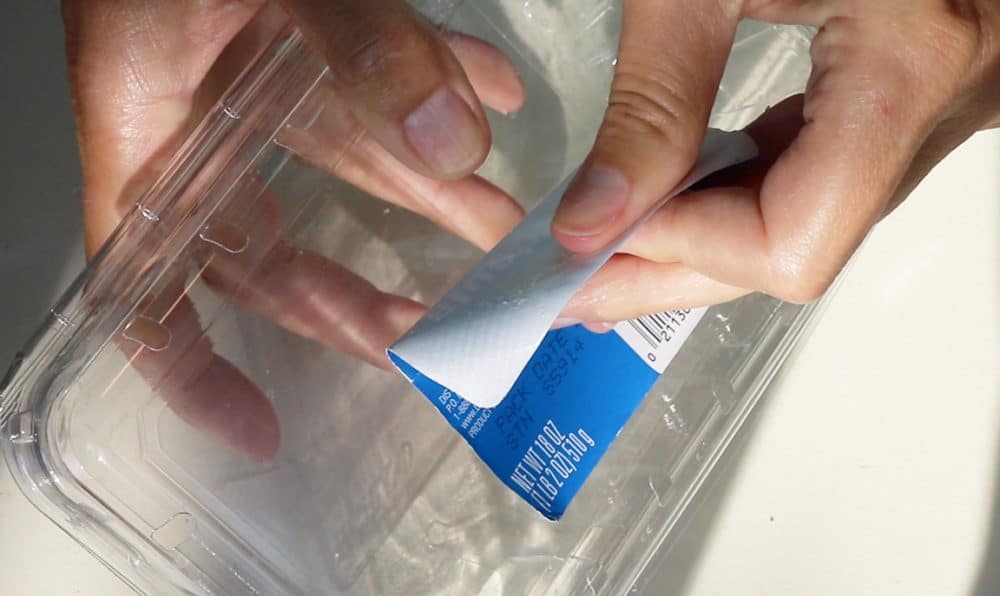
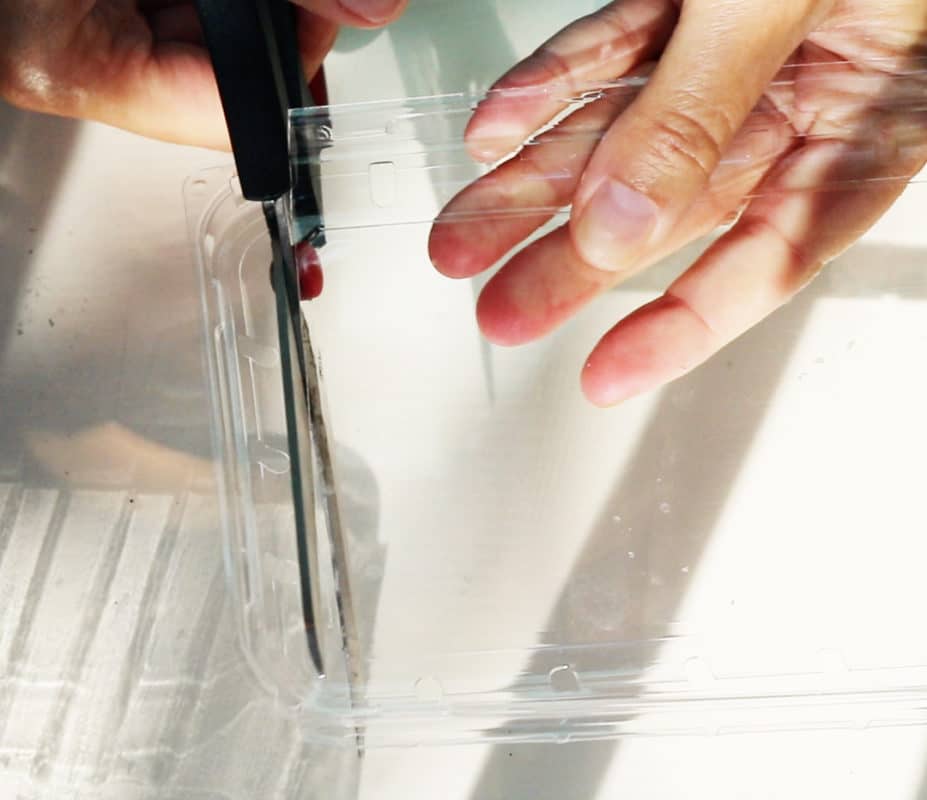
I started clipping plastic from all the food and produce containers we brought home from the grocers to experiment with monotype, drypoint and collagraph prints. This post is about how to make a monotype print from a plastic blueberry container. Want to make one?
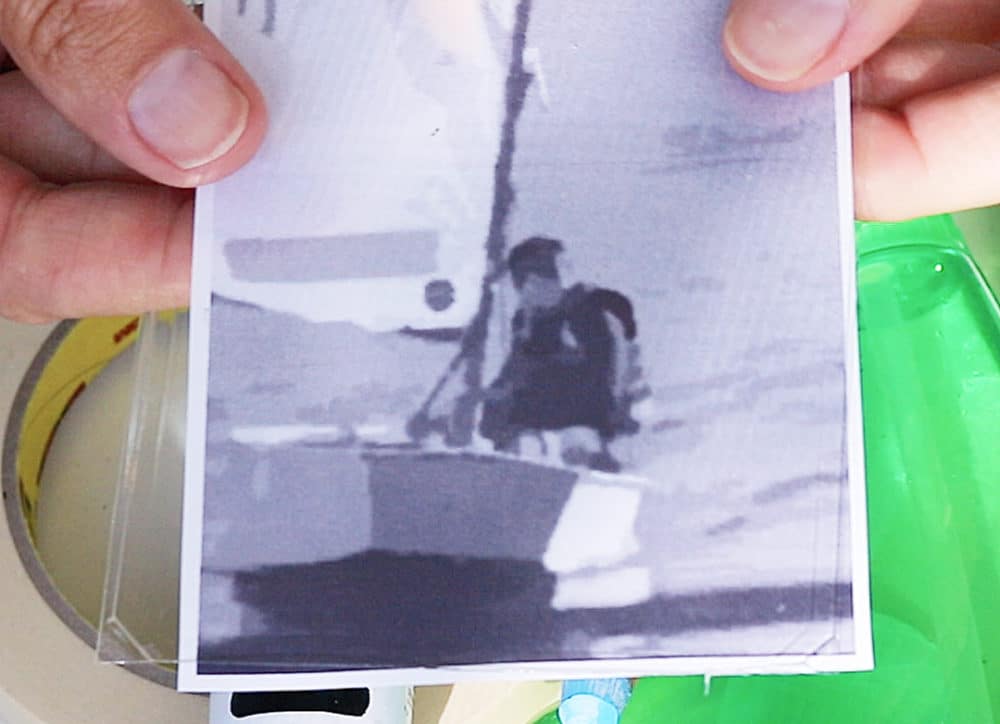
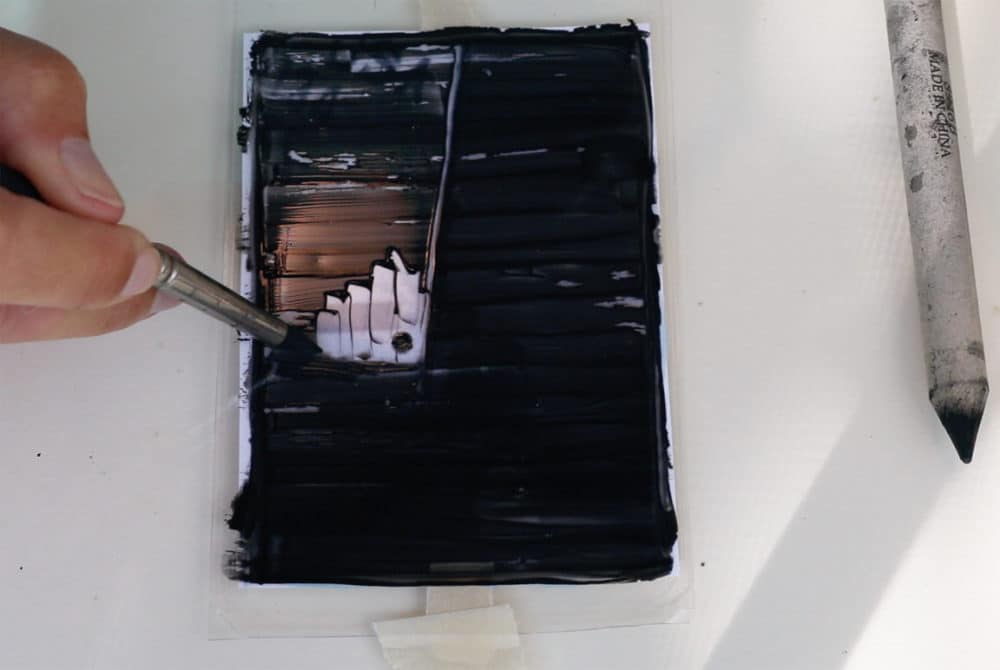
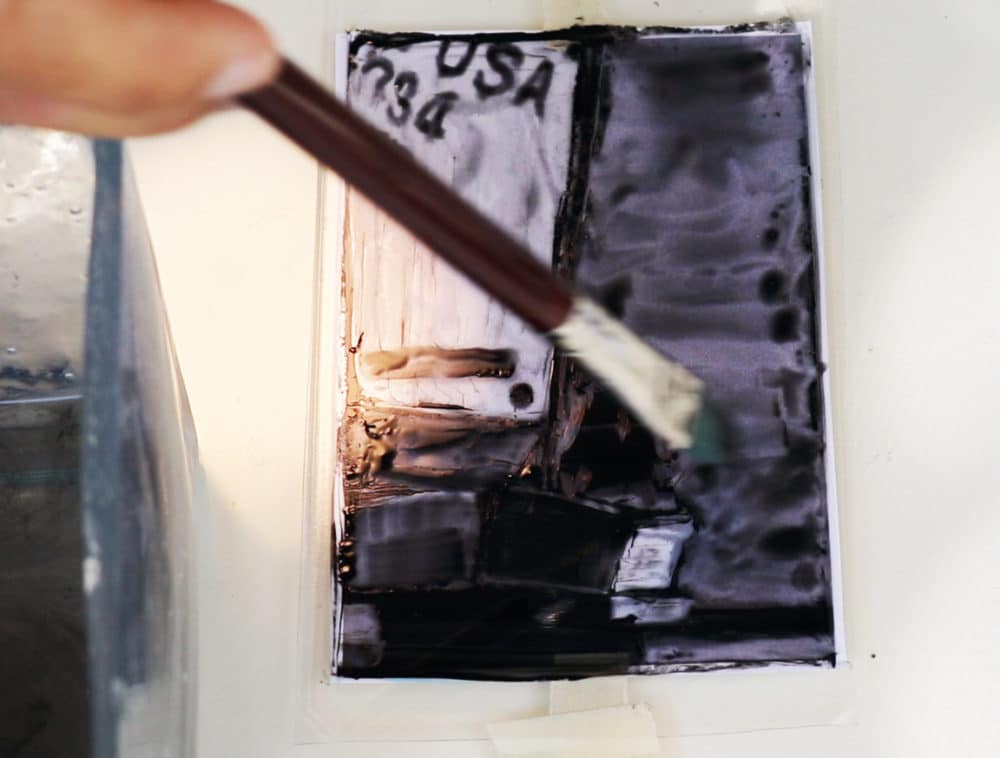
Slow the Drying Time on Your Pigments
If you only have standard artist’s acrylic to make a monotype print, you can slow the drying time with Liquitex Slow-Dri Fluid Retarder. That will give you a lot more time to work your image. The pigments have to stay wet till you press your paper to them, because acrylic dries permanently. Its not like watercolor, which re-wets over and over.
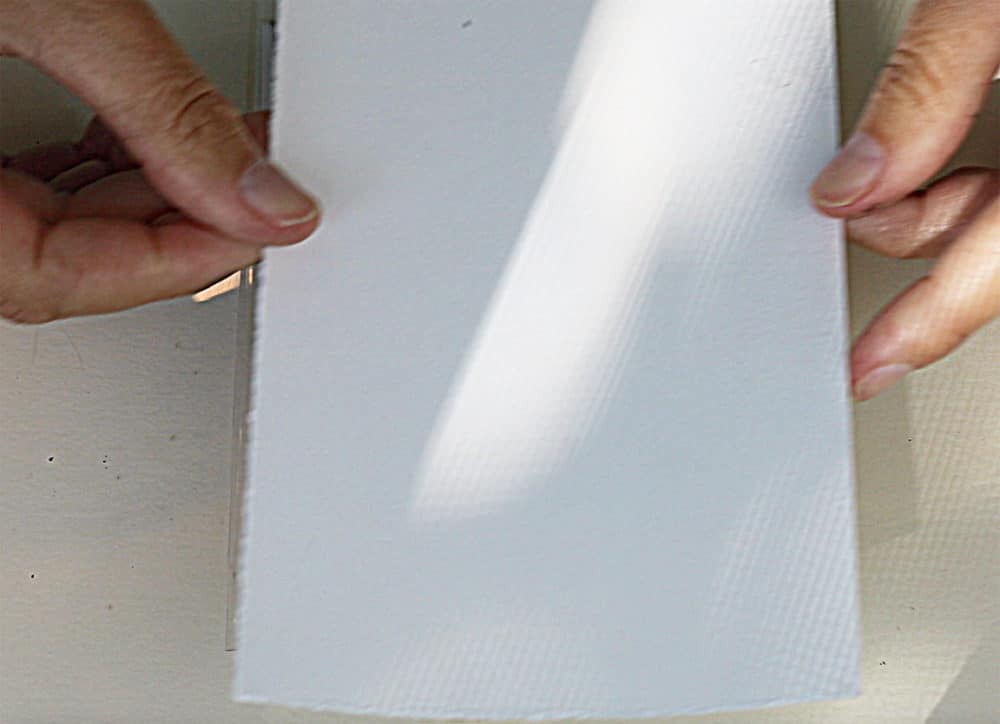
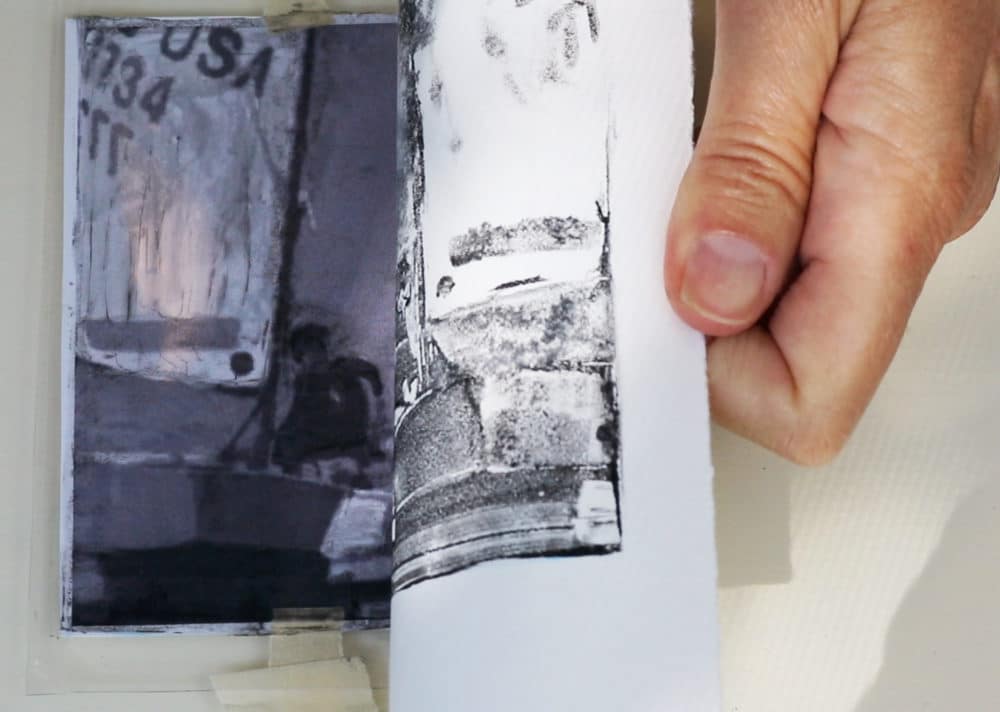
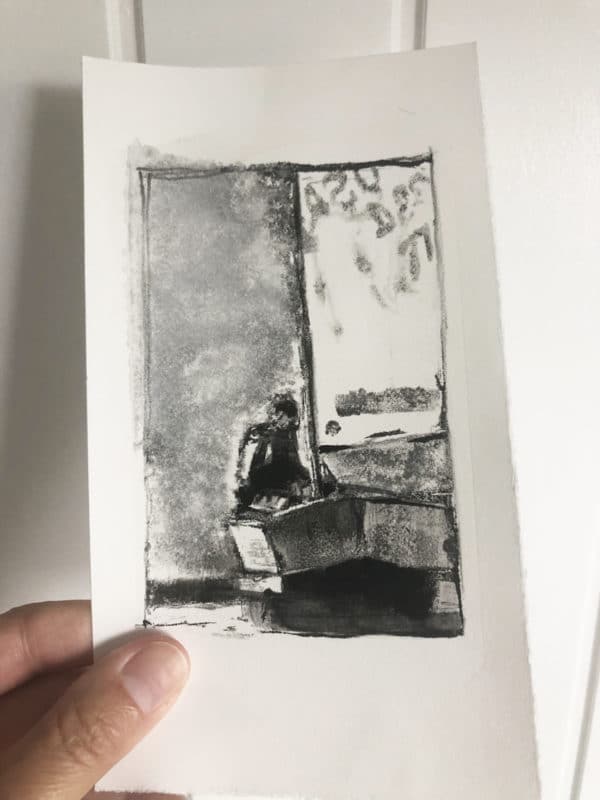
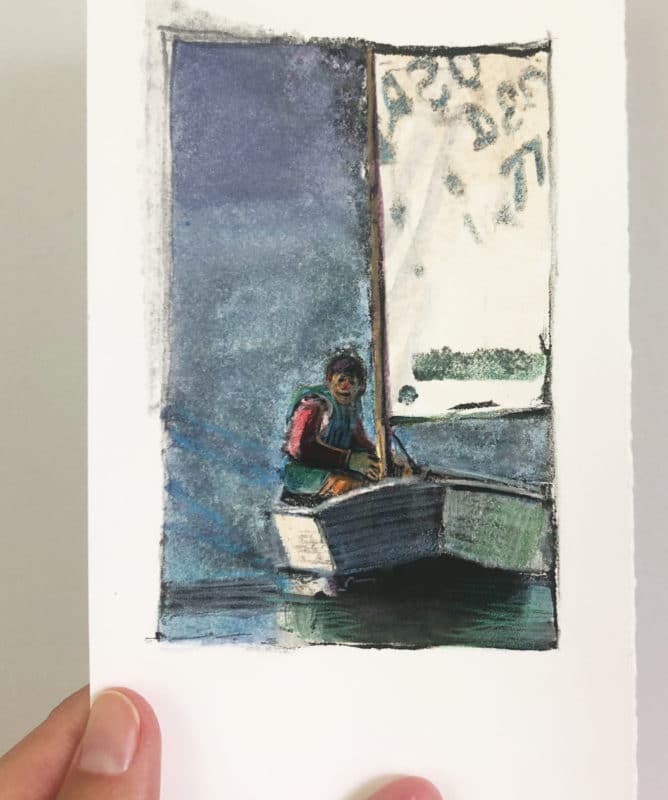
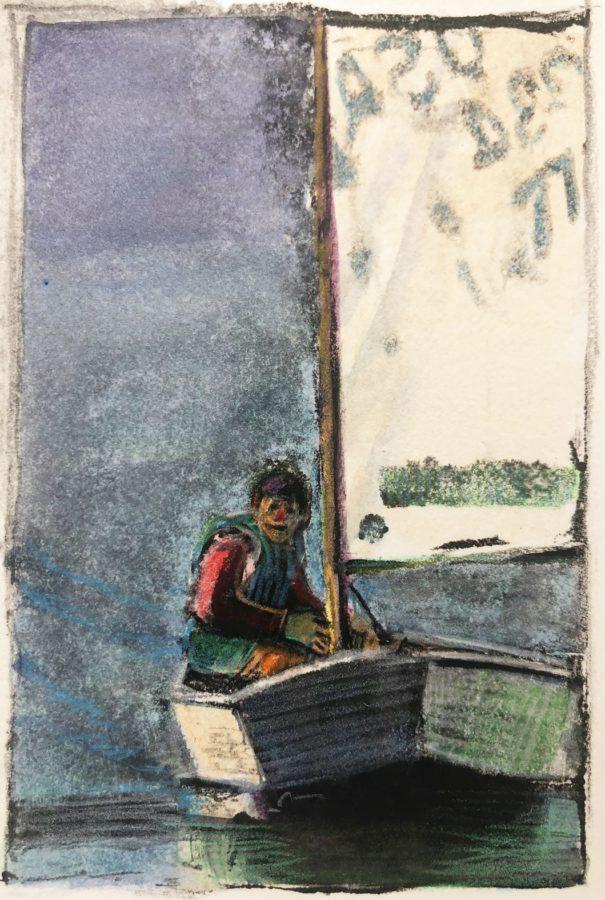
The little monotype is in my Etsy Shop.
Monotype Printmaking Video Tutorials
I’ve been sharing step by step monotype print video tutorials over on my youtube channel for awhile now. I filmed a new one for you (see it below). It’s fun to make art out of recycled plastic blueberry containers! (Here is a playlist of monotype tutorials on my channel.)
I especially love that you don’t need drawing skills, since you can trace through the clear plastic. And you can use acrylic artist’s paint (with just a few caveats) if you don’t have printmaking ink. With nothing more than a soup spoon, you can transfer the print to paper! You don’t need a press!
I hope you have a lot of fun making an afternoon of monotype prints at the kitchen table. If you post them somewhere, be sure to leave a link in the comments so we can see your fun results.
Thanks for stopping by and I’ll see you in the next post!
Belinda
P.S. I had a conversation with a friend about making art in small spaces. Storing art supplies and finished art in a tiny home is challenging. I wrote this article about working with a small artist space on Medium. I hope it’s helpful if creative space, organization and storage are some of the things you’re struggling with.
P.P.S. Jay Weinstein is a photographer who was snapping candid images of people in India a few years ago. After lining up a shot of a man standing in his storefront, Jay paused, and thought better of it due to the man’s stern expression. He moved on to take other photos, until a friendly voice said “Hey, take my picture too!”. It was the same stern-faced man, completely transformed by a smile. Resting faces can look naturally grim, or intense. A smile can transform your impression of a person dramatically. And Jay proves that in these photos and essay by Jack Shepherd. If you’re not naturally prone to smiling at rest, maybe these images will nudge you to practice smiling a little more often?
Art Quote
It is all a question of weeding out what you yourself like best to do, so that you can live most agreeably in a world full of an increasing number of disagreeable surprises.
M.F.K. Fisher

Quick Supply List for Monotype Prints made from Plastic Food Containers
If you're planing to make a monotype print using re-purposed plastic from food containers, this list will help you gather the supplies. This monotype video tutorial of the process will help you visualize the steps to get your first monotype made, without a printing press!
If you think printmaking is going to sweep you off your feet in a love affair of art-making (like it did with me), do yourself a favor and get some good ink. This Cranfield Caligo Safe Wash ink has an excellent pigment load, a great workable consistency, it dries slowly, so you have plenty of working time, it transfers well, it cleans up with soap and water, and it dries permanent so you can paint your print with watercolor if you want.
If you're going to make a monotype with standard acrylic paint, you'll want to slow the drying time to give yourself room to move the pigment around on the plate. A few drops of this Slow-Dri Fluid Retarder in your traditional acrylic paint will slow the drying process, and give you more time to work your monotype image.
These compressed paper blending stomps are traditionally used with graphite, charcoal and pastel to push dry pigment into paper, and blend soft edges. In monotypes, they work beautifully to push ink or pigments around as a drawing tool, or a wet-ink plowing to clear areas, or leave textures
Use these cotton swabs to clear ink (with the rounded tip) and leave narrow marks, or sculpt details into the pigment (with the pointed tips). There's one style of each tip (a pointed and a rounded) on every swab.
Use this spray bottle in your studio to lightly moisten your printmaking paper before pressing it to your inked plate, add a veil of mist water to the dried paint on your palette to re-wet pigments, increase moisture in watercolor on your palette, or spritz watercolor paper to stretch it on a board.
Trim plastic from your produce and baked goods containers to create printmaking plates. Cut the tops off your cookie containers, trim the base off fruit boxes, and clip report covers or drafting mylar into small printmaking plates.
The top of this cookie container was the first plastic square I clipped to create a drypoint print. The plastic is smooth and sturdy, and the print size on this one finished at about 2.75" x4 2.75" square. I've made drypoint engravings and monotypes from all the Trader Joe's biscotti containers I've 'collected' since then. 🙂
I use this tool a lot on monotype printmaking projects. The chisel tip and pointed tip are two of my most used tools, since I draw into the ink with one, and clear/push the ink around with the other. They move smoothly through both printmaking ink and acrylic paint, and leave a clean plow mark in the pigments.
If you decide to try making a drypoint engraving, or etching into the plastic from your produce and baked goods containers, this is your tool. It's a stainless scribe that will let you leave drawn lines, or deeply engraved crosshatching in the plastic. This stainless scribe has been used throughout art history to make drypoints and etchings.
This is a slow-drying acrylic paint that will dry permanent. It doesn't give you quite the same amount of time to work the pigment as printmaking ink, and it is not the same consistency or transfer qualities, but if you think you would also like to paint with acrylics, it's a good start to make monotypes.
I've used this printmaking paper torn down to match the size of my monotype plates throughout many of the video tutorials in my courses at BelindaTips.com. It's bright white, holds up to ink or acrylic very well, it's light enough for hand transfer (or press transfer) and takes other media like watercolor and colored pencil on top of the print beautifully.
You can never have enough brayers. Especially of you want to get into printing in multiple colors. This is a good starter set, and either will work very well to roll either printmaking ink or acrylic paint onto your plate to make a monotype print.
This is a great starter set of paint brushes that will work with both acrylic and watercolor. You can also use it to create marks in your printmaking inks, or acrylics rolled out on the plate. You'll see in the video tutorial that I use the flat brush to both apply the paint to the plate, and then move, make marks, lighten and moisten the pigments. I used the same brushes to add watercolor to the print afterwards.
I'm on my third box of these watercolors. They are affordable, good quality, student grade, excellent pigment load, and they come in a tiny palette box so you can take them out in the garden or on a trip somewhere to paint watercolor studies after you hand color some of your monotype prints.
Once you try a little colored pencil on a monotype, you'll be pulling out every print you've ever made to reconsider their potential. You can do the same thing to your watercolors. Working with colored pencil on monotypes lets you experiment with adding detail, and informs your next prints with knowledge related to what you can afford to leave out, and what you must be sure to add in.

Belinda, I always enjoy reading about your inventive experiments in art making. And the bonus art quotes! Thank you for all your time and effort in sharing your process and hard earned art wisdom. I’m now experimenting with using digital art as a springboard for watercolor painting: Trying out ideas for a series before I commit to paper. I started my art journey with oil painting so this is a whole new path to explore.
Hi Sally, I’m so glad you’re having fun with your art, and forging new paths in your repertoire. Growth and expansion of our creative pursuits is neural aerobics. We may stumble at first, and the art muscle might be sore for a few days, but then we get in the groove, and fit as a fiddle while we’ve learned something new. High five on your new endeavors!