While nibbling a cookie (Trader Joe’s Biscotti), I was pondering drypoint printmaking without a press. The cookie container in my hand was sturdy and smooth, and I wondered if it could be used to make a drypoint plate. I also wondered how the cookie(s) I just ate could contribute to the printing without a press part of this conundrum….


Using a Cookie Container to Make a Drypoint Plate
Have you ever seen those clear plastic containers around produce and baked goods?
Some folks refer to them as clam-shells, since they often have a hinged cover. Here in the U.S., many distributors of lettuce, cookies, and fruit will box their products in clear plastic containers that you can recycle into printmaking plates.
With a little trimming, you can use the smoothest parts of the containers as plates for drypoints or monotypes! Let’s examine, shall we?


Make Some Printmaking Plates
First, eat the goodies in the container. 😌
Next, inspect the top, bottom and sides to search for a smooth, flat section, free of seams, holes or ridges.
Note: the flattest segment may be under the product label. You can soak the label in water, and then scrape it off, and use vegetable oil to rub out the remaining glue. Be careful not to scratch the plastic.
Now, use kitchen shears or craft scissors to trim a square, rectangle, or circle of plastic.
Once your piece is free of the container, measure and straighten the edges with a utility knife and ruler.
If you’re cutting a round shape, trace the base of an appropriate sized bottle or glass with a marker, and carefully trim with a utility knife on a self healing mat.


Transparent Plate Material is Perfect for Tracing
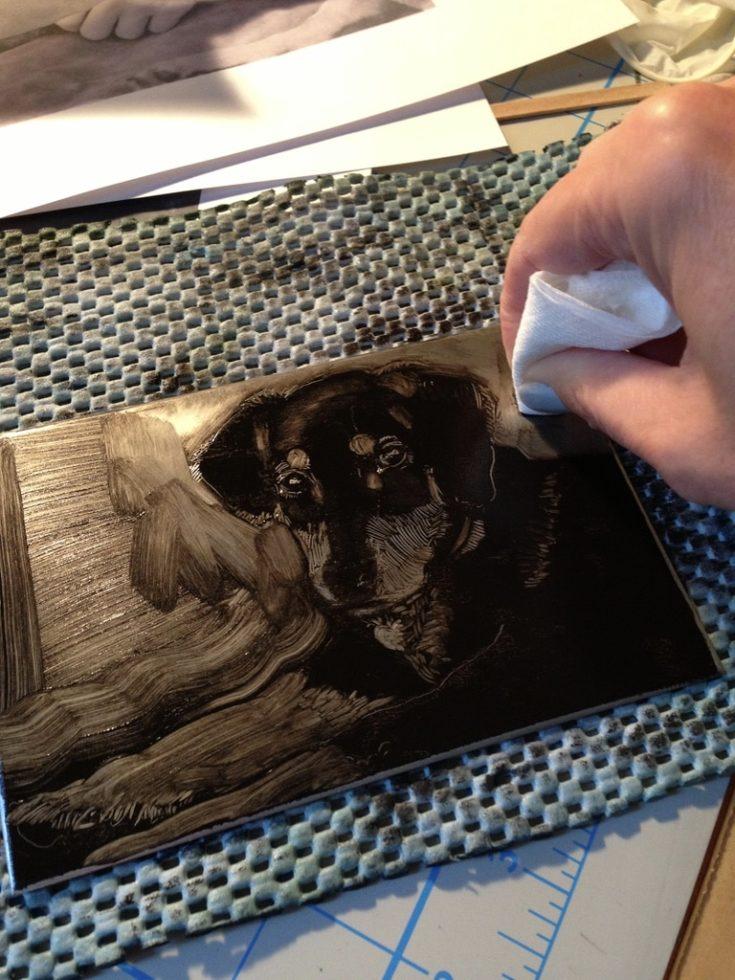
I’m using a twisted scribe – also known as a Whistler’s Needle – to draw a face in the plastic with firm pressure. If you don’t have access to a scribe, try an awl, an ice pick, or a heavy gage sewing needle, taped securely to a chop stick.
If drawing is challenging for you, take advantage of the clear plastic, and trace a photo. Tape the plate down, or make a trace outline of your plate on top of your reference photo so you can align it over your image again after pulling some test prints.

Fine Tune Your Cutting with Sand Paper
After I cut this little piece from the cookie container, and straightened it with a ruler, I used a fine grit sandpaper wrapped around a block to smooth the edges, and slightly round the corners.

Add Plenty of Crosshatching to Increase Contrast
Drypoint, like most printmaking, is an iterative process. That is, you can simply outline your form with your engraving needle, and ink it up to pull a print so you can see how it’s coming out. Then you can use that print to inform your next steps on the design.
Say you want to add shading, or contrast after seeing your first outline print. You return to your cleaned and dried plate with your twisted scribe, and add lots of crosshatching.
After crosshatching shapes here and there, you ink and wipe the plate again, and pull another test print. (These are called artist proofs.)
At this stage, you might decide a few more details are needed to improve the composition of your design, so you scribe some more into the plate material. Then you ink, wipe and print again, and see how that looks, and so on.


Use Your Body Weight to Stomp a Print
Stomp-printing this drypoint engraving with nothing more than my body weight (which included the cookies I ate earlier) was an experiment. But it works!
You can read more about Stomp Printing over here.
It’s important to avoid rocking the plate-paper-magazine sandwich. You want to avoid moving the paper against the plate. That will lead to a staggered print with a shadowy artifact effect.
Lay your magazine and drypoint assembly on the ground, and jump on it with two feet landing at the same time. That’s it. Don’t rock or take steps or twist. Step off the magazine, and check your print. How does it look?


The Right Tools for the Job
For the best chances at drypoint printmaking success, use intaglio printmaking ink, and printmaking paper to do this. Acrylic will dry too fast, and watercolor will bleed into the paper so you’ll lose your details.
If you have any other material-partnership workarounds that create a successful drypoint stomp print, please share them with us in the comments.
Have a ton of fun experimenting with this –
Thanks for stopping by, and I’ll see you in the next post!
Belinda
P.S Speaking of tools, if you’d like to be better acquainted with the warning symbols on art supplies related to toxicity and health, read this article by Winsor and Newton about what each symbol means.

Art Quote
Light reveals us to ourselves, which is not always so great if you find yourself in a big disgusting mess, possibly of your own creation. But like sunflowers we turn toward light… And in this light, we can see beyond shadow and illusion to something beyond our modest receptors, to what is way beyond us, and deep inside.
Anne Lamott

Drypoint on Plexiglass or Recycled Plastic Printmaking Supplies
Here is a list of supplies to help you prepare to make a drypoint print from plexiglass, drafting film (mylar), or recycled plastic.
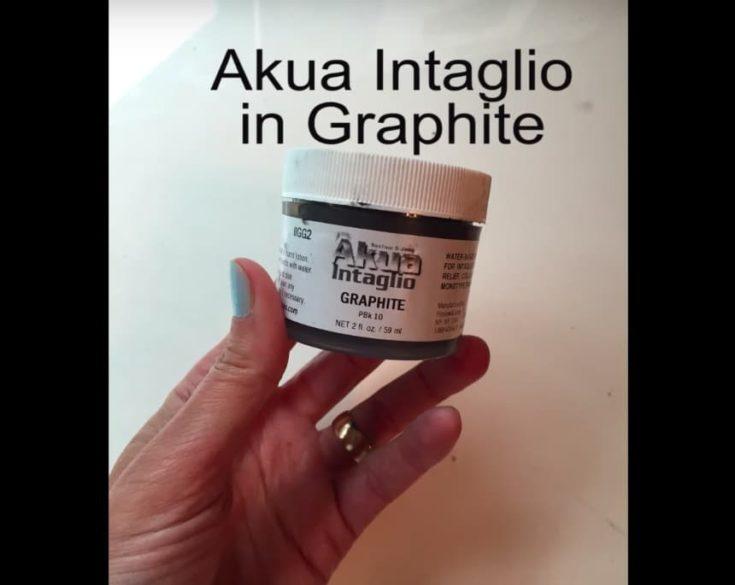
This is the ink I use in my studio when I want to clean things up with soap and water. There's no need for solvents to clean your plates and tools with this ink. Carbon Black intaglio ink is a nice, rich black for great line work. And you can use watercolor on the print after the ink dries - it will not re-wet!
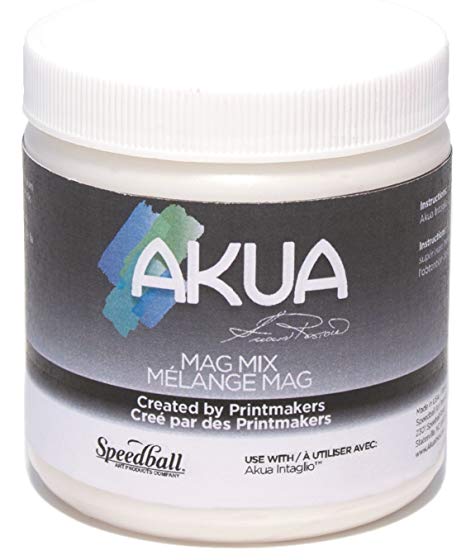
This is a thickening agent to mix with Akua Intaglio Inks. If the ink on your plate wipes out of the grooves and incised lines you've engraved with the needle, it might help to thicken the ink. Mag Mix adds a little more "sticky" to the ink. The pigments stay embedded in your line work a bit better with this ink modifier. You can see how I use it in many of the intaglio and drypoint tutorial videos on my youtube channel.
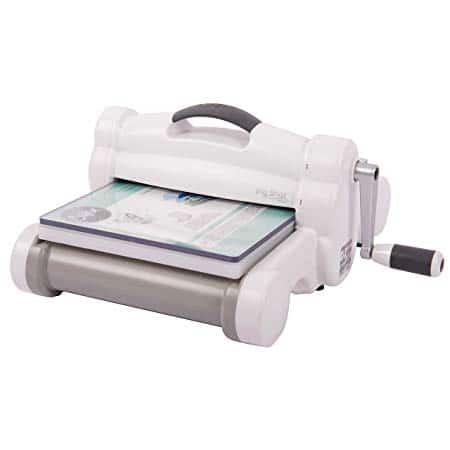
Sizzix Big Shot Plus Embossing Machine (small printing press alternative)
This is an example of the embossing machine artists and printmakers are using to print lovely, small scale drypoint and intaglio prints, as well as linocut prints. Be sure to visit the Facebook group called Craft Press Printmakers. They are doing amazing things with small die cutter and stenciling machines transformed into small printing presses.
There should always be a barrier between your skin and pigments. Wear rubber gloves (be sure to select the right size) when you mix ink, apply ink to the plate, wipe ink from the plate, and clean the ink up after you're finished printing.
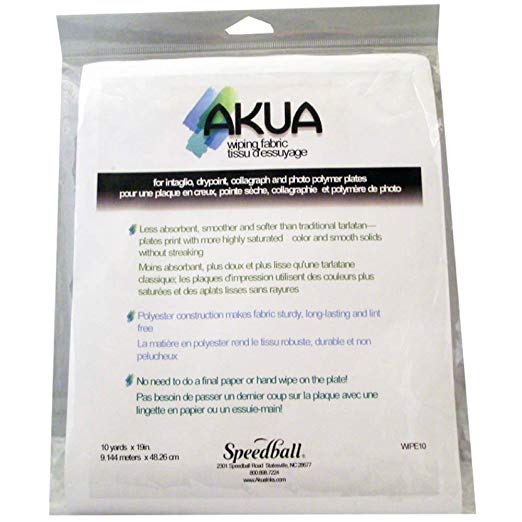
This is starched cheese cloth, or open-weave muslin fabric - also known as tarlatan. It's used to wipe ink from the uppermost surface of your intaglio drypoint or etching plate.
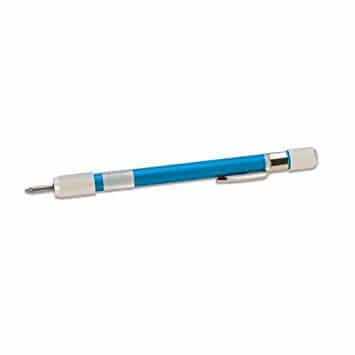
The tip of this scribing pen will carve a narrow groove into plexiglass or recycled plastic.
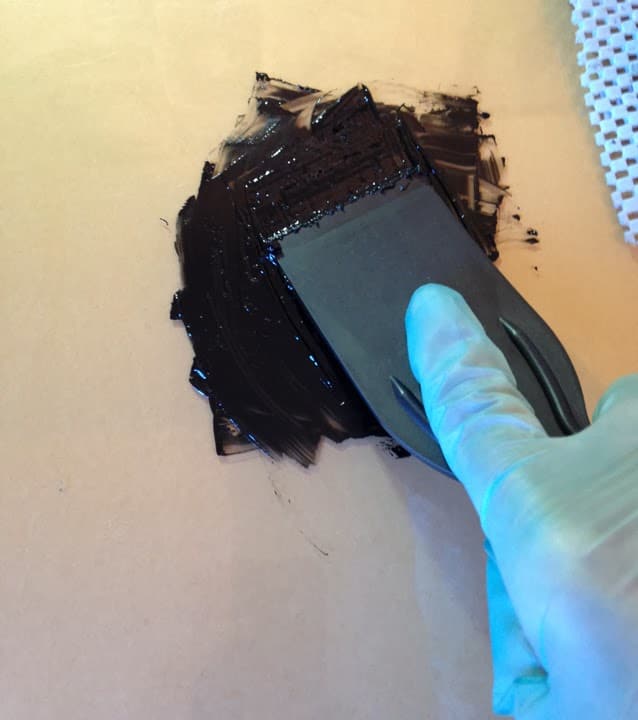
This is the tool I use to pull ink from containers, and manipulate it on the slab to mix colors, or warm it up with the friction of smooshing and smearing before adding it to the plate. It's also used for scraping leftover ink together, and scooping it into little containers to use in later projects.
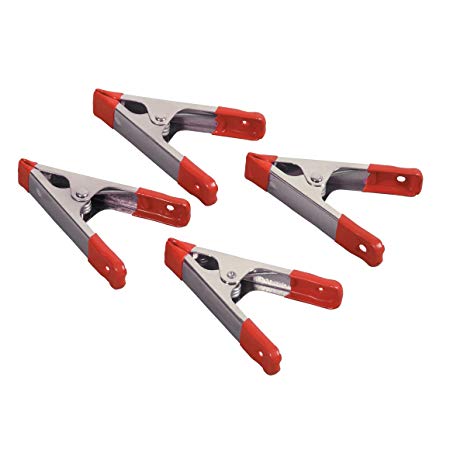
These spring clamps will hold your plexiglass plate steady while you score and snap it into smaller sheets. They also work perfectly for securing the plate without marring the surface while you bevel it, which you can see in a video tutorial on my YouTube channel.
This material works very well to hold your plate steady while you engrave your lines, or add cross hatching with the needle. It also works to steady any printmaking plate while you apply ink, wipe the plate, and clean it after you're finished printing. You can see it used throughout the relief and intaglio videos on my blog and on my youtube channel.
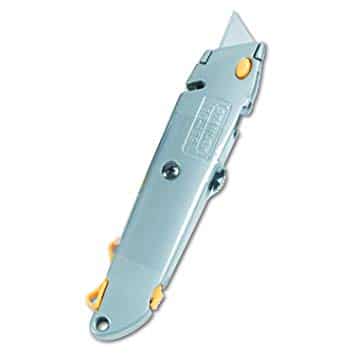
Utility Knife to score and snap your plexiglass material to the appropriate plate size
When your plexiglass arrives, you'll want to score and snap the sheet into smaller pieces to make multiple plates. This is a great tool for that process.
This 12 x 12 plate of opaque black plexiglass can be scored and snapped into smaller plates. Create four 6x6 plates from this sheet. See how to score and snap the plexiglass in the videos that are linked in this post.
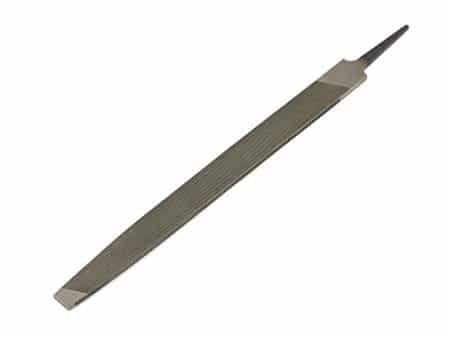
This 8 inch rasp can be used to file the sharp edge of the plexiglass plate down to a 45 degree bevel. This is an important step to prepare the plate before you begin your design, if you plan to print on a press. One rasp will last you a lifetime.
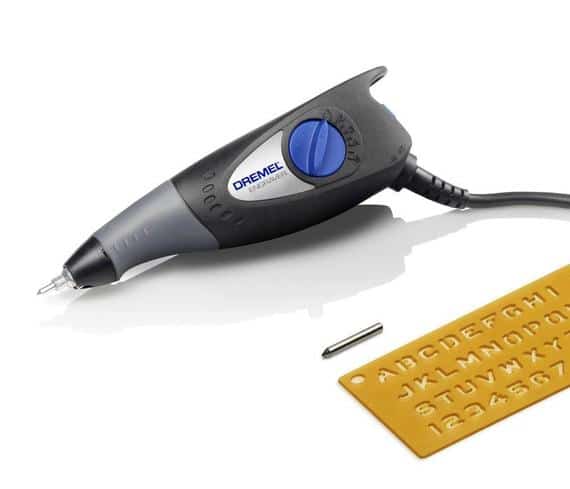
If your hands get tired when doing repetitive motions like cross hatching, or pressing hard on narrow tools to incise lines in plexiglass, you can etch your plexiglass plate with this small electric Dremel.


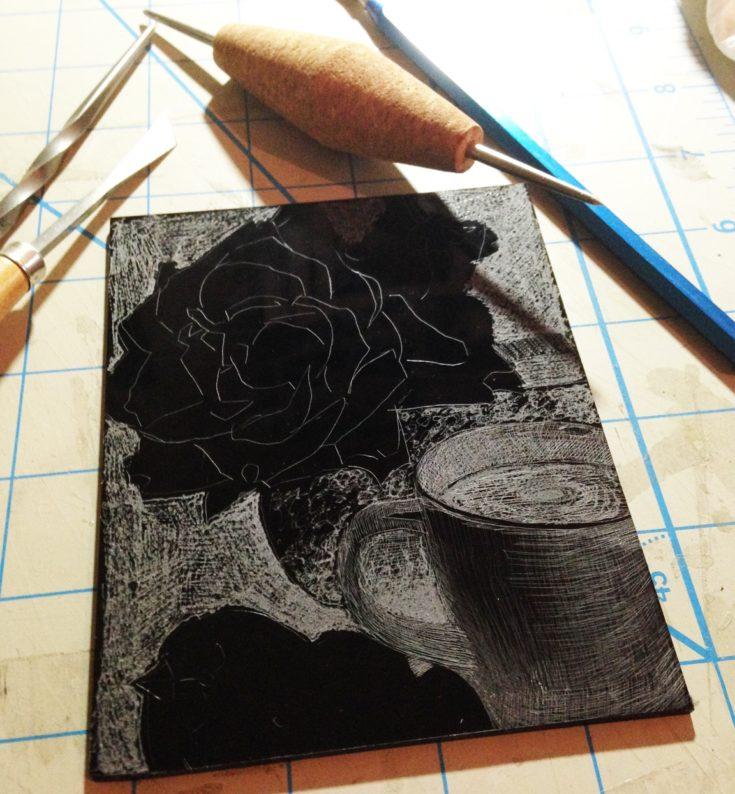
I really enjoy your articles and videos about different processes, and seeing the beautiful art you create! I find the info on various ways to print without a press, and using materials I might have at the house especially informative! I am curious about when to use the different scribing and carving tools — I assume it may depend on the surface as well as the mark desired. Are the twisted scribe and the carbide etching tool both useable on the plastic from the cookie container and on plexiglass? also, I saw a cork handle tool in one of your articles — that looks like it may be easy to grip if carving/scraping a lot of detail. Is it useful on both plastic and plexi too?
Hi Lynn, Thanks for your compliments and feedback. I’m glad you’re thinking about trying a Drypoint from recycled plastic! As for tools, you can use the twisted scribe or the cork handled scribe on both recycled plastic and plexiglass sheets. You can use it on copper and zinc plates as well, since that tool is designed for Drypoint. (Here’s more on that: https://www.belindadelpesco.com/drypoint-etching-without-a-press.html/ ) Be sure to use good printmaking ink, and paper. It will make a big difference on your results. Happy printmaking to you!
I’ve enjoyed reading about your printing techniques, but never been too tempted to try any…until reading this one. I mean, I (almost) always have a supply of TJ’s biscotti, so what’s to lose? But whether or not I follow through on the impulse, I do continue to enjoy your posts!
Hi Jeanne, I clink my coffee cup to yours while nibbling a trader joe’s biscotti. The pumpkin spice flavored version is out, and they’re disappearing fast around here, so that means more printmaking plates are available. I hope you DO make a drypoint. It’s loads of fun. And if not, you’re always welcome to hang out here, and eat cookies with me. 😄
Hi, Belinda– Another fantastic post !I’ve got loads of different papers, but no BFK Rives.Could you list some other papers which would be passable?
Hi Carrie, Your best bet might be a fun little marathon session. Make a tiny test plate with assorted marks, and crop swatches of all your papers, labeled for a press-test. I have only tried BFK Rives for this experiment, but I like Arches Cover, Somerset, Arnhem 1618 and Revere for hand transfer.
That is brilliant!
Hi Kim! Thanks, Love! Happy weekend to you!
This is an awesome idea! And you describe the procedure in such detail and with such magnificient humour that it brings a big smile to my face and a lot of inspiration to my mind. I’m surely gonna try this out as soon as I’ve collected the necessary materials (putting cookies and berries on my shopping list😋). Thank you so much for sharing your creative ideas❤️❤️❤️
Hi Jonna! I’m so glad you find the post understandable and inspiring! I can’t wait to hear about which cookies, and what sort of drypoint you make. Happy stomping and buon appetite to you! Thanks for the compliments!
That’s terrific, what a great reason to eat more biscotti. Post that on the Printhackers Facebook page, it would fit right in.
Hi Clare, Thanks for the note, and here-here on eating more biscotti! I love the Printhacker’s Facebook Page! We artists are an inventive demographic, thank goodness!
I must try this! Thanks for sharing your abundant creativity.
Hi Char, I hope you *do* try it! Have so much fun! And please let us know how your printing party turns out. And which cookies you settled on for the project!
Belinda, you’re a temptress – first with art and now cookies! You have given us a legitimate excuse for buying cookies, all for the sake of art, of course. This looks like a fun experiment and one that I will most definitely try. Thank you for continuing to feed our artistic souls.
Hi Mickey – I don’t think I’ve ever been called a temptress before, so thank you for that. I hope I’ve enticed you to clip some plastic, and draw with a tool this weekend. It’s so much fun! Thanks for your (always) kind note. Happy Stomping and Printing!
Love this post Belinda! Looking forward to trying this printing without a press! I do have a bag full of saved “plexiglass” like container material and have used it successfully with a press. Thank you for being so creative and sharing!❤️👏🏻
Hi Angela, If you have a bag of recycled plastic, you’re ready to go! Especially if it’s transparent, and you can trace the basics of your image from a reference photo! What fun you’ll have! And then you can paint the prints with watercolor or add colored pencil! Art Party!!! Thanks for your visit, and your encouragement. 🙂