
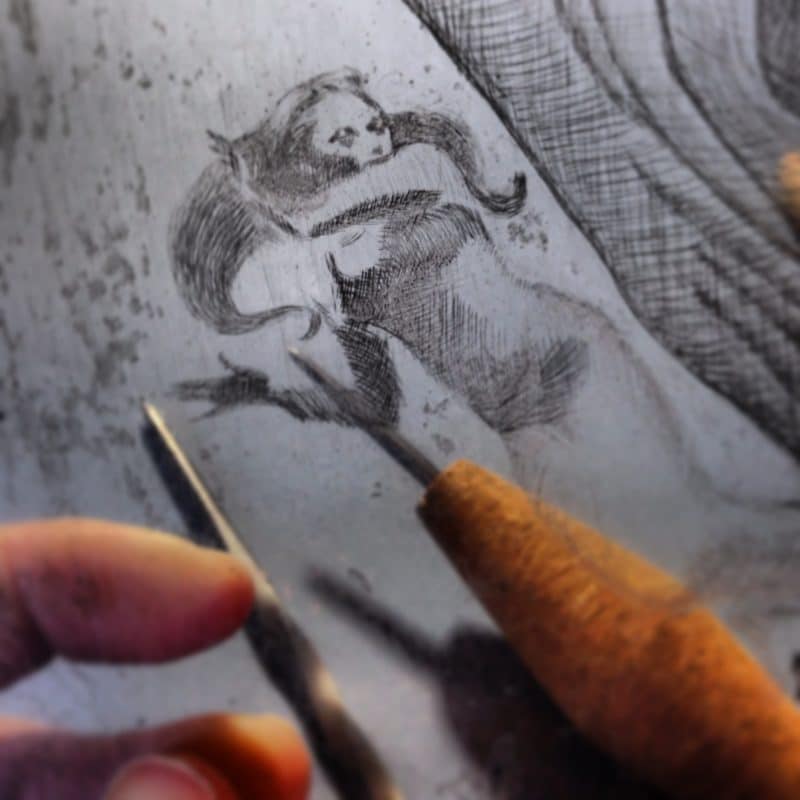
Making a Drypoint on Plexiglass or Acrylic
Drypoint is a very old printmaking process, traditionally done on copper. Plexiglass (also called perspex, acrylic and lexan) is an affordable, and often more easily accessible alternative plate material.
If you’re unfamiliar with printmaking using plexiglass to make a drypoint etching, here’s a little video demonstration for the drypoint process from my youtube channel, so you can see the steps.
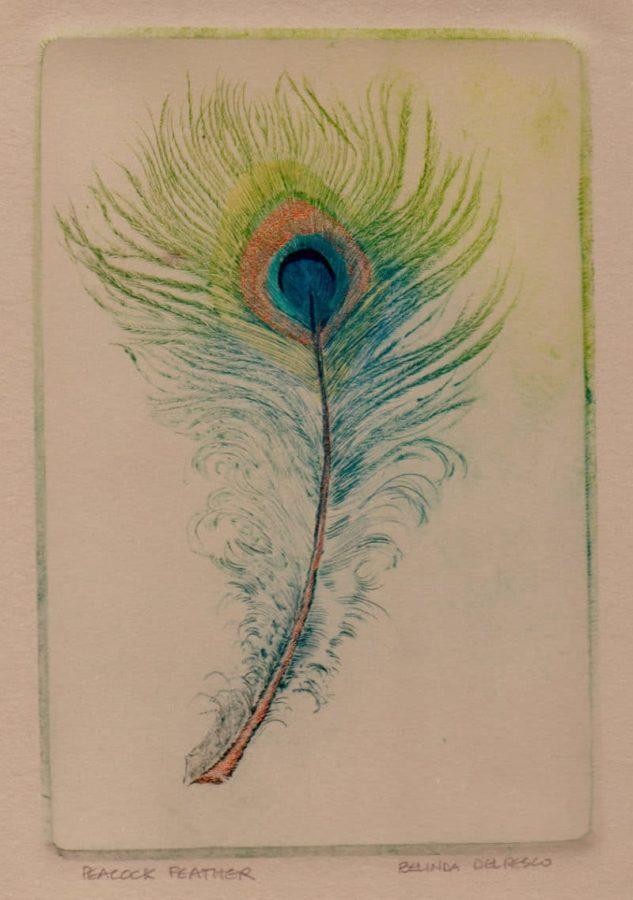
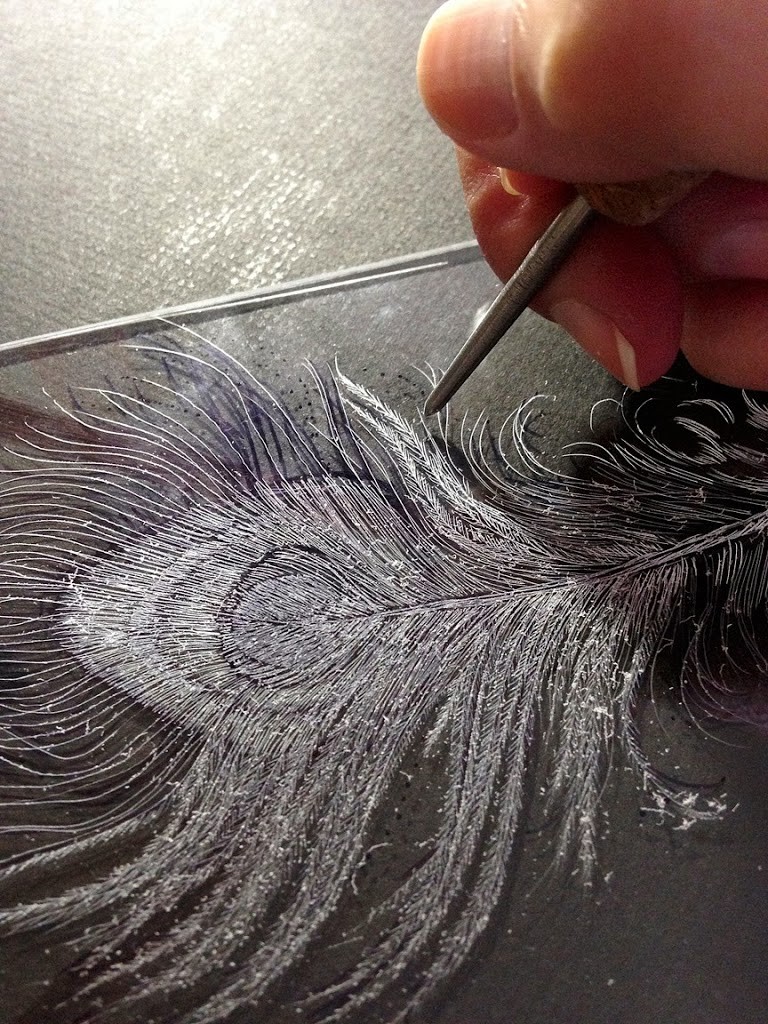
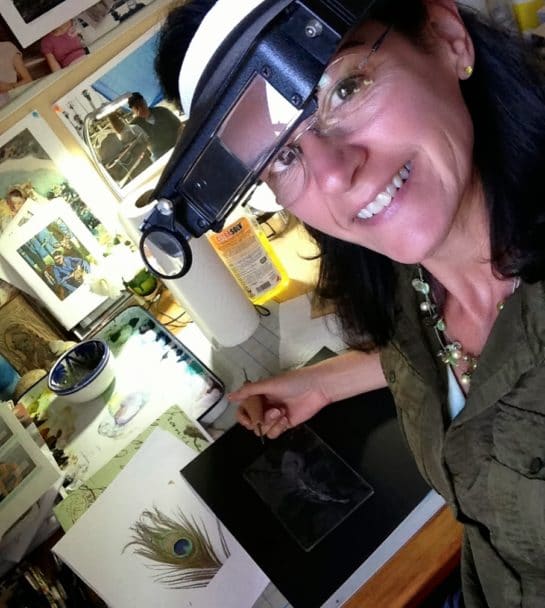
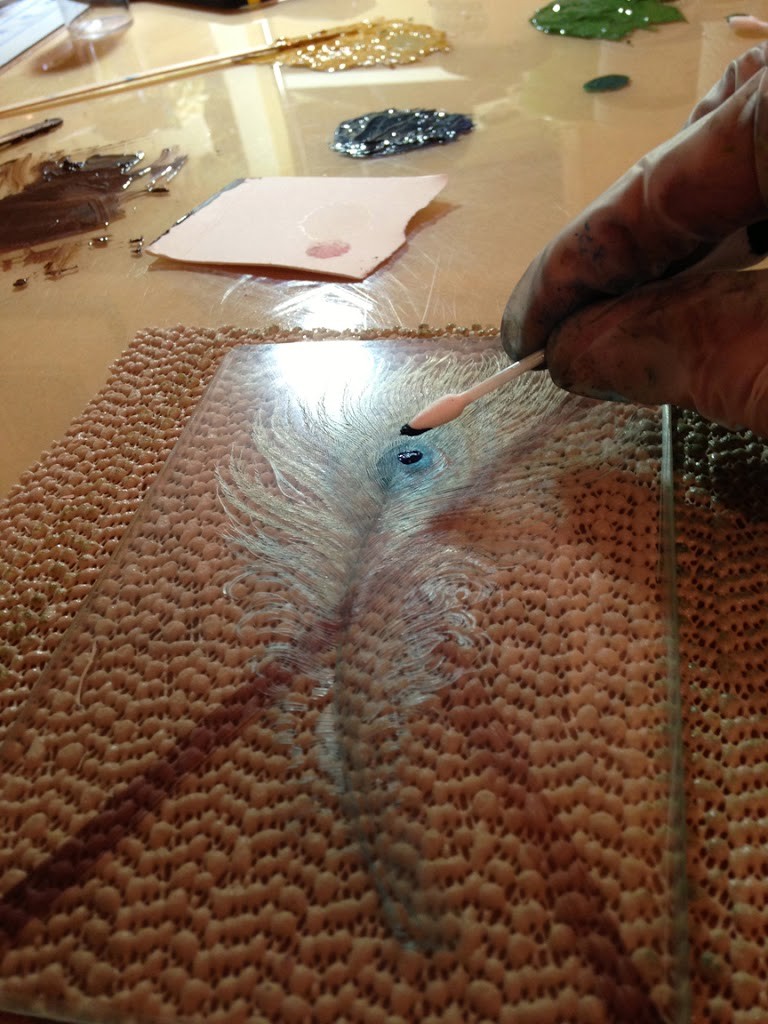
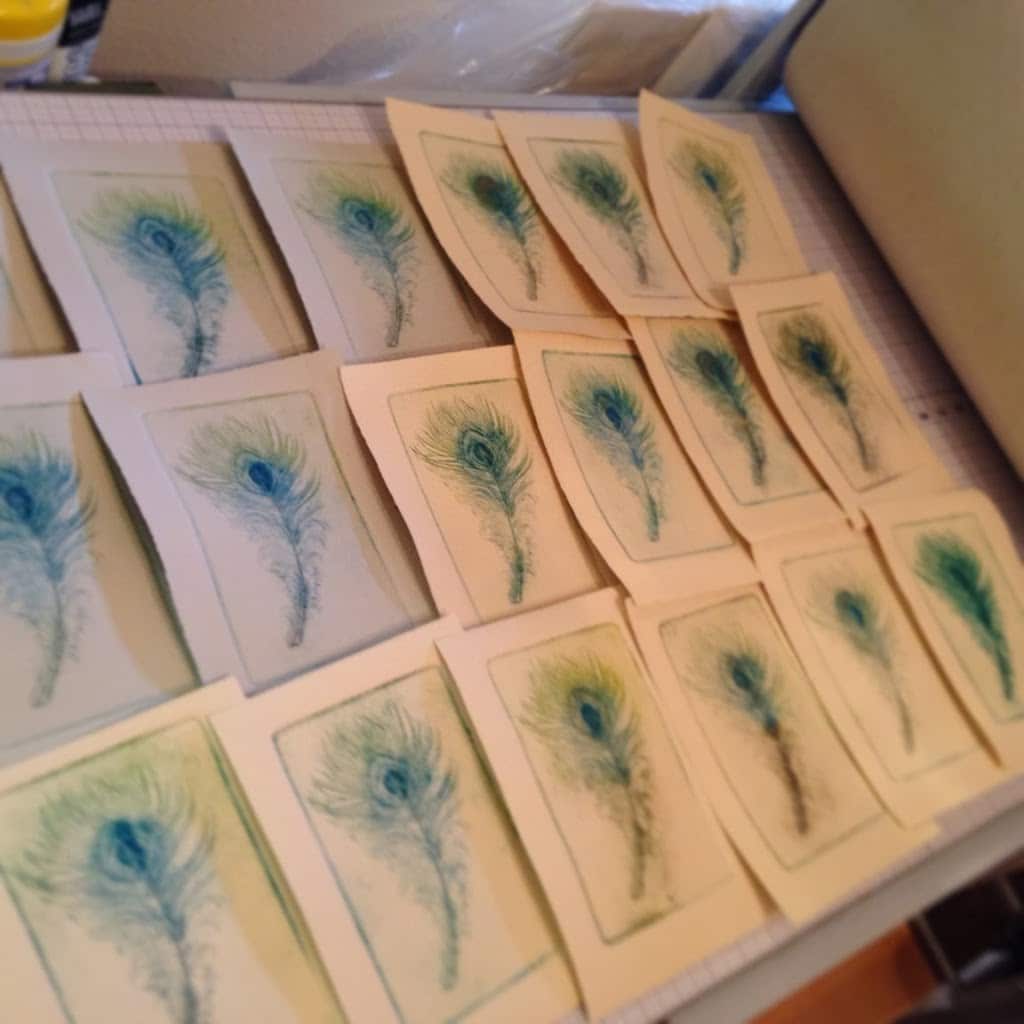
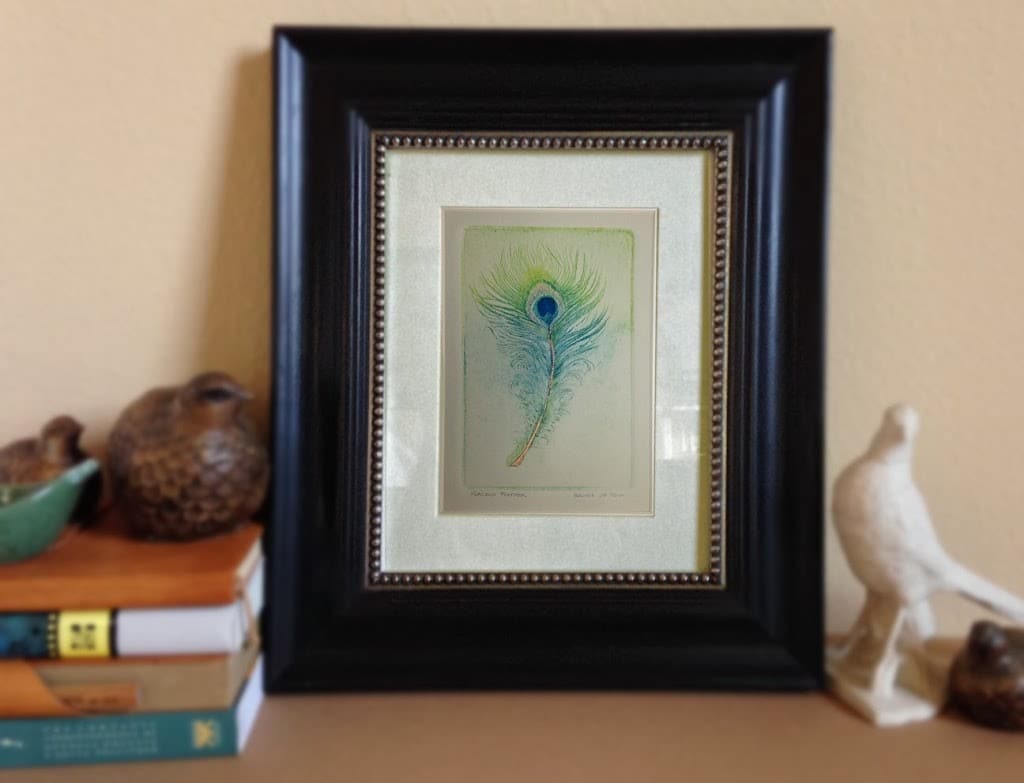
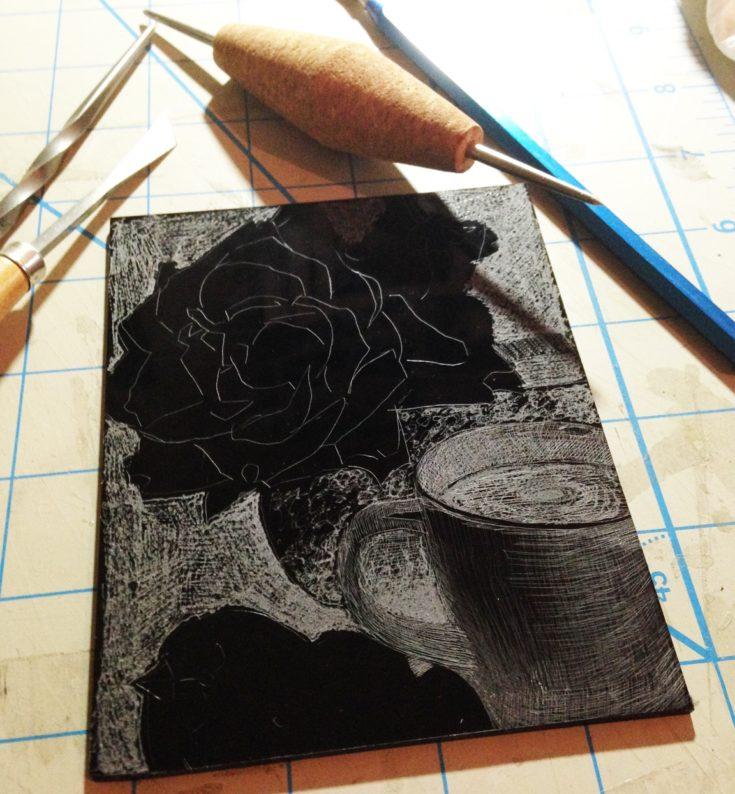
Drypoint Etching Process Photos
Scroll through the images below to get an overview of the process, and check the resource links and tutorials at the bottom!


How to Make a Drypoint Etching from Plexiglass
If you’d like to make one of these drypoint engravings on plexiglass, or acrylic, or lexan, or perspex (it’s called different things in various regions of the world), visit this intaglio printmaking playlist on my YouTube channel.
Intaglio Printmaking Video Resources
If you’d like to explore various intaglio printmaking methods to try on your own, here (below) is a playlist of printmaking tutorial videos on my youtube channel. In 9 videos, you’ll learn:
- How to create a drypoint engraving on black acrylic. Your incised lines are much easier to see as you scribe through a dark material.
- The fine art of inking and wiping an intaglio plate, and what a difference it makes to treat this process as carefully as you would when drawing your initial design.
- Wondering how you can mix two printmaking methods and layer them? Drypoint engraving for the line work and details, on top of collagraph printing for a full color background!
- How to print a drypoint engraving at home without a press using lots of careful rubbing with a metal spoon!
- Here are instructions on how to Bevel a plexiglass plate, which is essential if you’re going to print your drypoint on a press. Without beveling the top edge off the plate, the pressure of the press will cut through your printmaking paper, and the press blankets.
Resource Books for Drypoint Printmaking
Here are some of my favorite reference books for intaglio printmaking. Many of them are considered general printmaking texts, but they each have a section or three on drypoint engraving.
Printmaking Terminology
Incidentally, you’ll hear/read the words etching and engraving interchangeably, in intaglio printmaking. You can use either when referring to drypoint. The difference is that engraving (as a printmaking method) is usually done with a needle or sharp scribe. There is no liquid involved.
Etching (as a printmaking method) is wet: the plates are submerged in baths of caustic acid, which bites into the plate surface to create the line work which holds ink.
Drypoint – as the name implies, is a dry form of plate-making. There is no acid used to engrave the incise the plate. And engraving is also dry, as there is no acid bath. Some printmakers use these terms together: drypoint engraving, instead of drypoint etching. Make sense?
What new printmaking ideas are you marinating on? Leave any questions in the comments, or a link to your work online so we can see it!
Thanks for stopping by and I’ll see you in the next post!
Belinda
P.S You can subscribe to get each new art blog post via email by signing up here (it’s free).
P.P.S. Here are a few more posts on this art blog related to drypoint – here, here and here. Have fun!
Art Quote
Around here, however, we don’t look backwards for very long. We keep moving forward, opening up new doors and doing new things, because we’re curious…and curiosity keeps leading us down new paths.
Walt Disney
Drypoint on Plexiglass or Recycled Plastic Printmaking Supplies
Here is a list of supplies to help you prepare to make a drypoint print from plexiglass, drafting film (mylar), or recycled plastic.
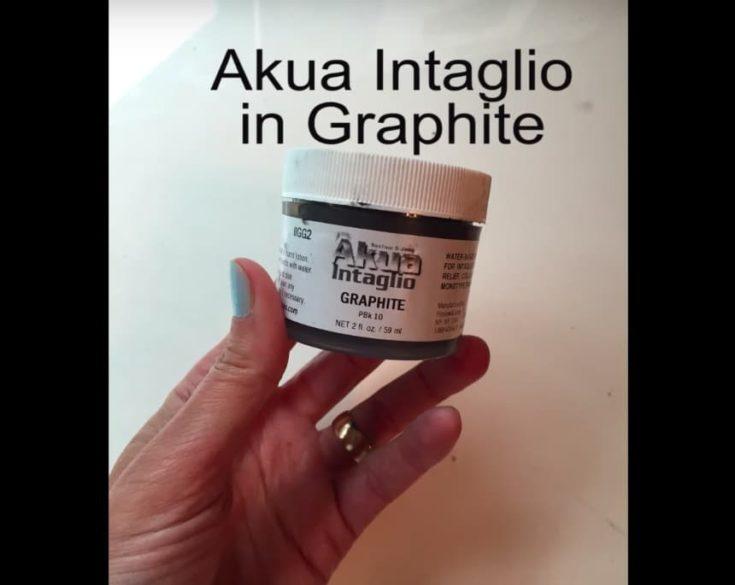
This is the ink I use in my studio when I want to clean things up with soap and water. There's no need for solvents to clean your plates and tools with this ink. Carbon Black intaglio ink is a nice, rich black for great line work. And you can use watercolor on the print after the ink dries - it will not re-wet!
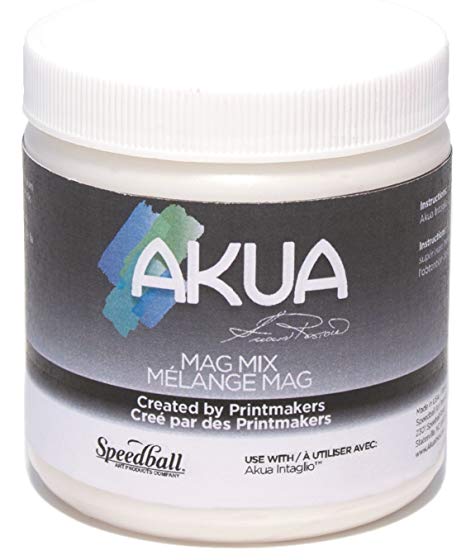
This is a thickening agent to mix with Akua Intaglio Inks. If the ink on your plate wipes out of the grooves and incised lines you've engraved with the needle, it might help to thicken the ink. Mag Mix adds a little more "sticky" to the ink. The pigments stay embedded in your line work a bit better with this ink modifier. You can see how I use it in many of the intaglio and drypoint tutorial videos on my youtube channel.
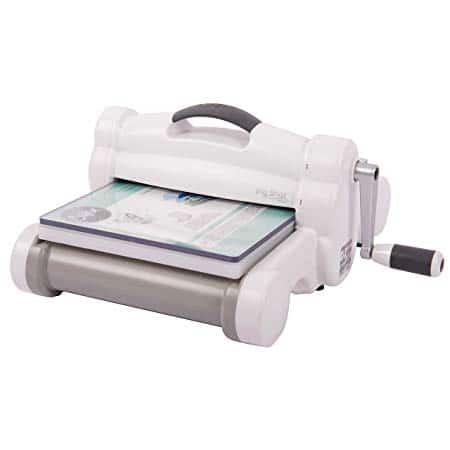
Sizzix Big Shot Plus Embossing Machine (small printing press alternative)
This is an example of the embossing machine artists and printmakers are using to print lovely, small scale drypoint and intaglio prints, as well as linocut prints. Be sure to visit the Facebook group called Craft Press Printmakers. They are doing amazing things with small die cutter and stenciling machines transformed into small printing presses.
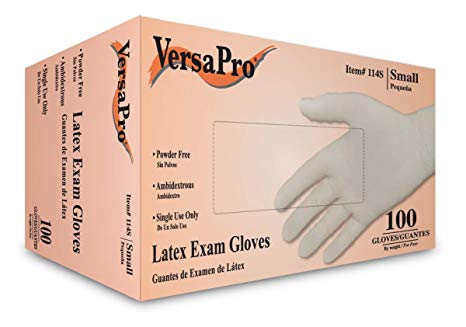
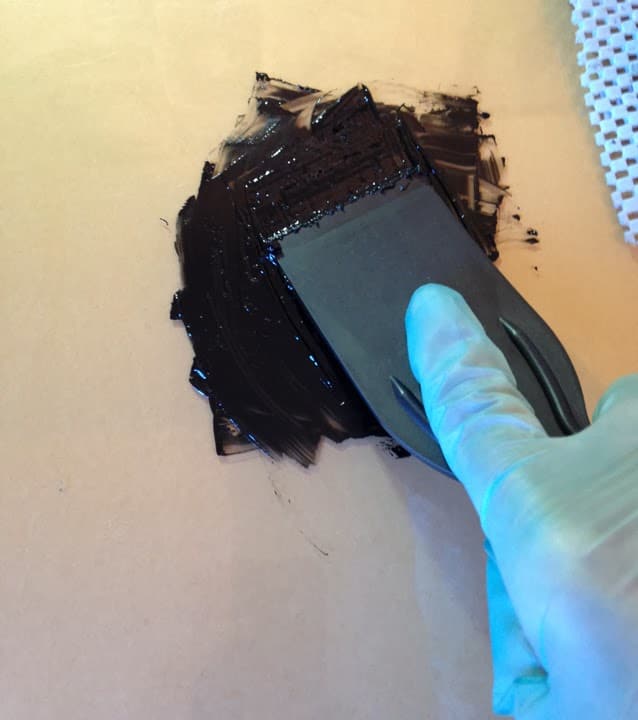
There should always be a barrier between your skin and pigments. Wear rubber gloves (be sure to select the right size) when you mix ink, apply ink to the plate, wipe ink from the plate, and clean the ink up after you're finished printing.
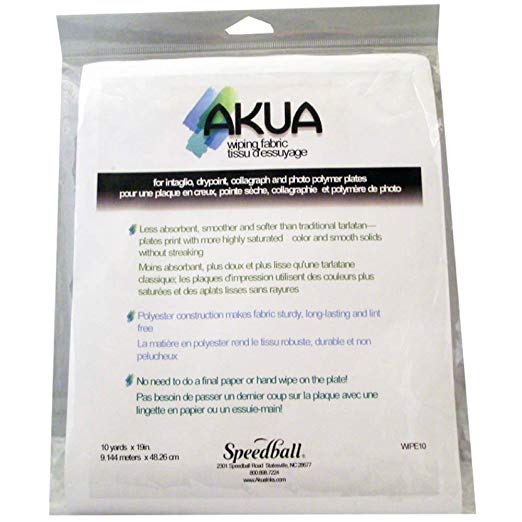
This is starched cheese cloth, or open-weave muslin fabric - also known as tarlatan. It's used to wipe ink from the uppermost surface of your intaglio drypoint or etching plate.
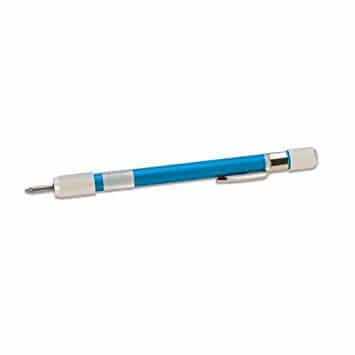
The tip of this scribing pen will carve a narrow groove into plexiglass or recycled plastic.
This is the tool I use to pull ink from containers, and manipulate it on the slab to mix colors, or warm it up with the friction of smooshing and smearing before adding it to the plate. It's also used for scraping leftover ink together, and scooping it into little containers to use in later projects.
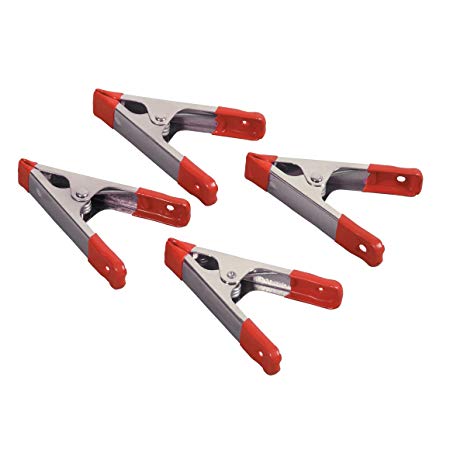
These spring clamps will hold your plexiglass plate steady while you score and snap it into smaller sheets. They also work perfectly for securing the plate without marring the surface while you bevel it, which you can see in a video tutorial on my YouTube channel.

This material works very well to hold your plate steady while you engrave your lines, or add cross hatching with the needle. It also works to steady any printmaking plate while you apply ink, wipe the plate, and clean it after you're finished printing. You can see it used throughout the relief and intaglio videos on my blog and on my youtube channel.
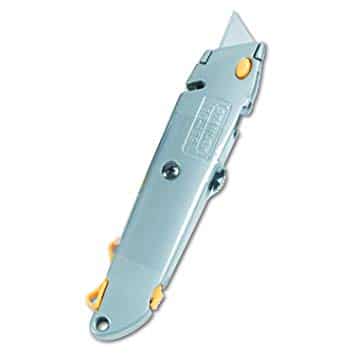
Utility Knife to score and snap your plexiglass material to the appropriate plate size
When your plexiglass arrives, you'll want to score and snap the sheet into smaller pieces to make multiple plates. This is a great tool for that process.
This 12 x 12 plate of opaque black plexiglass can be scored and snapped into smaller plates. Create four 6x6 plates from this sheet. See how to score and snap the plexiglass in the videos that are linked in this post.
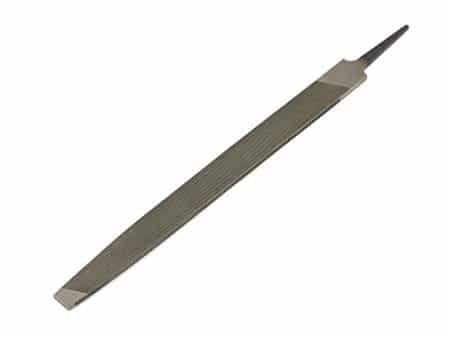
This 8 inch rasp can be used to file the sharp edge of the plexiglass plate down to a 45 degree bevel. This is an important step to prepare the plate before you begin your design, if you plan to print on a press. One rasp will last you a lifetime.
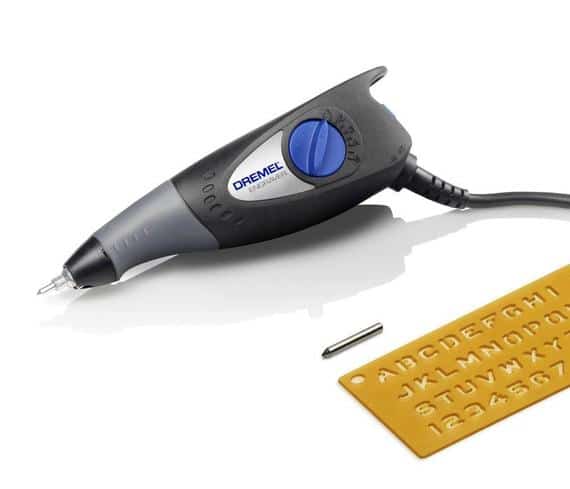
If your hands get tired when doing repetitive motions like cross hatching, or pressing hard on narrow tools to incise lines in plexiglass, you can etch your plexiglass plate with this small electric Dremel.
Hi there,
Thanks for the helpful video. I’m looking to try this but I’m not sure what tools to buy for engraving plexiglass… what do you use?
Hello Tan,
The traditional engraving tool is called a twisted scribe, or a Whistler’s Needle (after the artist), and they’re made from stainless steel, like this – https://amzn.to/2z75kxn I hope you have a ton of fun making your first plate. It’s meditative, satisfying work. 🙂
Hi Belinda, I’m wondering what brand of press you use. I took students on a field trip in which we got to make prints with plexiglass. It was at our local university with a giant and expensive press. I’m just wondering if there are cheaper alternatives for the hobby printmaker.
Hi Jenny, My press is a Takach Table Top Etching press, and I love, love, love it. (https://takachpress.com/etchtbl/index.htm) It is my most favorite art supply, ever. If you are on Facebook, consider joining this group on Craft Press Alternatives: https://www.facebook.com/groups/1544918272204523/ Folks have found viable options with everything from pasta makers to embossing machines. They are an active and helpful group of printmakers from all over the world, and you’ll get some great ideas there.
Thanks for creating the video Belinda. A friend gave me the link to the You Tube and I added it to my printmaking technique favourites. I have been working with elementary school students teaching them drypoint on plexiglass. It has become a mixed media project as we are applying the colour in after by painting in watercolour. I showed them examples of your work featured in your blog and website as inspiration. Sincerely Brian in Northern Ontario Canada.
How wonderful! Very beautiful work. You are so fantastic. I am dazzled and inspired.
XOXO Barbara
@sonia, Thanks for stopping by, and I appreciate your encouragement. 🙂
I always enjoy your step-by-step photos and your venture into video also provides clear and concise information. I look forward to more. Thank you for sharing.
Sonia