Gelli Plate Monoprint Drawing Transfer
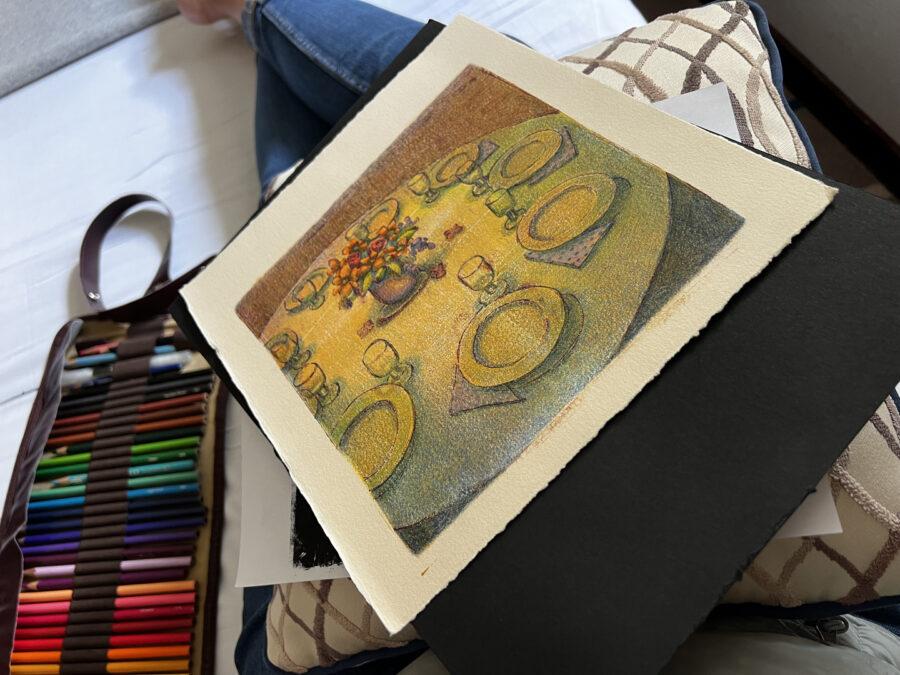
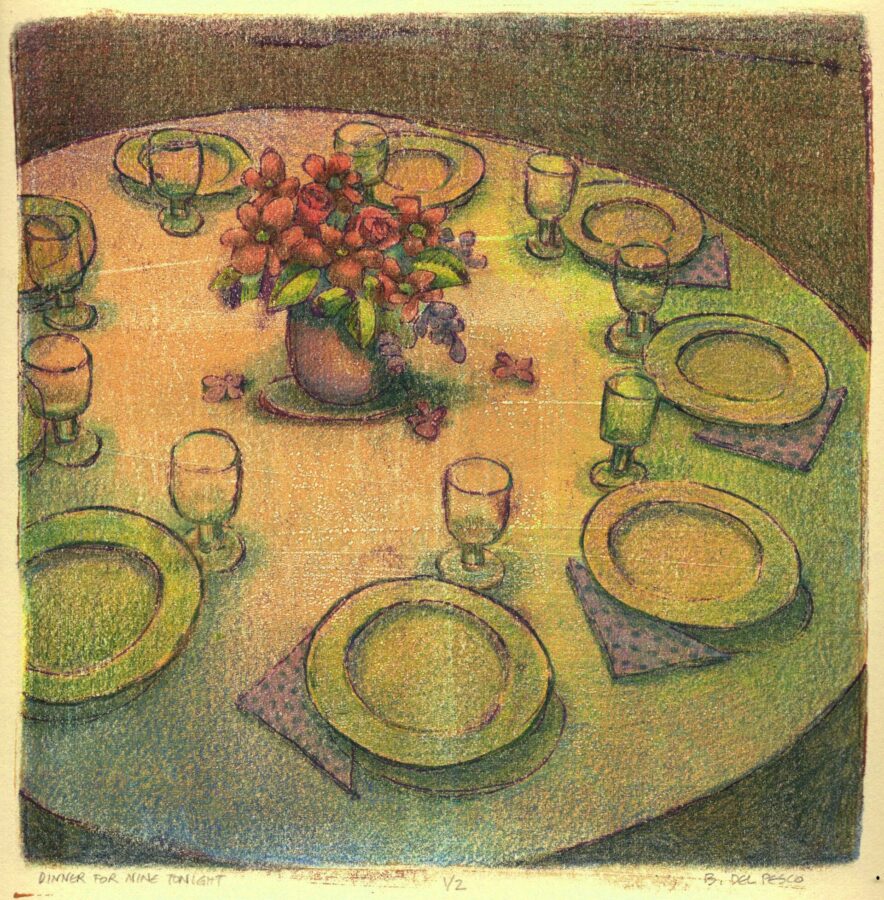
Gelli plate monoprint drawing transfer with ballpoint experiments continue in my studio.
I’m finding a very satisfying rhythm in the process. Subtle tweaks like re-applying the ballpoint pen and repeat embossing into the drawing before pulling a second print, and adjusting pressure over the back of the drawing while it’s laid on the wet acrylic make a big difference in the quality of the line transfer.
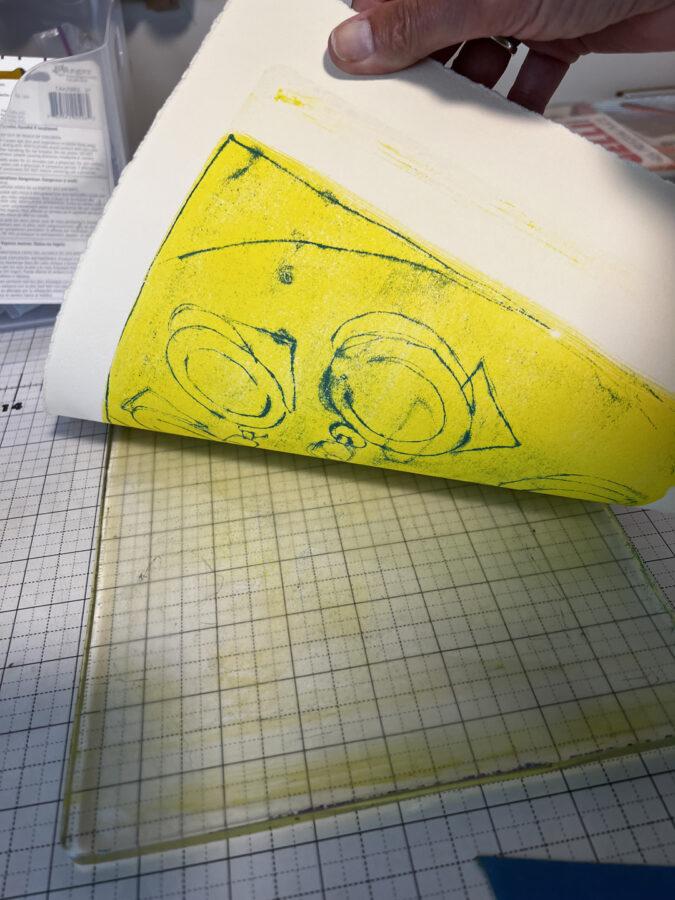
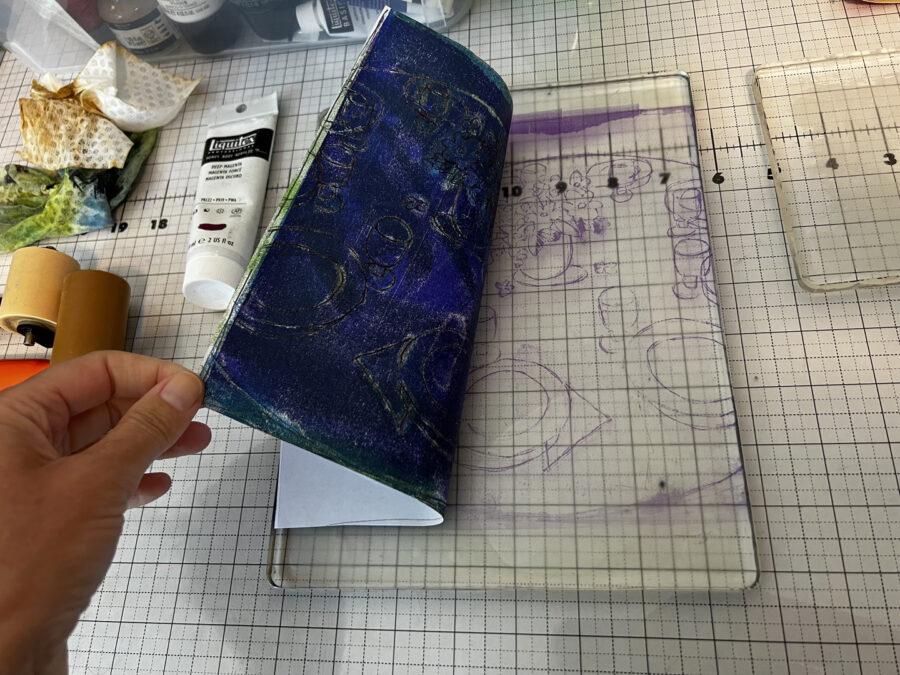
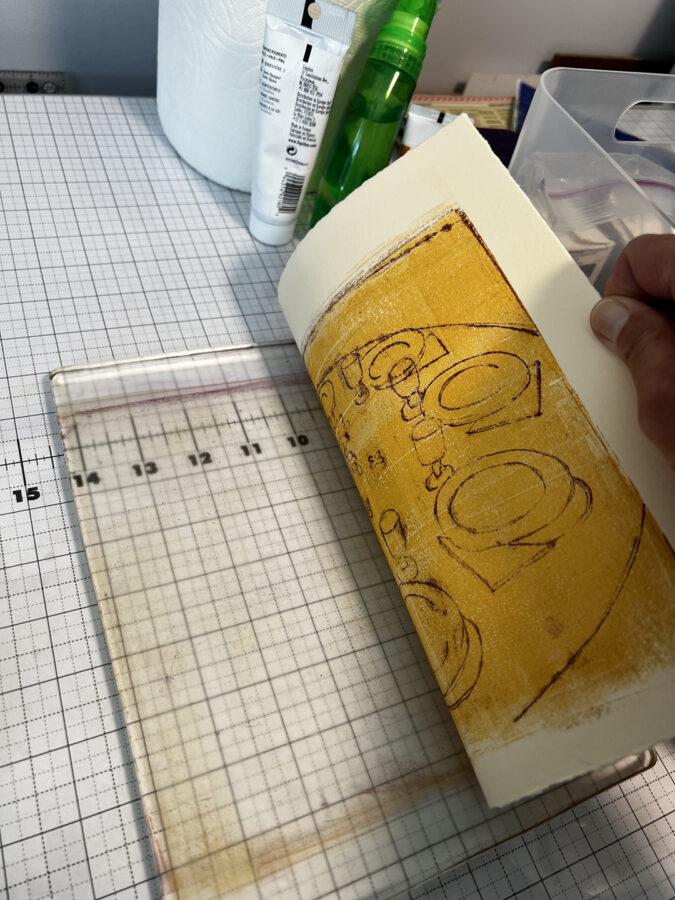
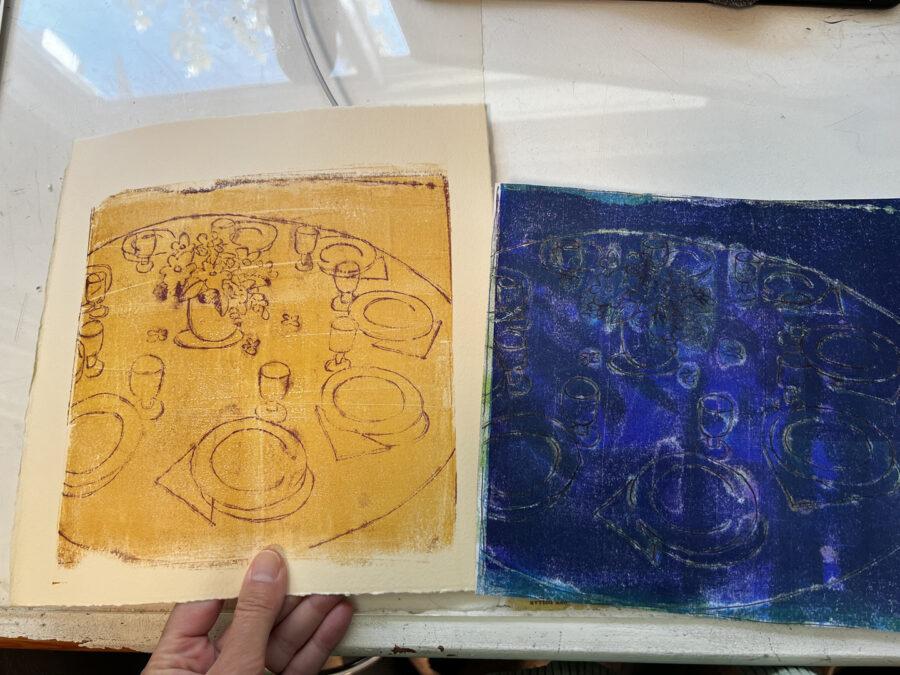
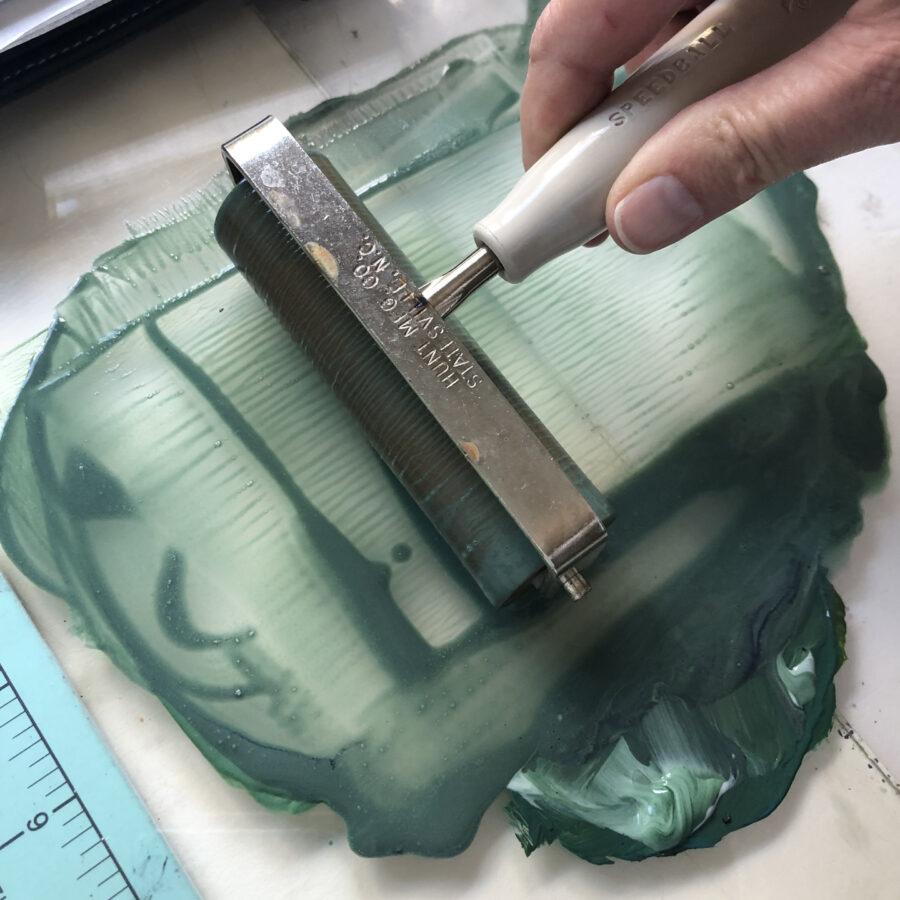
TIP: The layers of acrylic paint on the gelli plate worked best for me when they were super thin and transparent. I kept an old phone book next to the plate, so as I rolled the acrylic out, I could occasionally run the brayer on a page of the phone book to remove a little paint before continuing to smooth out a sheer layer of acrylic on the gelli plate.
Gelli Plate Drawing Transfer Posts (so far)
Since this is the third in a series of posts about gelli plate drawing transfer monoprints created with a ballpoint pen and acrylic paint, the previous posts are linked below. Be sure to check them for details, methods, and resources if you’re new around here.
- This is the first post about using a ballpoint pen to emboss a drawing and print a monoprint from a gelli plate using standard acrylic paint.
- Here is the second post on the gelli plate transfer series, describing the same process with different art, and then adding colored pencil to the acrylic after the monoprint dried.
Links for You
- In the first post of this gelli plate transfer series, I linked to Mark Yeates’ video of the process. His gelli plate demos are excellent, and I found another one this week. Check it out here.
- I’ve been selling my work on Etsy for years, and there have been many changes to the interface, the seller platform, and the search algorithm. New businesses have emerged to help sellers improve their Etsy experience, and one of them – Marmalead – published this essay for artists trying to sell their work on Etsy.
- If you enjoy intelligent, articulate, seasoned artists disclosing what it takes to live a creative life, read this (10 minutes) essay and excerpt assembled by the excellent Maria Popova from Marginalian as she shares the commencement speech by MacArthur Genius and sculptor Teresita Fernández. If you pick one thing to read today, choose this one.
I’ve got three more ballpoint transfer gelli plate monoprints to share. They’re getting some colored pencil love this week, so stay tuned for more of these experiments from the studio. (Subscribe here.)
And be sure to leave a comment to let me know if you’ve tried this method and leave links where we can see the fruits of your labor.
Thanks for stopping by and I’ll see you in the next post –
Belinda
P.S. In response to a flurry of emails asking what brand of acrylics I’m using on these gelli prints, this is the acrylic set I bought on Amazon.
Art Quote
More than in any other vocation, being an artist means always starting from nothing. Our work as artists is courageous and scary. There is no brief that comes along with it, no problem solving that’s given as a task… An artist’s work is almost entirely inquiry based and self-regulated. It is a fragile process of teaching oneself to work alone, and focusing on how to hone your quirky creative obsessions so that they eventually become so oddly specific that they can only be your own.
Teresita Fernández

After several missteps and more than a few flops, I think (after re-reading the blog for the umpteenth time), that the key word is TRANSPARENT layer of acrylic paint. Will play more tomorrow. Still intrigued by the process.
Karen
Hello, the images you show of each stage and your tips for enhancing the transfer are very useful. I think you would enjoy image transfer of an image drawn with charcoal or pastel pencils. charcoal pencils and woodless charcoal pencils (soft and medium) work well and the process is easy (see Yeats’s Makes and Gell with Mark in you tube for example). The secret is to keep the point sharp.
Thanks for your blogs.
Regards
Bob P.
Ack! Too kewl, Ms. Brenda! Beyond exciting. Thank you so much for sharing these techniques!