What is a Trace Monotype Print?
Trace monotype is a form of printmaking created by drawing on a sheet of paper thats been laid on an inked, still wet plate, so the contact and transfer of the ink on the back of your drawing becomes the print.
Trace monotype, or drawing transfer monotype is very accessible, because there is no need for a press, and you don’t use sharp tools for carving (as in woodcuts or engraving).
Even if you don’t draw well, you can simply trace your lines, as the title – trace monotype printmaking – implies.
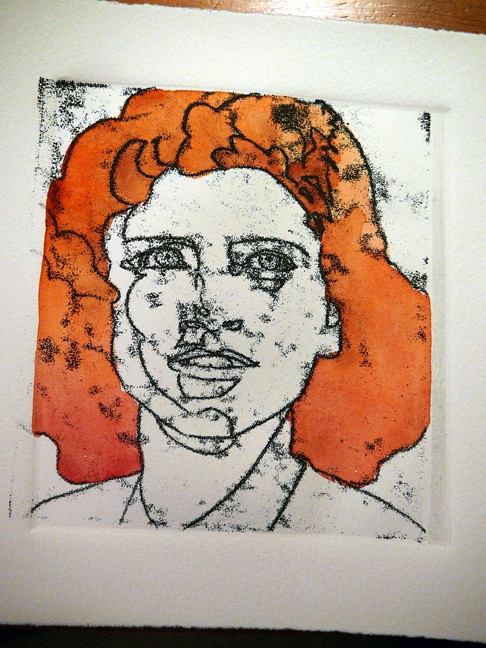
As a bonus, there are a variety of ways to add other media to enhance a trace monotype with full color. (Take a look at Paul Gauguin’s trace monotypes for inspiration.)
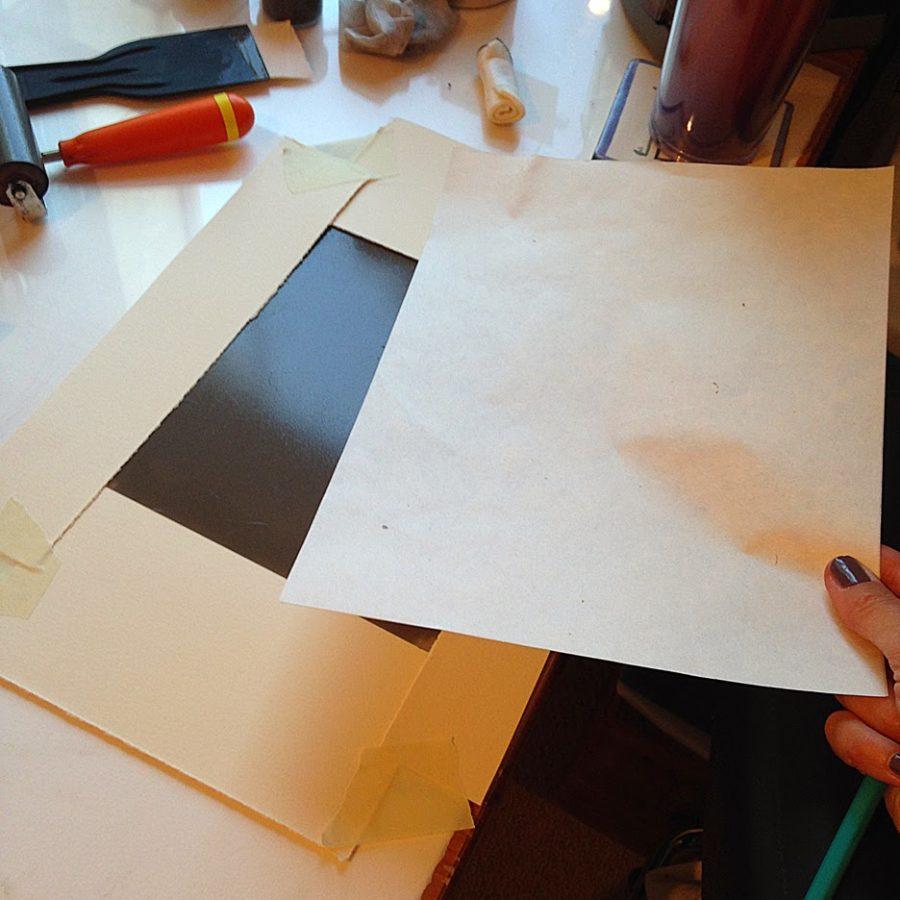
Trace Monotype Printmaking Techniques
Here are photos of one approach (of many) for this wonderful printmaking process:
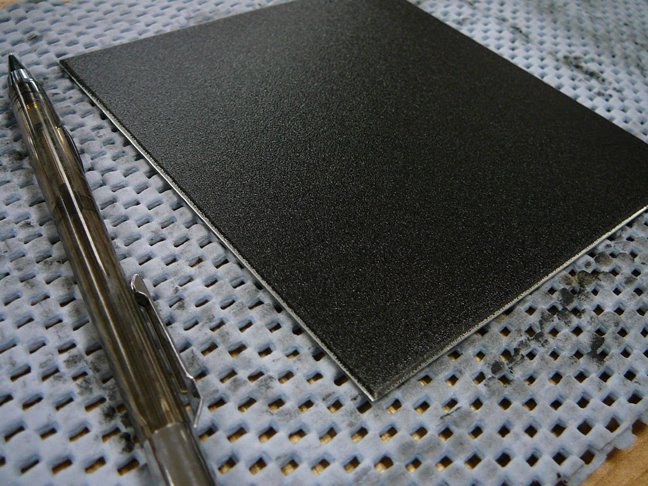
Step by Step Method for Making a Trace Monotype Print
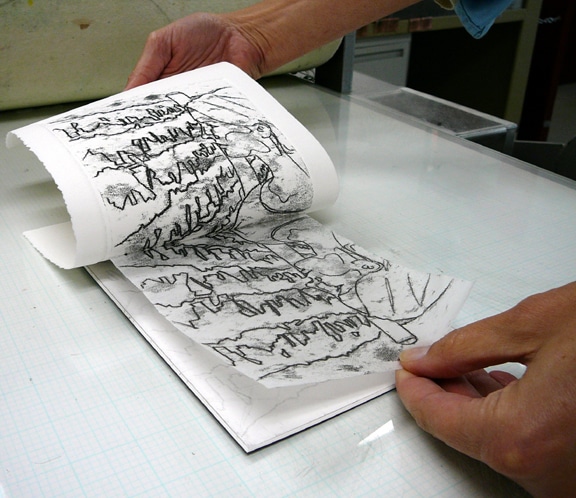
After rolling printmaking ink evenly with a brayer on a smooth plate (you can use metal, glass, drafting film, Yupo or acrylic as your plate), lay a thin sheet of printmaking paper (you can use 90lb Arches cover, or BFK Rives Lightweight) on top of the wet ink.
In the photo below, I’m carefully drawing the beginnings of my image on the paper with a firm-lead technical pencil.
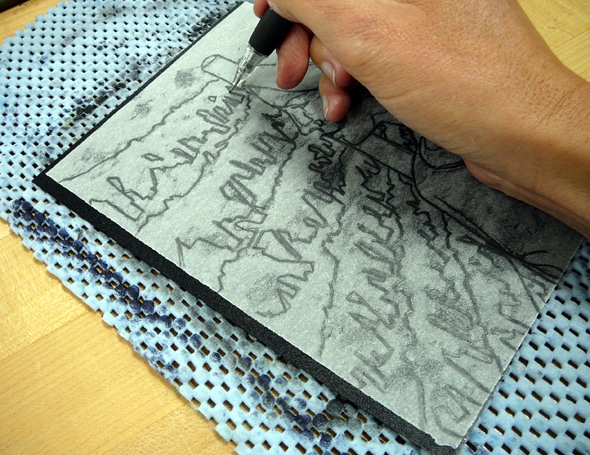
Blotting Ink for Trace Monotype Prints
If your ink is very loose, or wet and shiny, you might consider blotting it first with a sheet of newsprint. Wet or thickly rolled ink will adhere to your printmaking paper in a solid block, loosing all the detail in your drawing.
Lay newsprint (or an old phone book page) on your inked plate, and pet the newsprint very gently as though you’re smoothing a wrinkle from a bed sheet. Be gentle, but thorough, so the entire plate surface is blotted with the same pressure.
Peel the newsprint blotter from the inked plate and throw it away. your ink will look thinner snd more transparent on the plate, but there’s still plenty to pull a print, so carry on.
Now, lay your printmaking paper on the thinned, less wet & shiny ink surface, and draw your design. The pressure of drawing collects a line of ink on the back of the paper as your pencil (or pen <—- ball point pens work great too) bears down on the cover sheet.
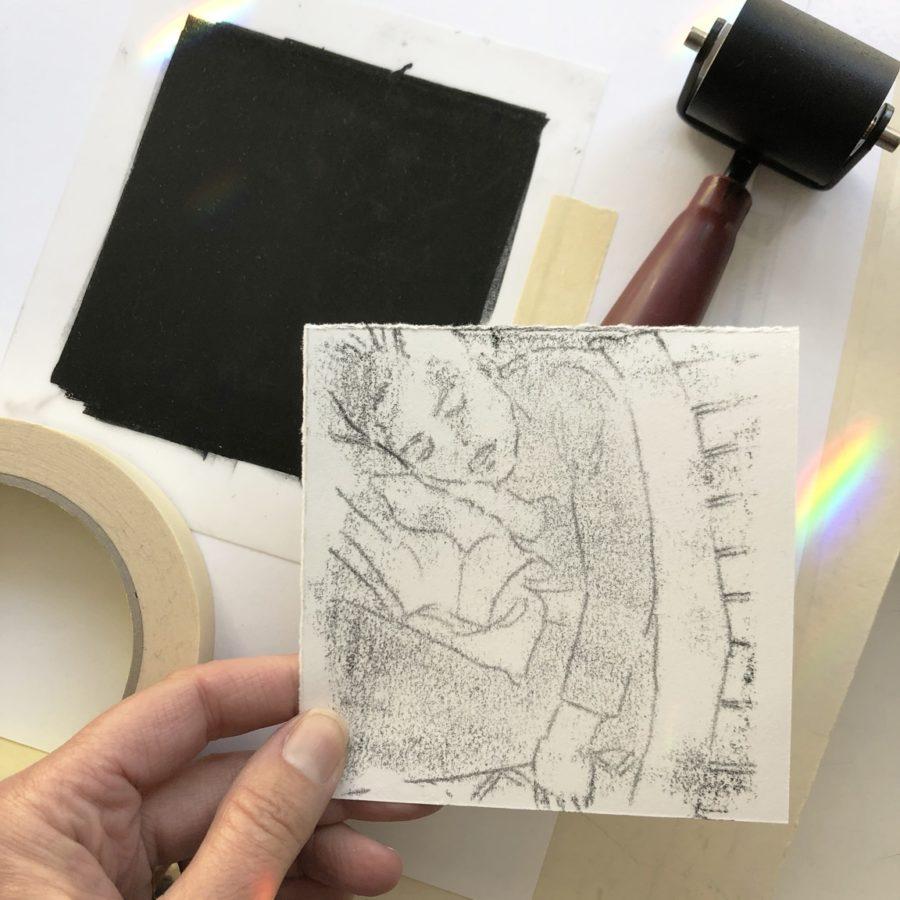
Tools for the Job
For the drawing part of the process, it’s helpful to use a small piece of non-skid under your plate to keep it from slipping around, and a drawing bridge (or a stack of books) to rest your wrist on to keep your hand from pushing your paper into the pigments and leaving palm-shaped bruises of ink on your art.
You can also use a piece of masking tape to hold the top of the printmaking paper in place, like a hinge, so you can peek underneath as you’re drawing to make sure you’re picking up ink.
If your ink seems too heavy, and your light-weight paper sinks into the wet pigment in a solid, plate-shaped mass, be sure to use that blotting technique mentioned above first: lay a scrap sheet of newsprint on the ink, pet it very lightly and evenly with your hand, and then peel it away to remove a bit of the uppermost layer of ink off the entire plate. It’s similar to blotting excess lipstick with a tissue.💋
Then, lay a fresh sheet of printmaking paper on top of your newly thinned ink, and draw (or trace) your design. If you’re tracing, lay your reference photo on top of your printmaking paper, tape it to the table to keep the reference photo and the printmaking paper aligned, and hold the plate-paper-photo sandwich steady with one hand, and trace the lines directly onto the photo.
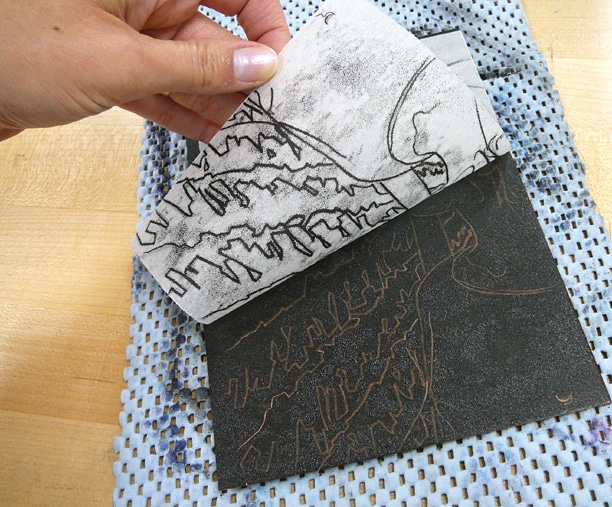
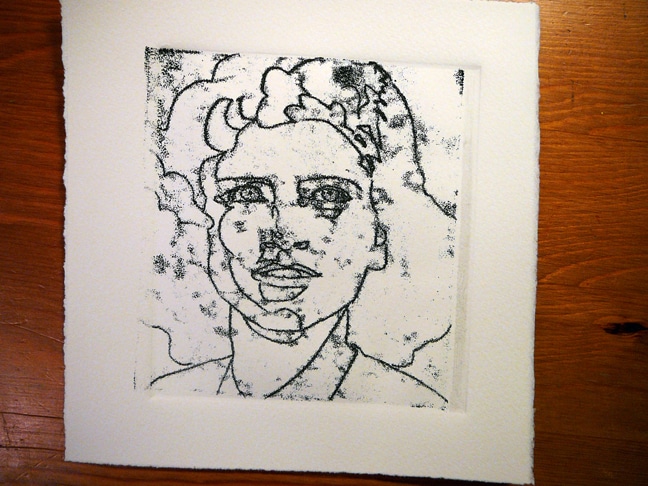
Triple Your Trace Monotpe Print Results
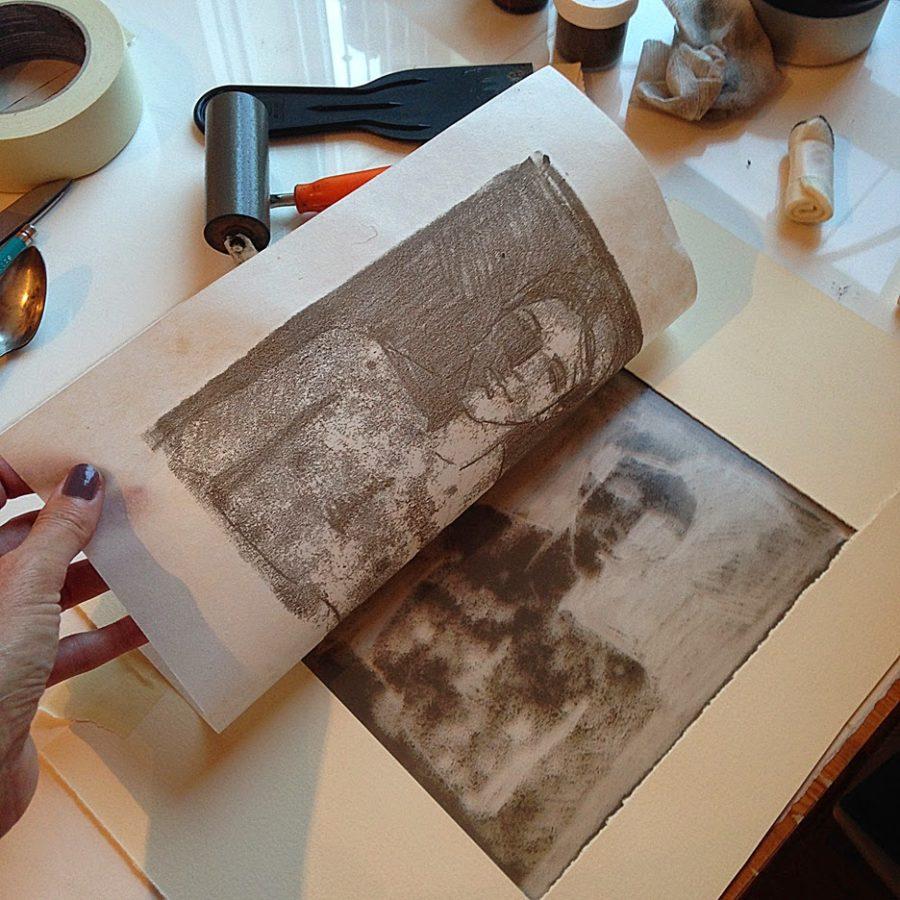
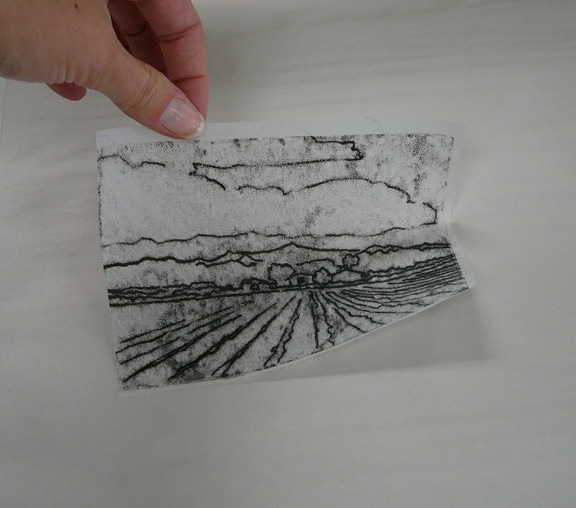
Two extra benefits of using this printmaking process can result in even more art from a single creative play session. After you pull the trace monotype off your inked plate, you’ll see the map of your drawing in the ink (see below).
Those inky grooves are a perfect starting point to create a dark field – or subtractive process monotype from that plate. See a video tutorial for this process here.
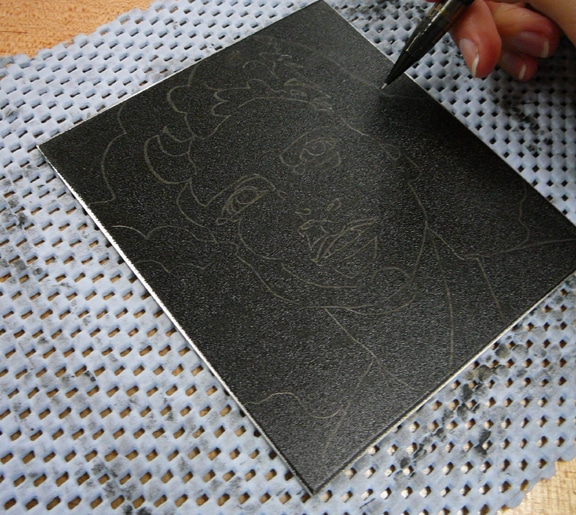
But Wait, There’s More!
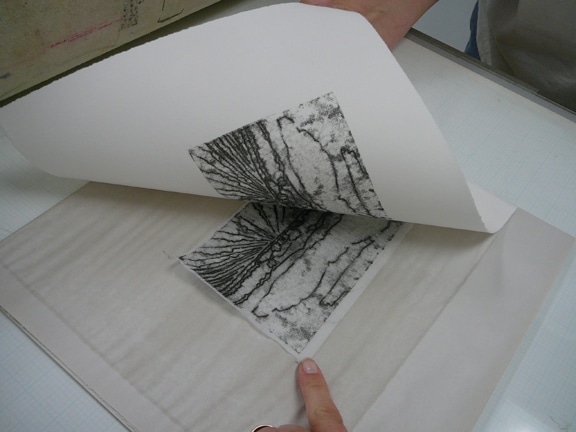
In addition to your trace monotype print pulled from the paper-to-ink kiss, and your dark field monotype created from the remaining ink on your plate, you can also print from your print! I know – crazy-face! 🤪 But stay with me; the trace monotype print you just pulled from the plate can create another print while the ink is still wet!
You can lay the still wet ink side down on a fresh sheet of printmaking paper, and either hand rub (holding both sheets together with super-hero efficiency and no wiggling), or roll them through a press to make *another* trace monotype, which will print in reverse from the first one! Coolness, right? Whoop-whoop! See below.
Dropping Some Printmaking Knowledge
So now, you and I have a trace monotype from your very first pull off the inky plate!
And a dark field monotype from the remaining ink on that same plate.
And there’s another trace monotype pulled from the still-wet surface of the first trace monotype, which is also called a cognate print or a counter proof!
#somanyartwords 📚
Three for one! Pompoms and confetti and crowds cheering! Printmaking is the babushka doll of art-making! 🪆
Monotype Printmaking Making Tips
So, now that you know how to do this printmaking process, let’s you and me get crackin’ and make something! Here are some tips:
- For starters, keep your design relatively simple, with plenty of space between your line-work. Choose an image that doesn’t have a lot of detail, until you get the hang of your supplies.
- The results will vary greatly depending on your choice of ink, and the thickness you settle for as you roll it out on the plate, the weight and tooth of the paper you choose, the firmness and point size of your drawing tool, and the humidity of your environment.
- To avoid frustration, consider your first few prints EXPERIMENTS, vs aiming right out the gate for a MASTERPIECE. If you want to learn more about monotypes in general, here is a playlist on my monotype tutorial and demonstration channel on YouTube.
Feel free to leave questions in the comments on the channel, or here on the blog. And you can subscribe to the channel here or the blog here, so you don’t miss upcoming tutorials.
Happy printmaking, and I’ll see you in the next post!
Belinda

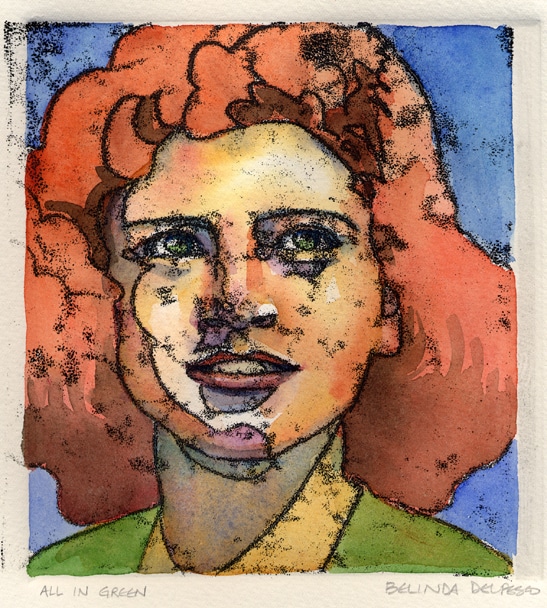
P.S. Where did that Title come from?
All in green went my love riding
on a great horse of gold
into the silver dawn.
e e cummings
Art Quote
I think of art as a glue, a cultural and social glue. It’s one of the means that has served to show us the things we believe in and the things we celebrate; it has served to reinforce our relationship to each other.
Eric Fischl


Thank you so much for this informative and helpful post.
Hi Ruth, Thanks for the feedback! Happy printing!
Thank you for the trace monotype technique. I will try today on glass and then I will also find out how I could play using the same technique with one of my gelli plates. Thanks again.