
Wood Lithography (Mokulito) Printmaking – Anacapa Island Arch
Experimenting with Wood Lithography (Mokulito) Printmaking continues in my studio. I really appreciate all the feedback and encouragement you sent about my deep dive into mokulito after the previous post. (Pretend I’m handing you a fresh-baked cookie and a cup of tea.)
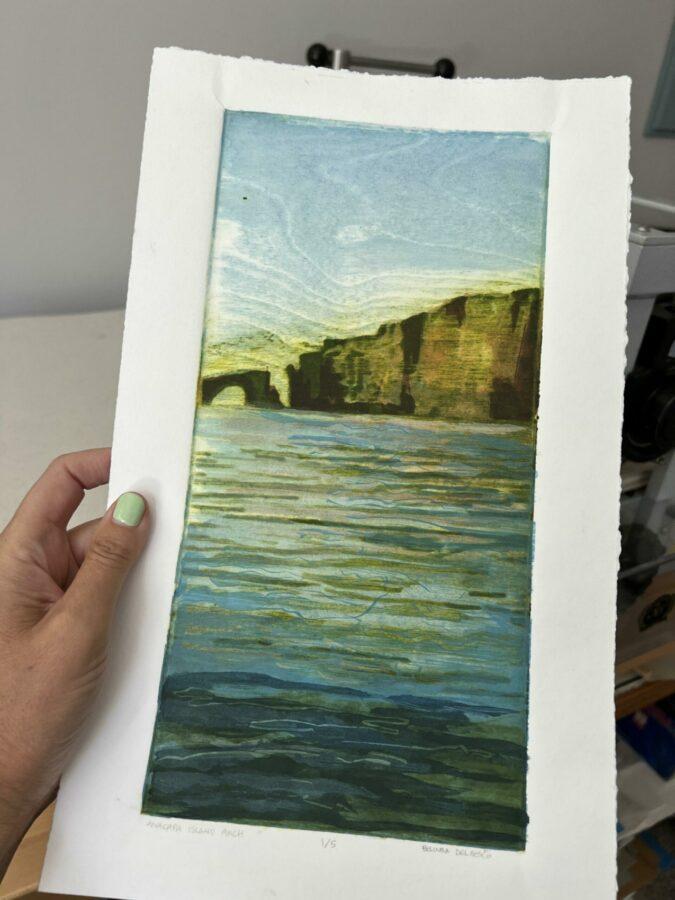
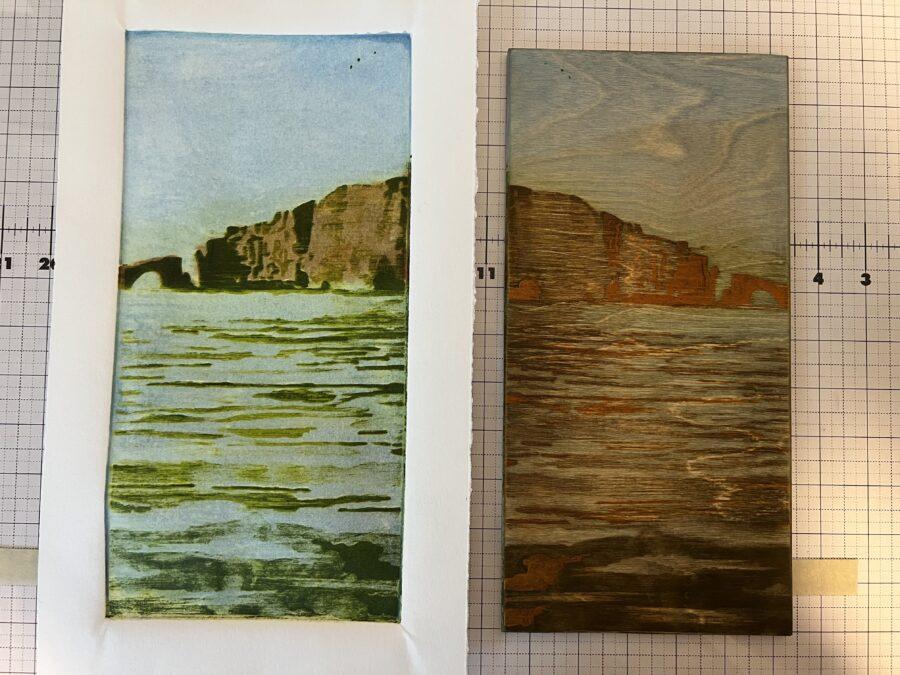
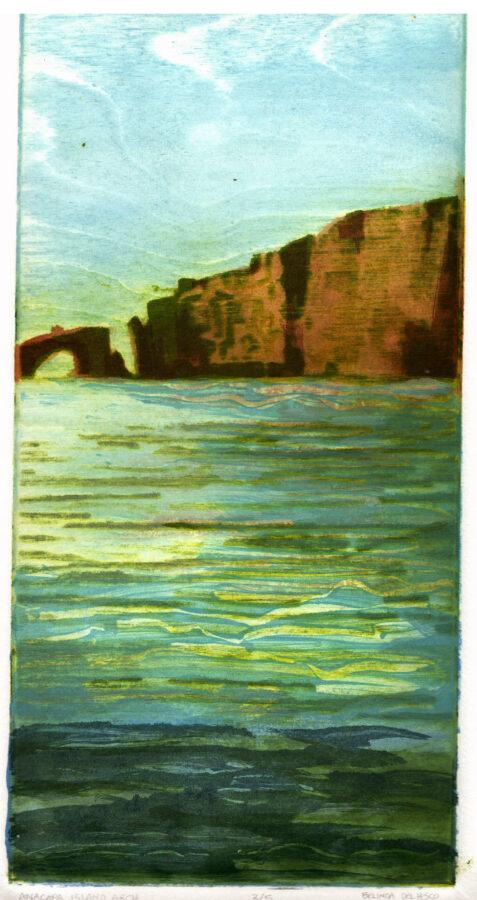
This mokulito print was a test of watercolors as a background, followed by traditional oil-based printmaking ink for the island details printed on top of the watercolors. Then I added monotype. Each print was quite different, and I definitely had a few tossers.
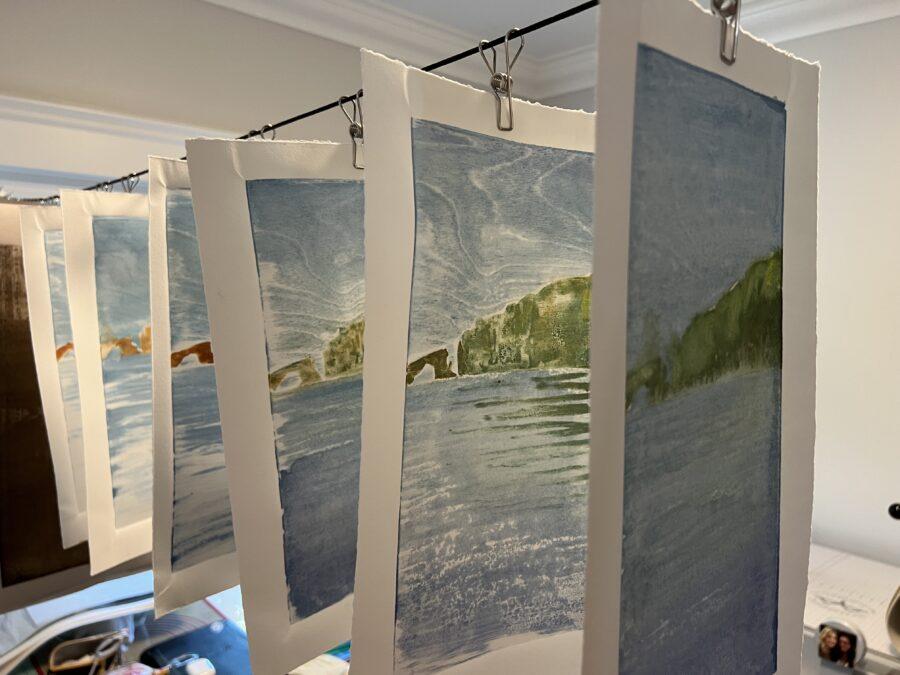
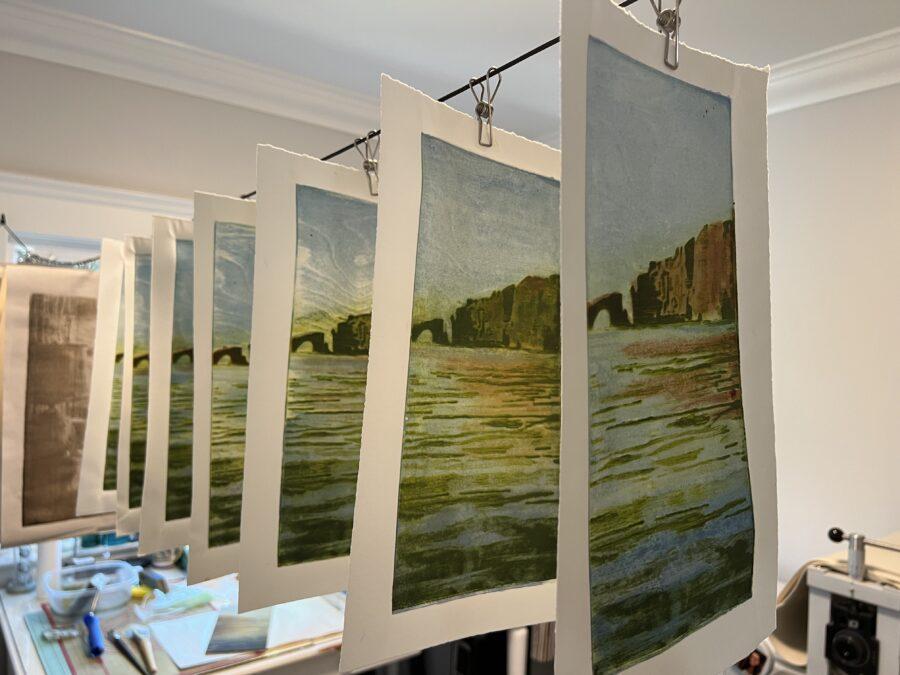
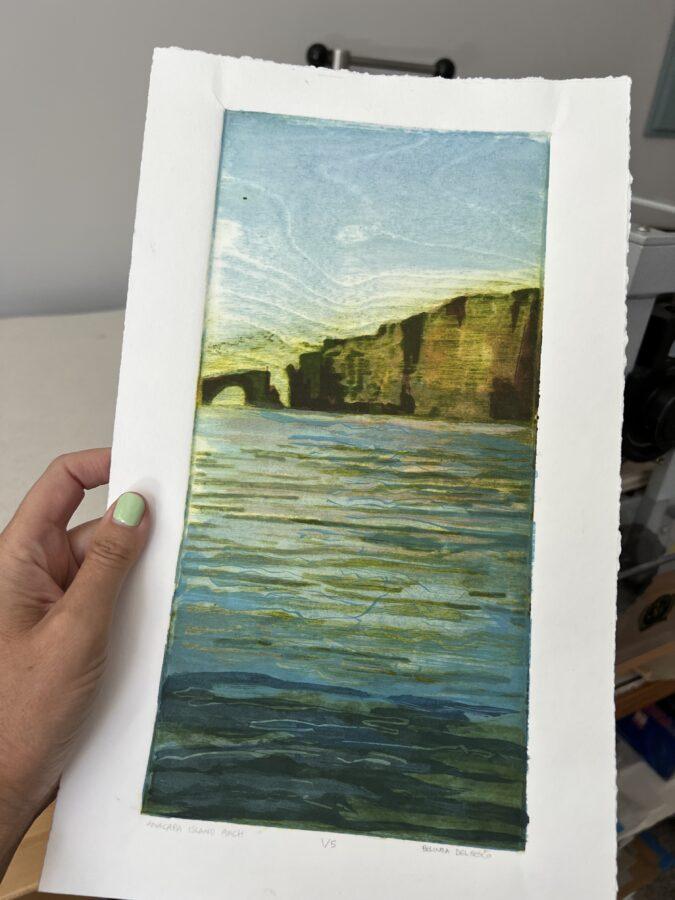
This printmaking project concluded with an edition of five mokulito landscape prints of the sea arch at Anacapa Island, off the coast of California. They are listed for sale in my Etsy Shop over here.

Pushing for More in Printmaking
I like the way the layered mokulito watercolor and oil-based ink prints turned out, but I wanted a little more color-tangling in the lower section of the composition.
As in the last mokulito still life print of roses, I turned to monotype for added interest near the closest point of the water’s surface.
Adding Monotype to Mokulito Prints
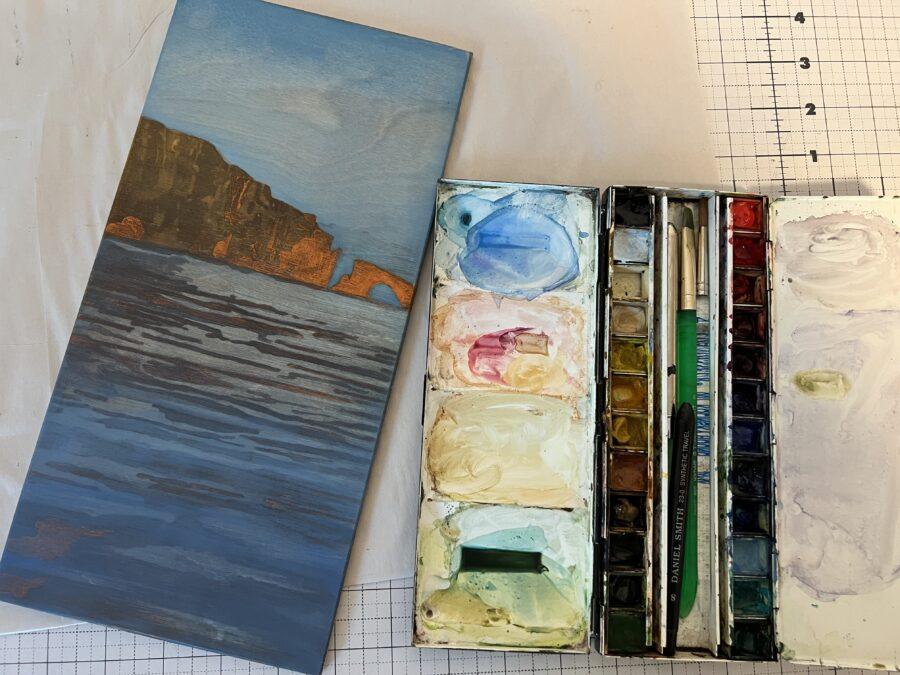
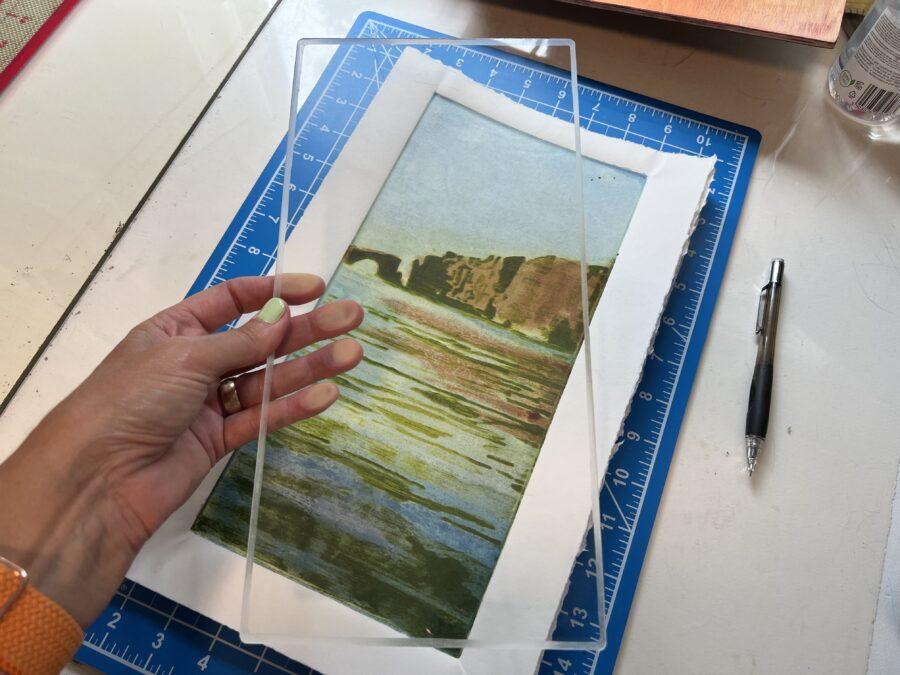
Lay your beveled (<– here is a video showing how to bevel plexiglass), clear plate on top of your mokulito print, face down. Since you can see through it, simply draw shapes with a china marker on the verso of the plexi to mark areas that crave more dynamic mark-making or color.
After you’ve marked the shapes where you want to enhance color or texture on your mokulito print, flip your plexiglass ”map” face up, so the china marker is laying on your work surface. Now, you can brush or roll ink in the areas you’ve outlined. Feel free to scrape into the ink for added texture.
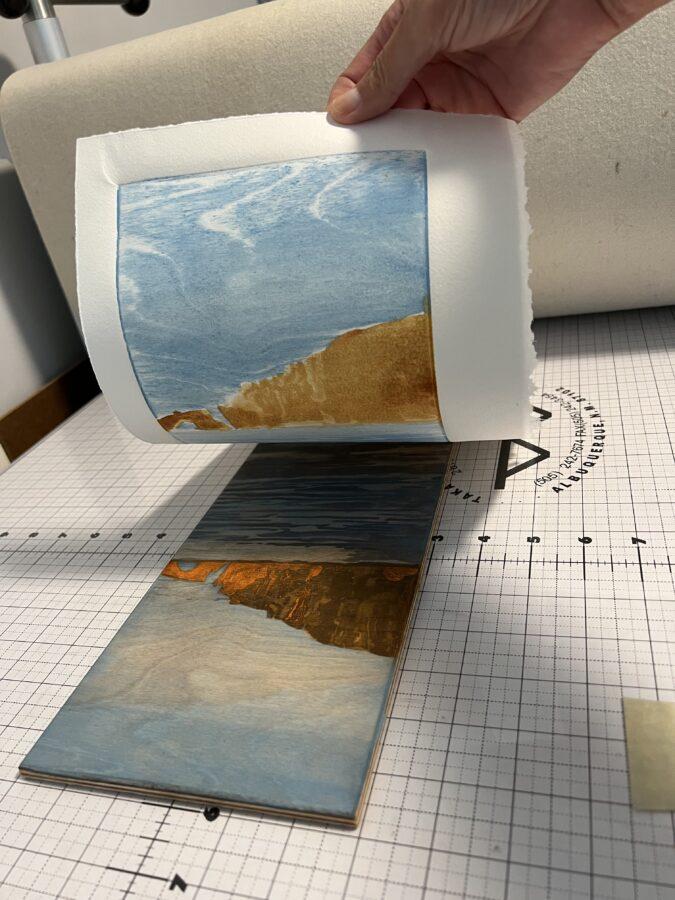
After you’ve added more ink and color, flip your plexiglass monotype plate one more time, so it’s ink-side down, and hover over your mokulito print till you’re color passages are aligned with their new destinations on the print.
Take a pause here, before you lower the ink to make contact with the print, to see if your additional colors or marks work on your design. Squint. (Squint a lot.) You can see the colors through the plexiglass, while hovering over your existing print as a preview of how it will transfer.
If it looks good, lay the inky side of the plexiglass on top of your mokulito print, and keep them sandwiched, so there’s no wiggling or movement between the print and the plate.
Either run that paper to plexi sandwich through your press, or flip it over and rub the back of the paper with a baren or spoon.
More Wood Lithography Experiments
After taking copious notes on the treasures I learned in this mokulito print process (the watercolor layer was a revelation), I’m working on the next image. It’s a still life of a cat in a loaf position next to a vase of flowers.
Stay tuned and I’ll post it here as soon as there’s something to show or say about it.
If you’ve discovered any great mokulito printmaking resources on the web, please share them in the comments. I listed a few in the previous post, and I’m glad so many of you found them helpful.
Thanks for stopping in, and I’ll see you in the next post!
Belinda
P.S. I found another artist doing experiments with mokulito prints on instagram. Have a look at Tadashi Kobayashi’s lovely wood litho prints.
Art Quote
The most difficult thing is the decision to act. The rest is merely tenacity. The fears are paper tigers. You can do anything you decide to do. You can act to change and control your life; and the procedure, the process, is its own reward.
Amelia Earhart

Belinda,
This art piece is stunning! It’s as if the sunlight is dancing on the water. I love it!
Jeanette
Hi Cousin! Thank you very much for your kind encouragement. I’m so glad you like the print since I had a lot of fun playing with it! I hope you and your family are all doing well! XOXO B.
This is so helpful and i spiring, the steps you took are so clear.Thank you for taking the time to do this. I’m wondering about the grid under your plates: it looks like the ones available here in Canada for use with a rotary cutter, but they are about 1/8” thick. Is that what you are using?
Patricia Gibson
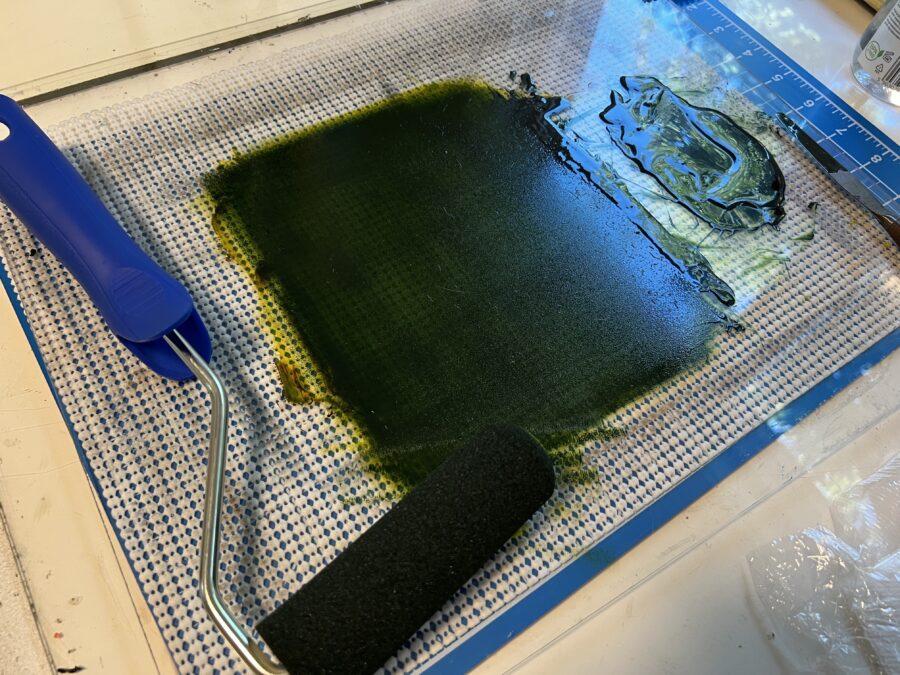
Hi Patricia, Thanks for your feedback…. I’m glad the images and process descriptions are helpful to you! The grids under the plates in the post are three different things: the first one under the sponge and the wood when the image was freshly painted in orange acrylic is a silicon pie dough rolling sheet (this one: https://amzn.to/3TPV68M ). I use it to keep the plate steady while sponge-wiping with water and then rolling thin veils of oil-based printmaking ink onto the plate. The second grid is on my press bed: it’s a sheet of paper with grid measurements, and a thin sheet of Plexi on top of that to help with registration and alignment on my Takach etching press (like this: https://shop.takachpress.com/registration-grids/). The third, a blue one – is a 5-layer self-healing mat for use with Exacto knives and crafting, etc. (this one: https://amzn.to/3TLuWEm). Happy art-making to you!
Dear Belinda,
That was so inspiring!! Thank you very much for your post!
Marybeth
Hi Marybeth! Thanks for the kind compliment, and your support! Your new art is on the way to you today! 🙂 B.
Wow! Amazing process, gooooorgeous prints! You are so inspiring! xxx
Thank you kindly, Miss Grooby! I hope your late summer-early fall gardens are spilling over with inspiration and bounty! XO