
Two Color Reduction Printmaking
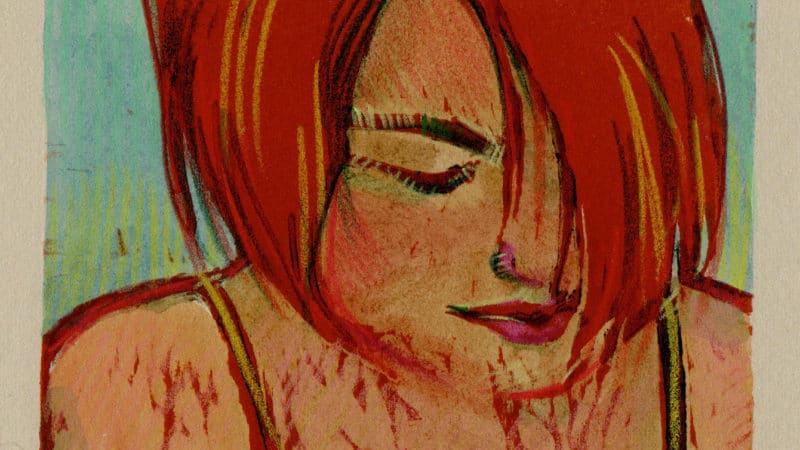
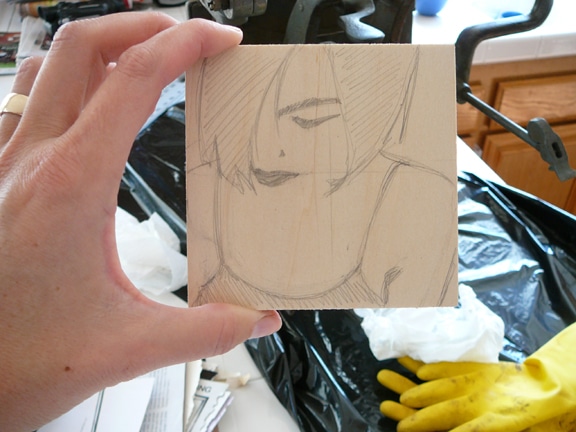
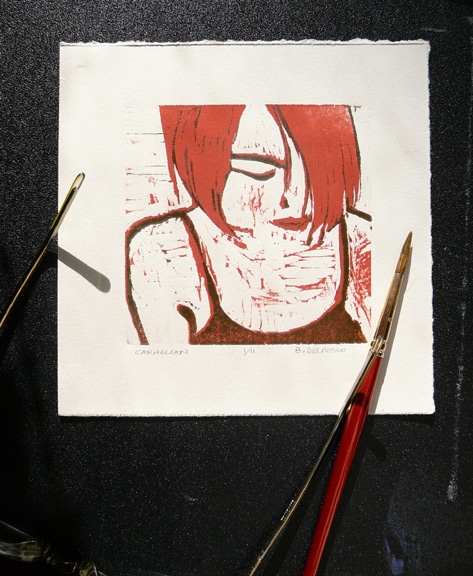
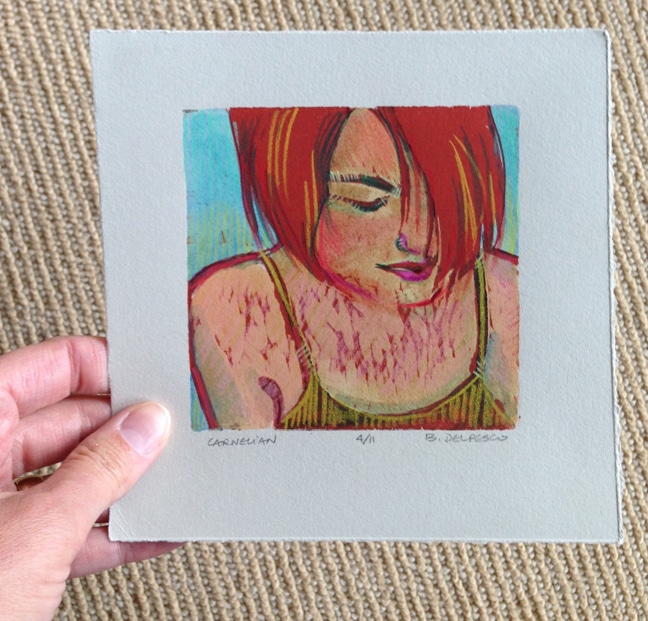
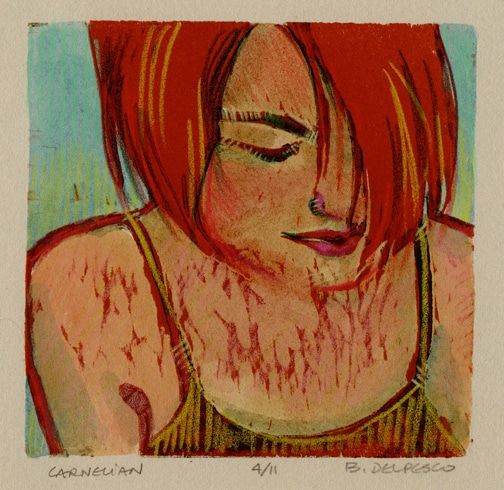
Here is a small, relief printmaking woodcut portrait of a girl with red hair, looking down as she gets ready for her day. She was carved and printed using the reduction method with two colors of ink, from shina plywood, and then enhanced with watercolor washes and colored pencil. This is how she started…
In Praise of Wood Scraps
Did you know you can buy a lunch bag of 20 small, assorted size shina plywood scraps at McClain’s Printmaking Supplies for about $10? Yup. Think about the carving and woodcut practice you could do at the kitchen table! They call it a grab bag, and it’s a party of potential when it arrives in the mail. (This is not a sponsored post – I just love this little printmaking supply company!)
You could order the grab bag, and host a block printing party around the kitchen table. Bring Your Own Carving Tools, a Brayer and Ink! Split the cost of a pack of printmaking paper and tear it down to small sizes so everyone has a stack of sheets ready to print. You supply the chips and salsa, and voila, a printmaking party!
Reduction Printmaking
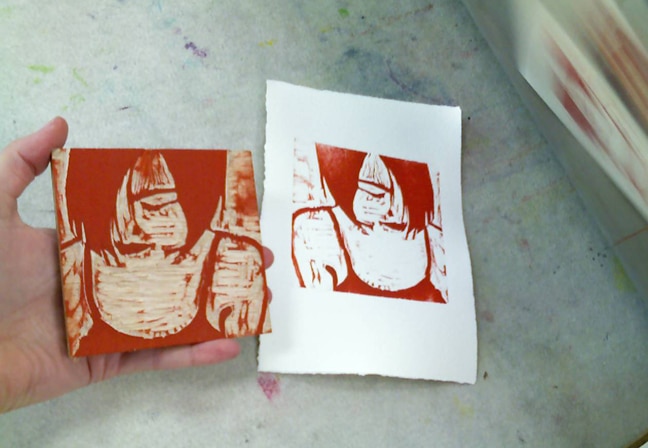
Are you familiar with reduction relief printmaking? You print multiple colors from the same block, by carving consecutive parts away before each new color is rolled onto the freshly reduced surface.
So, you carve an image, and print the entire edition size, plus some extras to accommodate for inevitable oopsies, with your first color.
Then you carve more from that same block, roll your second color onto the carved surface, and print your new color, on top of each of your first set of prints.
After carving a little more from the block, you roll a third color onto what remains of your carved surface, and print that – registered and aligned again – on top of the two-color prints in your edition.
You continue this way until all your colors are printed, from biggest to smallest shapes. It’s a bit of a brain teaser, for sure. You can see more about it in this video tutorial.
What is Shina Wood?
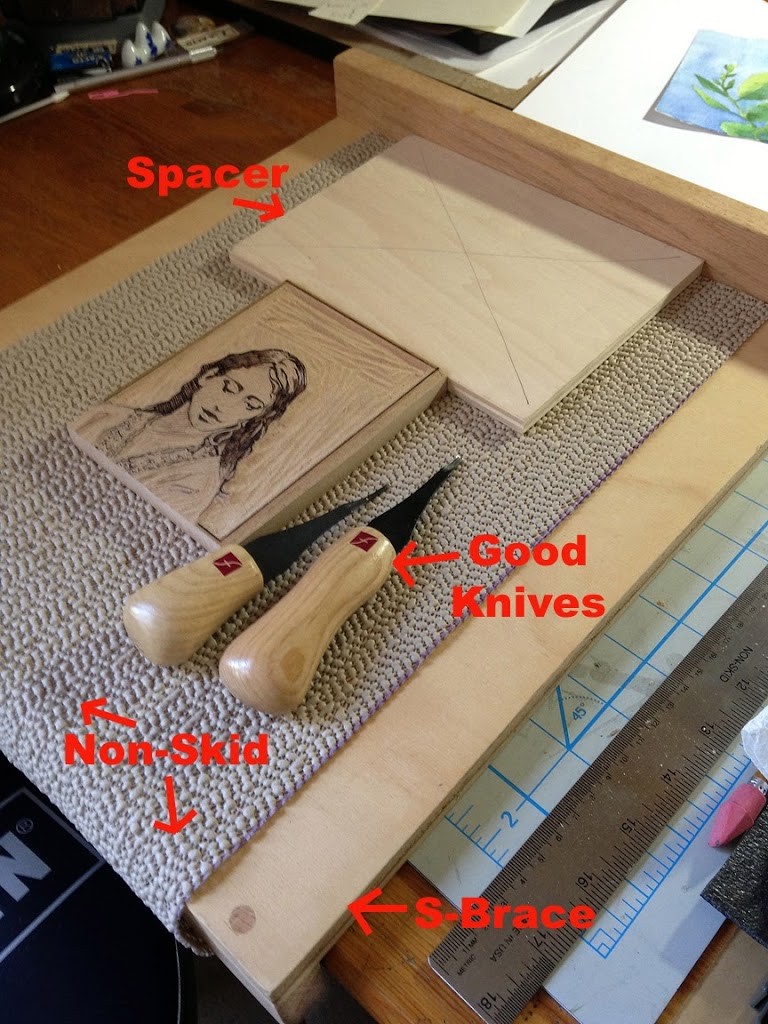
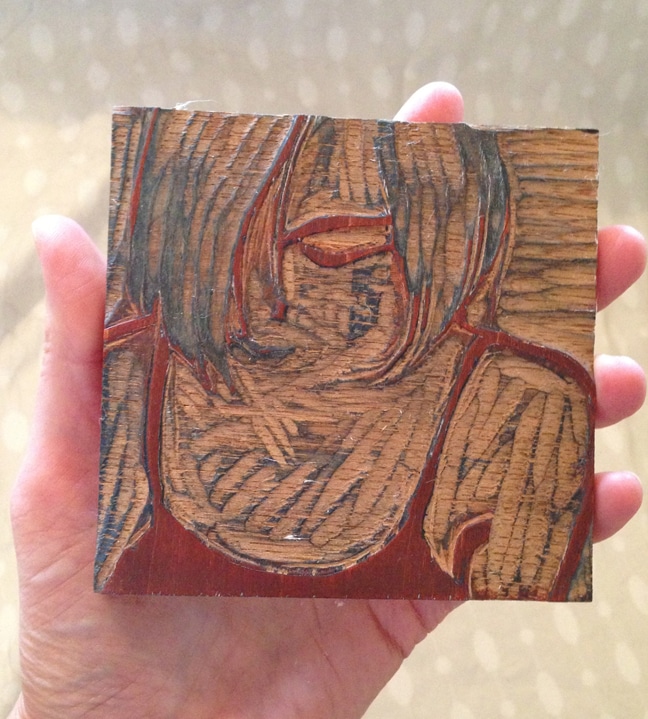
I used one of the shina blocks from a McClain’s grab bag mentioned above to carve this little reduction woodcut.
Shina is a cultivated and sustained tree in the Linden family (Tilia japonica) – grown on Hokkaido, the northernmost prefecture on the islands that make up Japan.
It’s a favorite among Japanese printmakers because it feels grainless, and it’s soft to cut.
Despite the ease of carving Shina, it holds details and sharp edges through multiple prints without swelling or warping. The surface arrives from McClain’s pre-sanded and ready to carve, and they carry a variety of larger sizes.
Order the grab bag to test the wood for your carving subjects and style. Have you ever tried it? Do you like it?
Reduction Printmaking Artists
- Alexandra Buckle makes beautiful landscapes using the reduction method of relief printmaking. Read an article about her work here.
- I’ve been subscribed to Sherrie York’s blog and newsletter for over a decade, and I love her snowy, winter scenes with long tree shadows. Her website is here.
- I’ve seen printmaker Dave Lefner’s exquisitely designed and carved retro pop reduction prints up close, and his process has all kinds of Herculean printmaker mojo. Dave’s color plans, and sequencing on unmounted linoleum are a marvel to look at. Check out his work here, and brew a cuppa something and watch this video about him.
Adding Watercolor to Your Prints?
If you plan to try this mixed media printmaking method, and you want to use water-clean-up inks, think first about whether you plan to add wet media to your prints.
For example, if you make a block print, and you’d like the option to paint the background with watercolor, or add additional colors using acrylic or alcohol inks, you’ll have a muddy mess with many of the water-clean up relief inks out there, because they will re-wet.
Akua and Caligo Safe Wash inks clean up with water, but they dry permanent after being printed on an absorptive surface, so I’d recommend using either of them on any block prints you’ll potentially hand color or paint.
Speedball water-based block printing inks will re-wet. So, you can add dry media like colored pencil or pastel, but you’ll want to steer clear of wet media on that ink.
Art Project Juggling
I’ve got three linocuts in process, two mat board collagraphs carved but not-yet printed, two watercolor paintings halfway finished, and I’m filming the Intro to Dark Field Monotype Course coming soon to BelindaTips.com.
My studio looks like the pictorial definition of Attention Deficit Disorder, with cameras and lights, mounds of art supplies and cat hair. (Scout insists on being on my work table while filming. He thinks he’s a film star.)
It’s all a bit overwhelming, but I’ll get everything finished bit by bit, day by day. That’s how we do this, right?
Thanks for your visit, and this little break to chat today. I hope you’re busy too, making things, and planning your Next-Season line up of art projects.
I’ll see you in the next post.
Belinda
P.S. Take a look at these amazing “paintings” made by quilter David Taylor. Cloth, thread, and imagination = Inspiration.
P.P.S. If you’re new around here, sign up to get each new post from this art blog by subscribing right here. It’s free.
Art Quote
I’ve never done a perfect drawing. The cheapest camera installed at the gas station parking lot will collect a more accurate depiction that I can make. I think of Art like I think about baseball. Whether you win or lose – isn’t it great to be playing baseball?! Even the best players only get on base one third of the time. The reason we’re doing this is that as kids, we started drawing and felt happy. So now, we should still be happy doing it. The focus should be on the love of art-making. Joy is in the full deployment of our faculties.
Anthony Ryder – during a 2010 Drawing demo

Really nice video with lots of good information, nicely paced and presented. I thoroughly enjoyed it. Also liked your print. Thank you.
Hyde Meissner
Good morning Hyde, Thanks for your visit and your encouraging feedback. It really helps to know how these demos are received. I wish you happy printing,and welcome you back any time you have questions throughout your printmaking adventures.
Enjoyed the pencil making video! Such an interesting process… who wouldn’t love being surrounded by all that gorgeous colour. Also just got a copy of printmaker Suzie MacKenzie’s book “Making Collagraph Prints” and was delighted to see your work featured. Looks like a detailed and helpful book (lots of clear how-to photos) for anyone interesting in making a collagraph or just for a dose of printmaking inspiration!
Hi Louise, I’m glad you like the pencil video. It’s interesting to understand how the products we use everyday are manufactured. And you’re right = those colors! Suzie’s book is fabulous. I hope you’re inspired and pulling some new prints this Fall. 🙂
Love this post and the print. Wonderful as always. Thank you.
XOXOXOXOXOXO Barbara
Thank you, my friend! Your encouragement is a swim in the ocean on a hot day. XOXO