
Making a Reduction Linocut without a Press
As a perpetually Distracted Person, making a reduction linocut was always a wish, but it got suppressed by uncertainty.
I made a reduction woodcut in a printmaking class I took a few decades ago. It came out terrible, with too many layers of thickly rolled ink. The surface of my print felt like a vinyl quilt. But, awful results are the expected outcome when you try anything just once, right?
Linocut Video Tutorials
When I started filming printmaking tutorials for my youtube channel in 2014, a reduction linocut was high on my list. My goal was to use a very simple design, on a small block.
Making a multicolor print by carving, and then printing consecutive colors, from the same block, on top of each previous print is a brain teaser! After a lot of reading, planning and note-taking – I was ready to proceed.
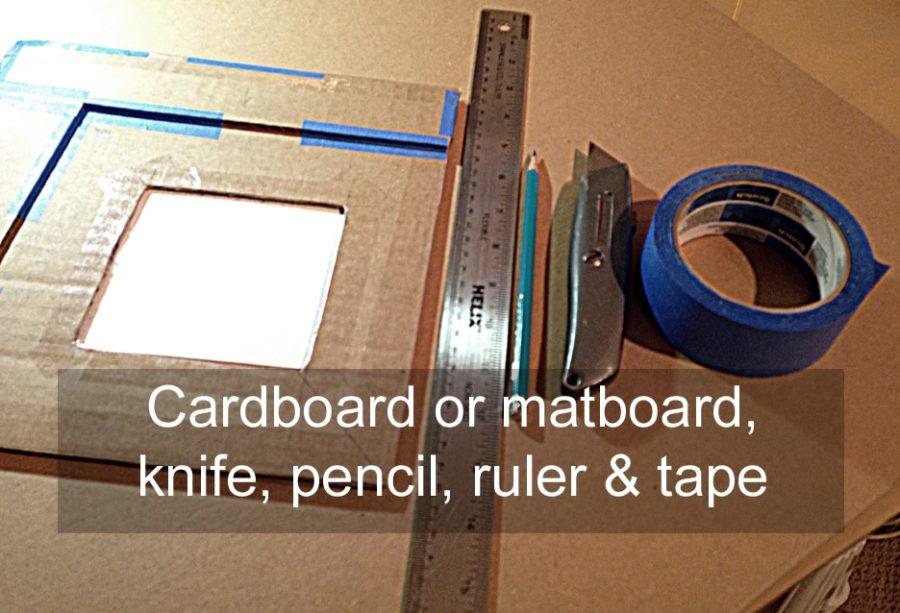
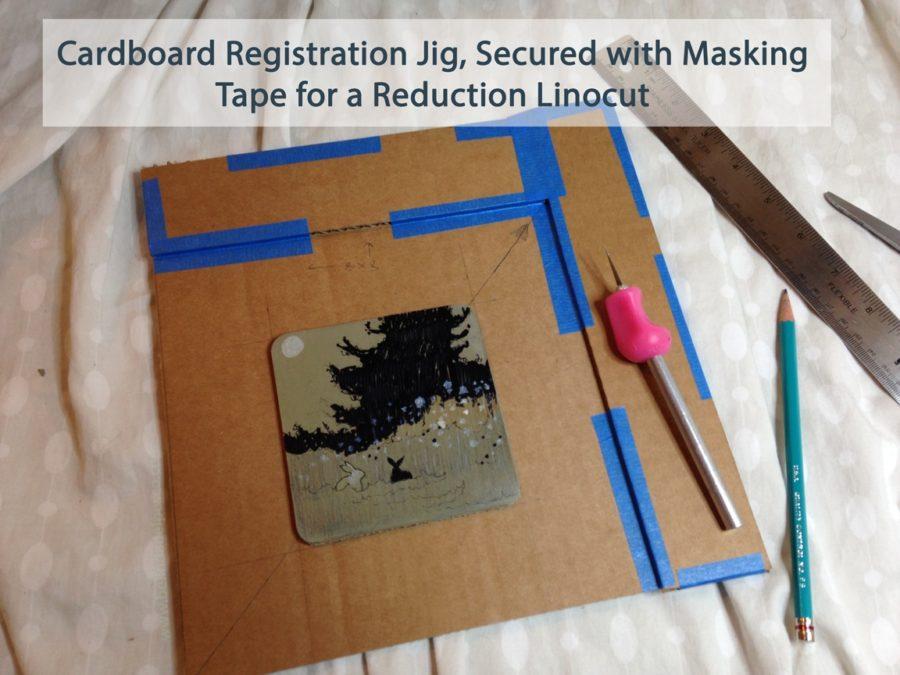
Building a Registration Jig
After researching all the ways to register printmaking plates or blocks, aligned to paper, for reduction or multicolor prints, I settled on a cardboard jig for its simplicity.
If you’d like to make this little cardboard assistant, here is a segment from one of my other reduction linocut videos, to see how to make a cardboard registration jig.
You might also try visiting this post if you’re looking for more of a basic overview of linoleum block printing.

What is a Reduction Block Print?
A reduction block print is a multi-color relief print. It’s usually created with one block, carved and printed repeatedly for each color on the print.
For a three color print, in an edition of 10, the first carving and printing is usually done with the lightest color.
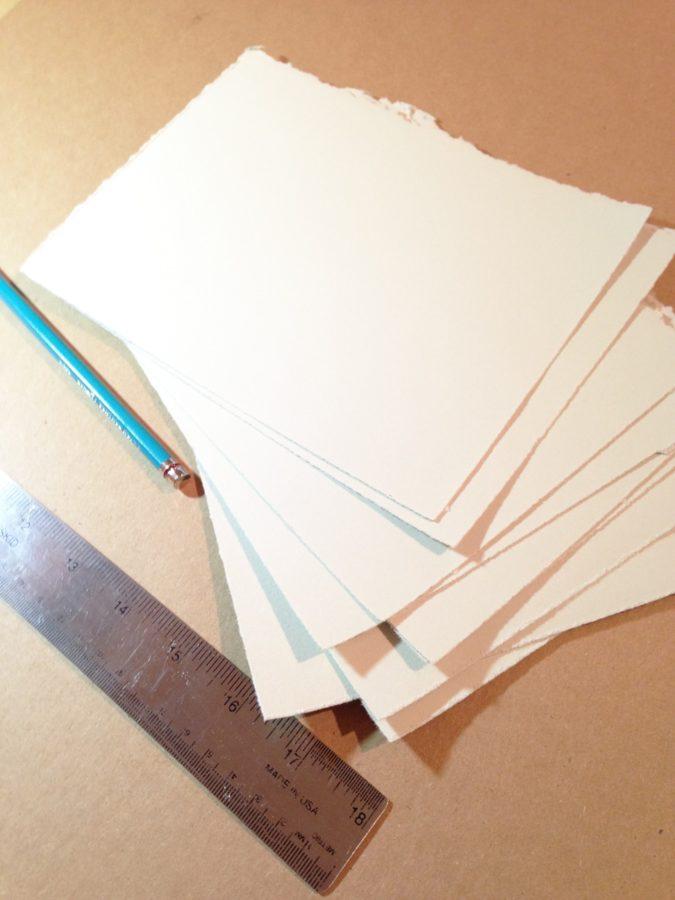
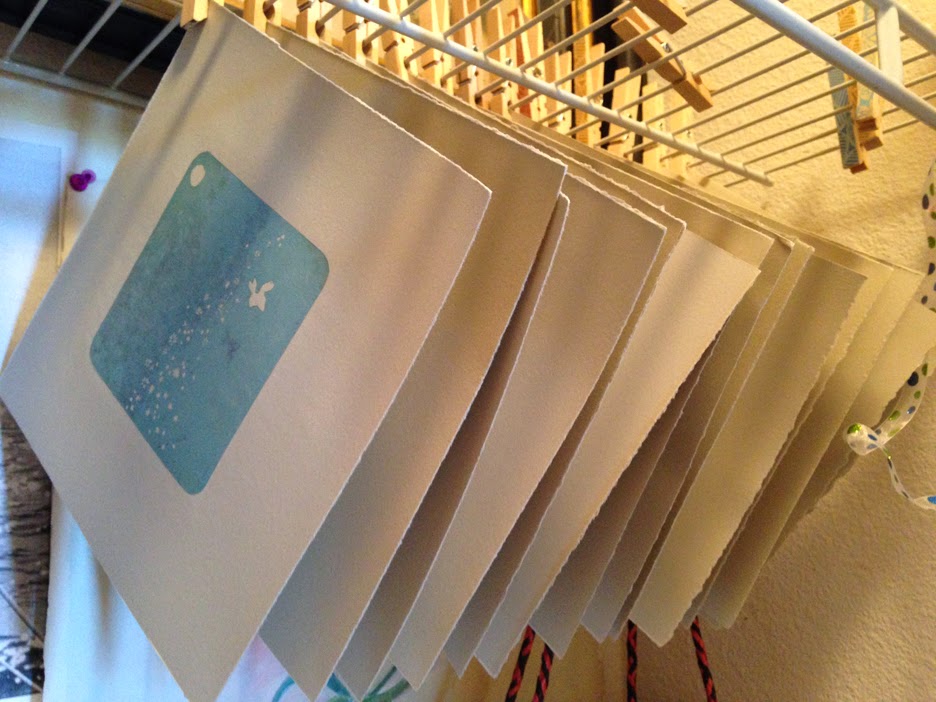
The block was inked in the lightest hue of the three ink colors. To leave room for the inevitable registration or transfer mistakes in an edition of 10, that first color was (in this case) printed in the registration jig on 18 sheets of same-size printmaking paper.
The block is then carved a little more, based on the design and color overlap. (If you use transparent inks, layers of consecutive colors will create new colors.) The second color ink is rolled into the block, and then aligned, and printed on top of each of the 18 previous color prints.

Reduction Linocut Block Process Continued
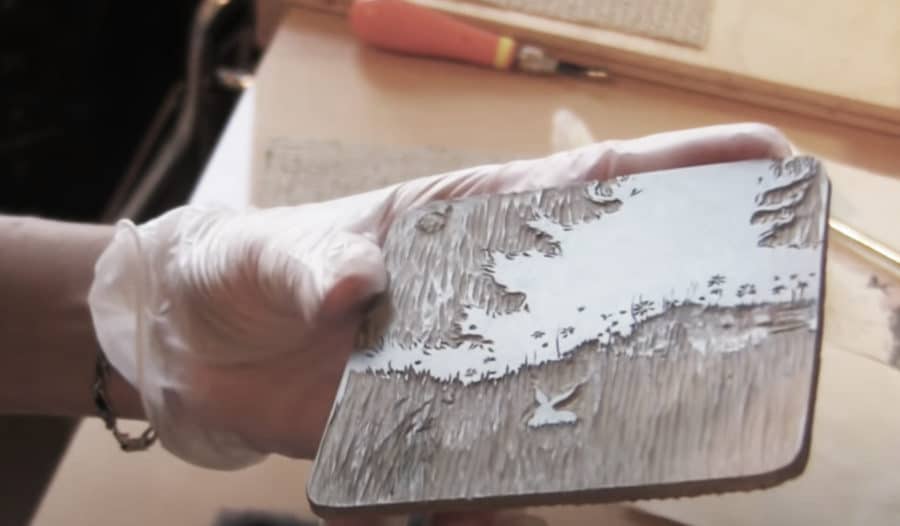
The same block is carved more. The third and last color – usually the darkest color – is rolled onto the remaining parts of the block. Once again, the inked block is aligned in the jig.
One by one, the block is inked and pressed against the 18 color prints to finish the design.
If you’re a text-based learner, this article by the Wichita Art Museum on the reduction woodcuts by printmaker Leon Loughridge is great. His finished print is lovely, and it was created by using three different reduction blocks! His website also has a simple, graphic representation of the woodcut process here.
Printing the Last Color on a Reduction Linocut Print
As a beginner to this process, it’s easiest to print your lightest colors to darkest, in sequence. It also helps to consider what you’re preserving as you carve your next parts from the block.
Think of the word reduction: you’re carving to reduce the printable area. In reverse, you’re removing material so it won’t print on top of the last color you just printed.

Relief Printing a Reduction Linocut
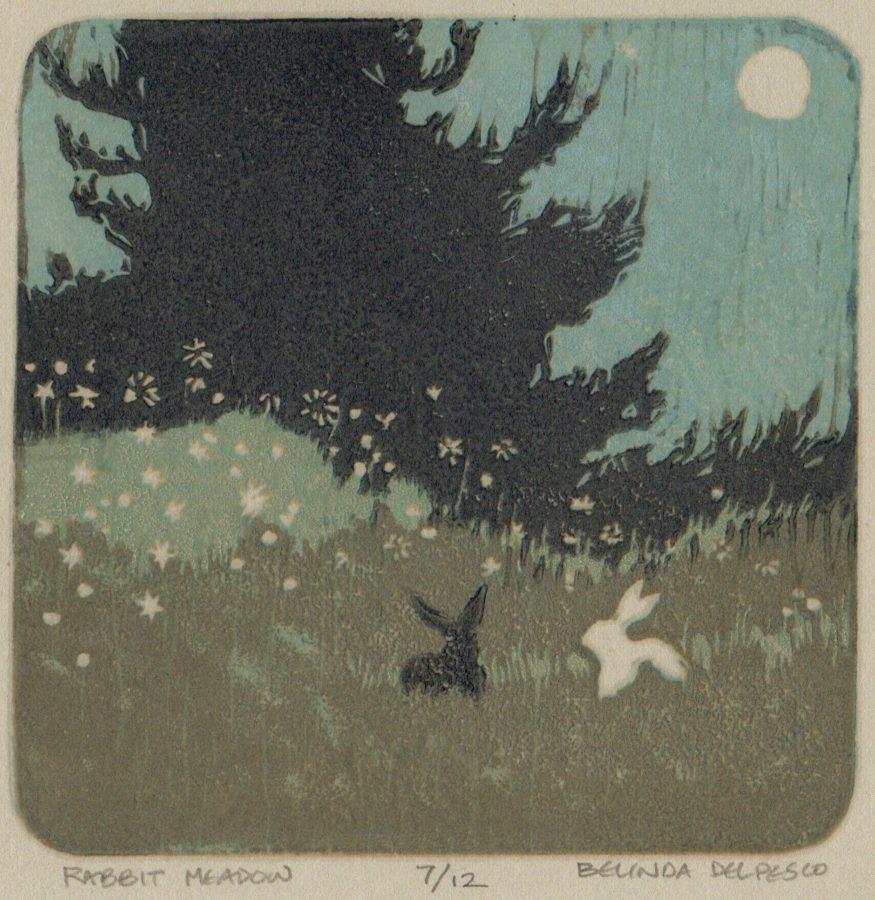
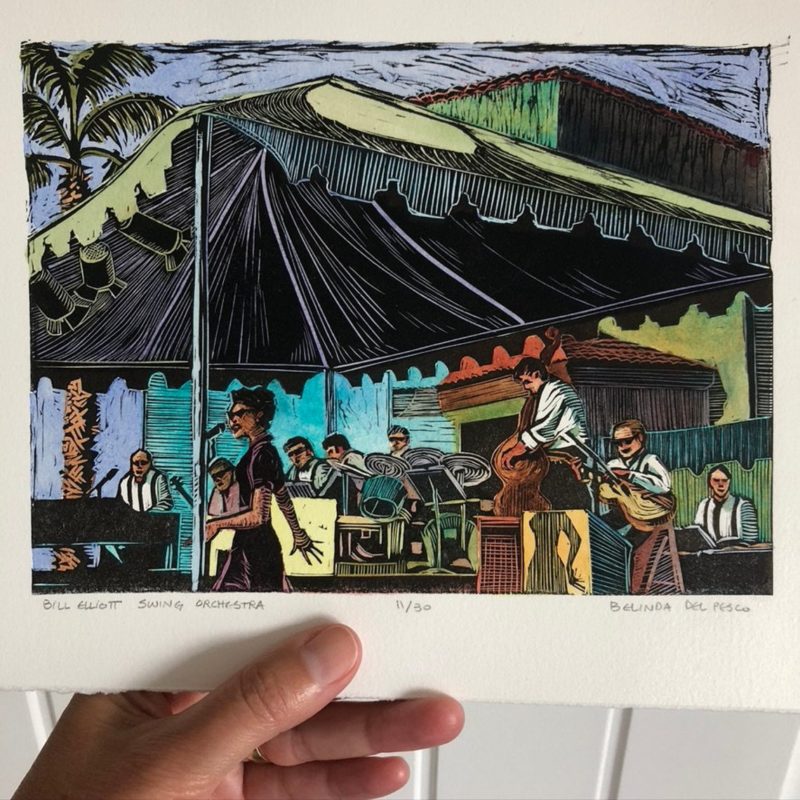
The last color in this reduction linocut was a cool, transparent blue-black. When you watch the demo video below, you’ll see that each color was transferred using a spoon (no press required).
This makes linoleum block printing something you can do at your kitchen table. Or, weather permitting, take the project outdoors and work on a picnic table, a balcony, or a patio chair with a lap desk.
Make a Linocut Print
I hope you make a linocut after watching this tutorial video (above). Here is another tutorial on a two-color linocut. Even if you opt to make a single color print (see this post about linocut ideas for beginners) I hope you have fun.
With a few basic supplies, a simple design transferred to the block, and a flat surface to work on, you’re all set. Listen to music, chat with a friend, zoom with another artist while you work, or listen to an audiobook (I’m listening to this book – and loving it!)
If you have any questions, leave them for me in the comments, and I’ll respond soon. In the meantime, happy making, and good wishes for busy hands!
See you in the next post –
Belinda
P.S. Check out my friend and fellow printmaker – Rich Fowler’s post on reduction linocuts here.
Art Quote
Popular doesn’t mean better by any absolute scale.Popular simply means that more people like this thing than that thing.Popular isn’t an act of genius. Popular is either an intentional act (to serve a particularly large, homogenous audience) or a lucky break.The most direct way to become popular is to serve the audience that made the last thing popular. By that definition, popular almost always means ‘not better.’ It simply means that you found a large group and gave them what they wanted.The world likes popular, but it doesn’t have to be your goal.
Seth Godin
Thanks Belinda, more helpful advice. Makes me realise how much I’ve got to learn – I am a relative beginner !
I might go for those Caligo safe wash inks you mentioned – I’m in the UK and can get them at a reasonable price from the suppliers I use.
Many thanks for your help, time to play I think 🙂
Hi Mick, I wish you hours of fun in your printmaking adventures. If you use Facebook, there are printmaking groups with tons of seasoned Printmakers sharing process and advise. As with any large group, there’s no shortage of contradictions, but you can still glean helpful tips.
Thank you very much for the great videos, very helpful. I’m thinking about trying some reduction printing, do you think I can get away with water-based ink for (say) a 3 or 4 colour print ? The cleanup is so much easier than oil-based !
Hi Mick, Reduction prints with water-wash-up inks are absolutely do-able. That’s what I used in this relief print. BUT, yours will depend on which inks you buy, and which papers you use. If you use speedball water-based block printing inks, it’s important to note that they re-wet (don’t dry permanent) and you should mix them with a drying retarder, otherwise, they will dry on the slab & your block before you’ve printed your second print. Add modifiers to stall drying time – like this one: https://amzn.to/3jW817S If you’re using Speedball Akua inks, they do dry permanently, but never on the brayer or the slab or the block, because they dry via absorption. Don’t use paper that has external sizing (like watercolor paper), which will block the absorption and deter drying for weeks.
Thank you for your lovely blog and videos! I enjoy them a lot and learn a lot of new ideas how to develop the art I make. You are a great motivator.
Can you please recommend on paints and materials for linocuts and woodcut? I usually use very thick ink which is usually used in book printing, which is very messy and hard to work with, and also takes ages to dry 🙂 I would like to order online some new paints for experimenting the ideas you bring in here. Thanks again! Ora, Israel
Hello Ora, Thanks for your compliments… I’m glad the tutorials are helpful to you. I hope you stay motivated. 🙂 Your book printing inks are perfect for woodcut and linocut prints. They are likely oil-based, so you can modify them with oil-based relief ink modifiers if they are too thick or too thin. If you are looking to move towards water-wash up inks, I’d recommend Caligo Safe Wash relief inks and modifiers made by Cranfield in Great Britain. Here is a link to their ink on Amazon: https://amzn.to/2Njr13O
I think you’re psychic. I just did my first linocut in a few years, and am contemplating a reduction print for the next one. Time to watch videos.
Hah! Hi Kirsten! I hope you do make one… it’s a bit of a brain teaser, but they say neural aerobics like this – figuring out new things – keeps our brains young. So high five and good luck to you! Happy Printing!
Thank you for the tutorial on the reduction method –I have pondered this for some time and could never wrap my head around it. After reading the post a couple of times, something clicked and it all made sense. I will give it a go. Also, since you are using the spoon method to print look into Iron Frog Press glass barens. They work really well, are recycled glass and much easier on the hands. They are also great paper weights when gluing things. https://www.ironfrogpress.com/printfrogglassbarens
As always thanks for the inspiration.
Hi Dana! Thanks so much for the iron frog recommendation! And Yayyy that you feel encouraged to try a reduction linocut! When you’re finished, please come back and post a link where we can see your work! Happy Printing!
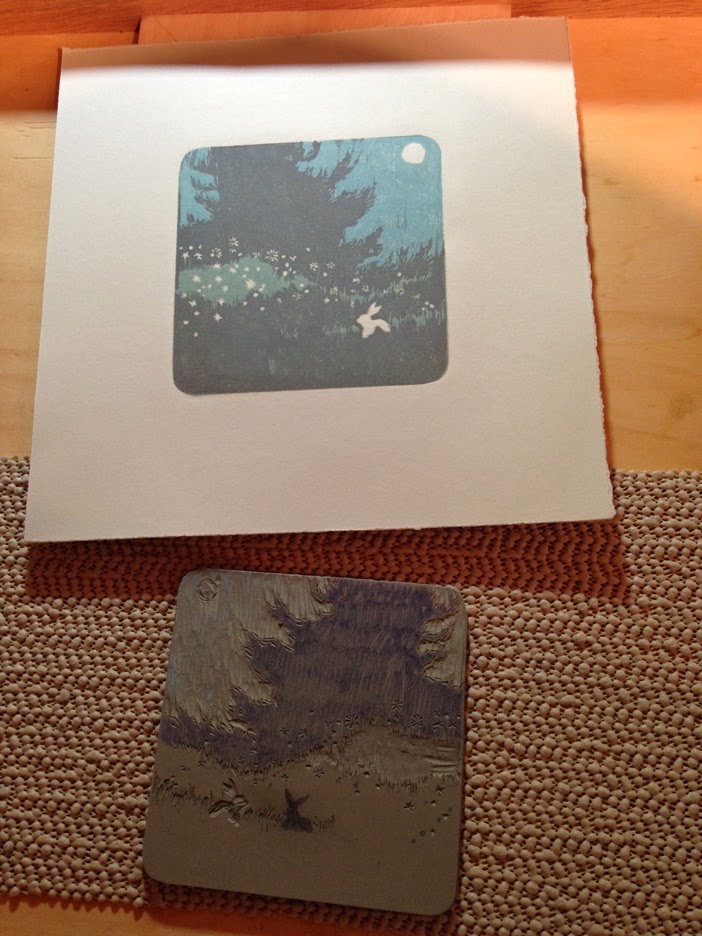
Ooh, the bunny print is so beautiful. The quiet of bunnies in the setting is really clear.
Hi Joyce! Thanks for the feedback! Bunnies are cute and we all need a dose of that these days. I hope you’re painting and playing music. Thanks for stopping by! Stay safe and healthy!