
Preserve the Sizing in Fine Art Paper
Have you ever soaked printmaking paper and discovered that the sizing in the paper flew the coop?
Absent or deteriorated sizing in printmaking paper can result in failed prints. In this post, we’ll talk about preserving the sizing in fine art paper.
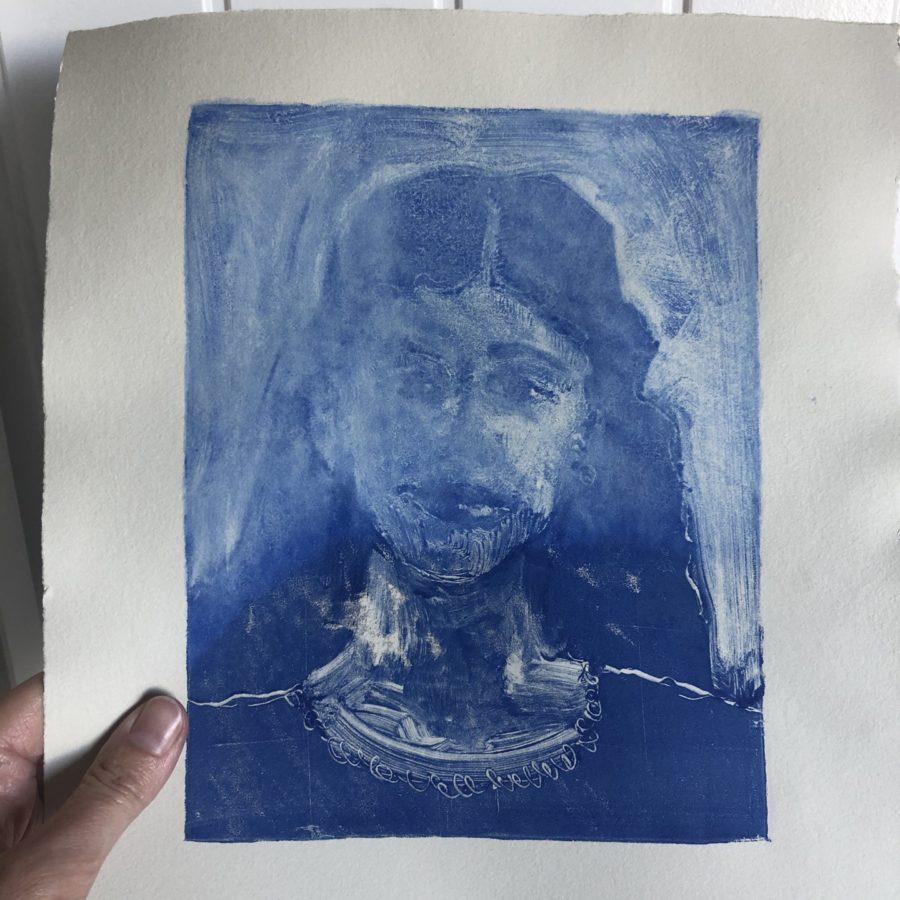
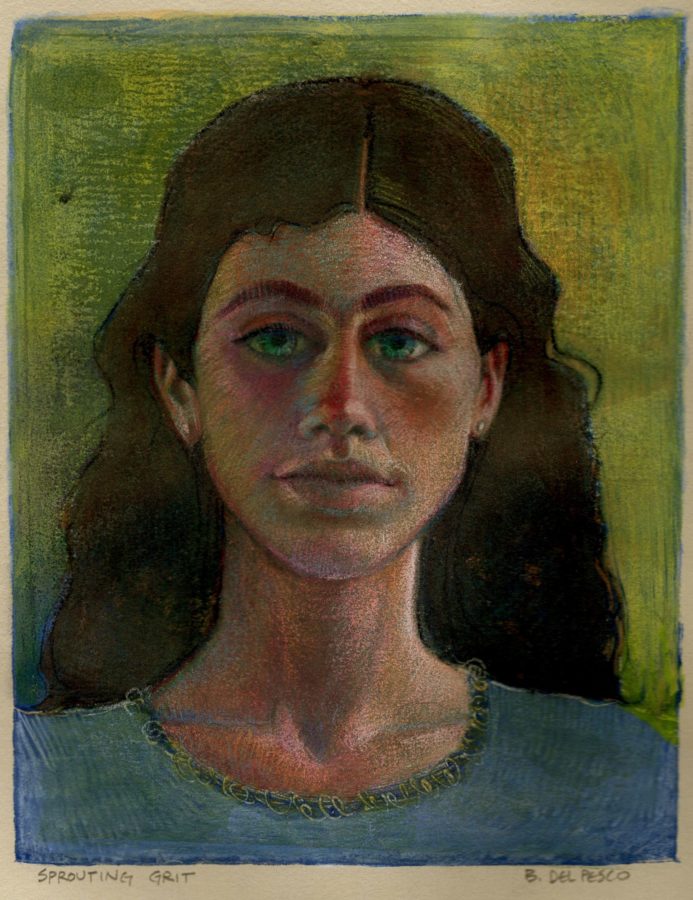
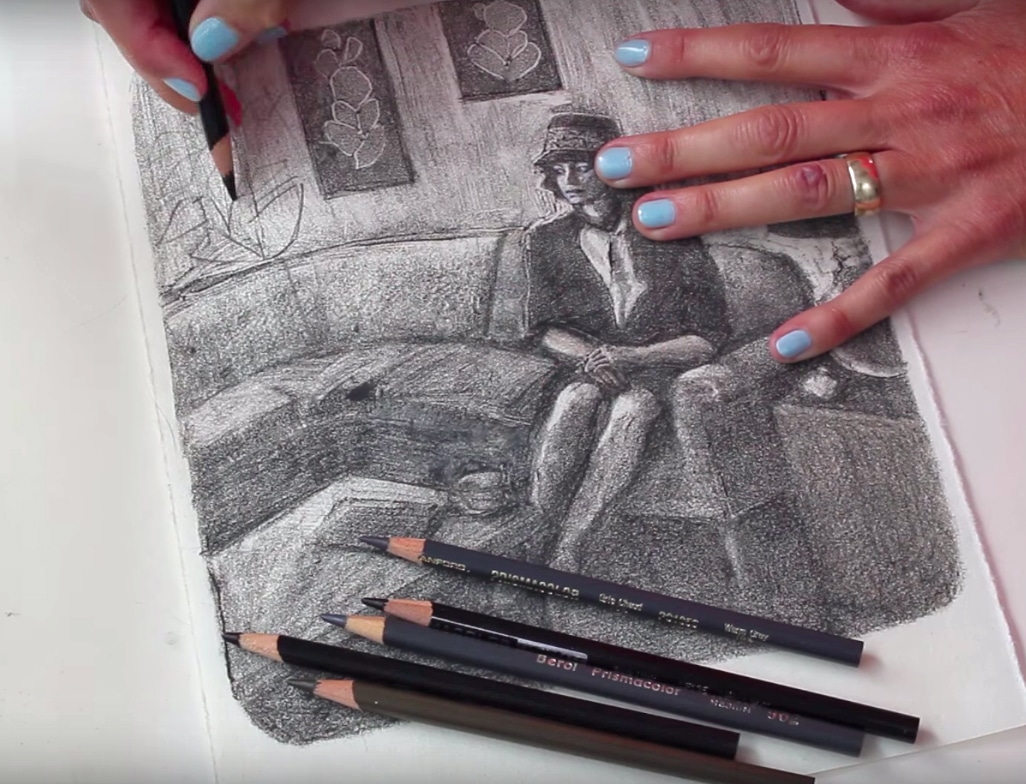
The monotype in this post went off the tracks due to printmaking paper sizing gone bad. (If you’ve never made a monotype <——read this)
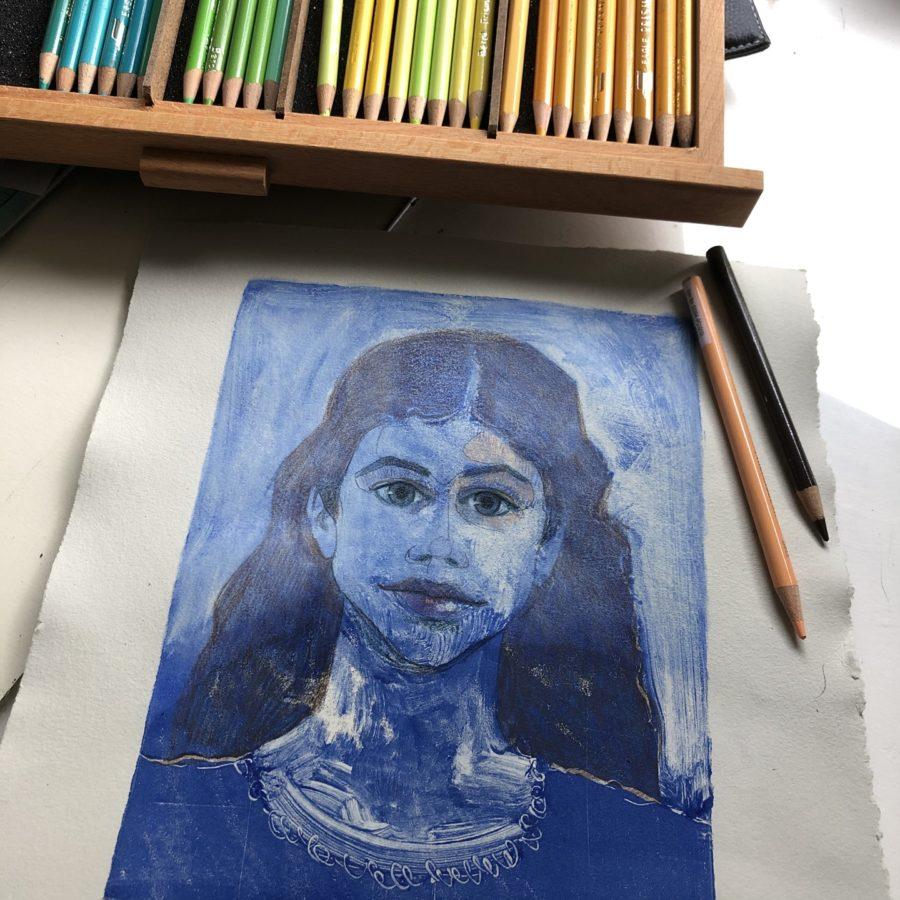
Adding colored pencils can fix a dud monotype print, and bring it back to life. (See a previous post about using colored pencils on a full-color monotype print over here.)
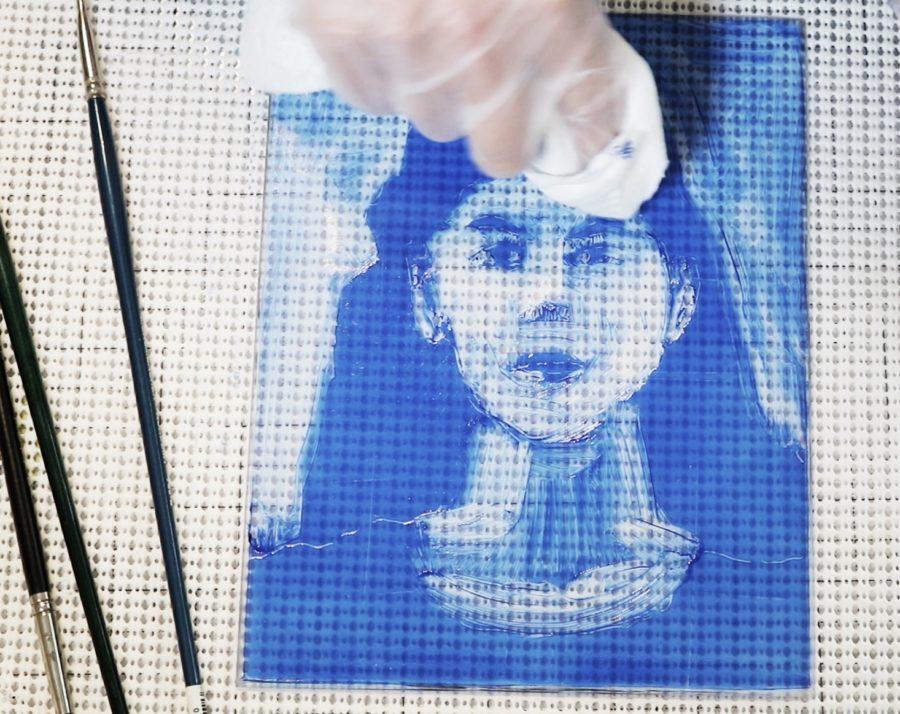
Monotype Rebel
Side Note: This print wasn’t planned – it just erupted when I found 30 minutes open one evening. I think it’s important to grab those pockets of time, and run, without a plan, but with inspiration towards making something.
It would have been easy to fold a pile of freshly dried laundry instead. But this monotype print – rushed as it was – seemed rebellious and way more fun.
What is Sizing in Printmaking Papers?
Printmaking papers have varied amounts of sizing – just like watercolor and drawing papers. Internal sizing is added during the manufacturing process. Gelatin or starches are added to the water and pulp mixture in the tub, before the paper is laid. External sizing is either sprayed on the sheets or rolls of paper, or coated on the surface via soaking in a gelatin bath. Some papers have both internal and external sizing.
Sizing is your friend. It’s a good thing to know about.
Without sizing, painting, or printing on unsized paper (also known as waterleaf) may result in color bleed.
Imagine painting watercolor on a paper towel. Wet pigments wander in all directions, and through the back of the sheet, soaking into the thirsty cotton or cellulose pulp.
Sizing prohibits or slows absorption. It also envelops and protects the natural elements in the paper, and makes the pulp’s fibers bond together, resulting in sturdier sheets. Read more about sizing on fine art papers over here.
We need sizing to control the placement of printmaking inks and water-based media. We want marks to stay where we lay them, and not escape to other parts of the paper.
Note: Many water-washup, oil-based printmaking inks *require* absorption to dry. (Akua and Caligo) So, if you use them, choose a printmaking paper with less sizing, like Arches 88. Avoid printing with these inks on sized watercolor papers or craft papers. Unless you’ve got weeks to wait for your inks to dry. 🙂
When Sizing in Printmaking Paper Goes Bad
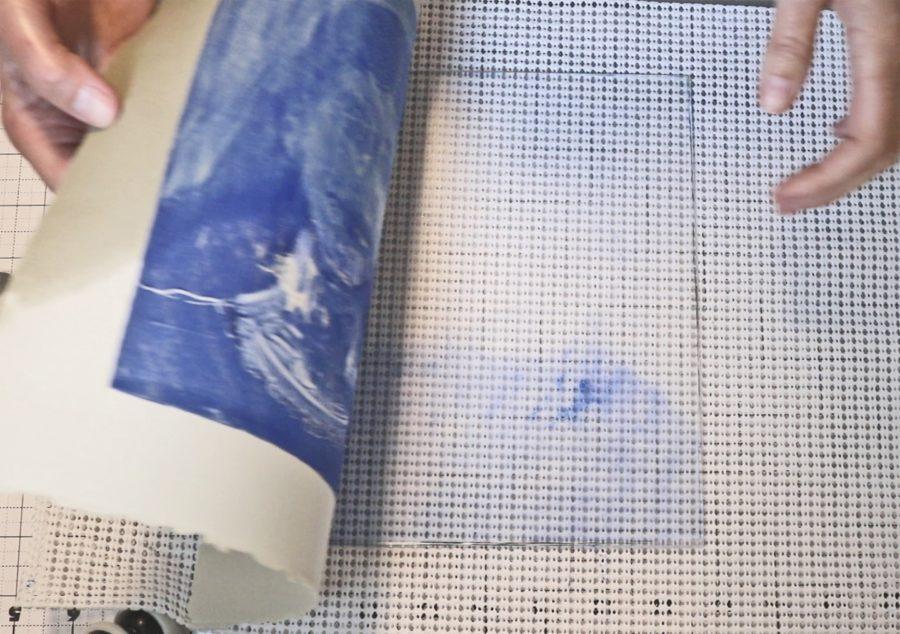
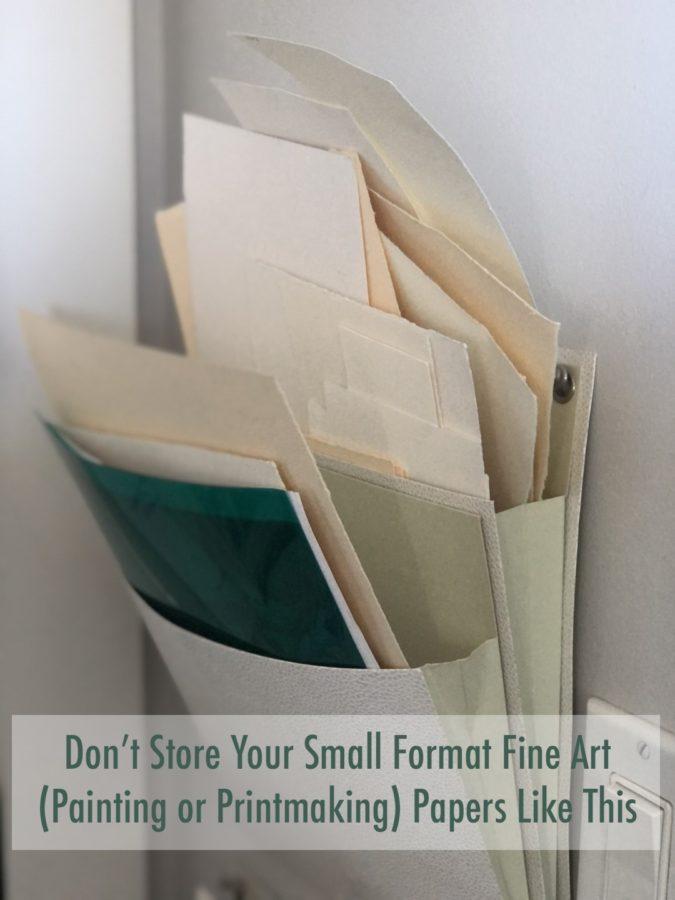
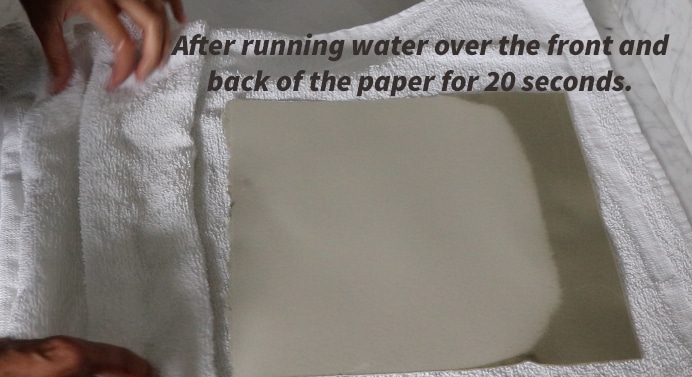
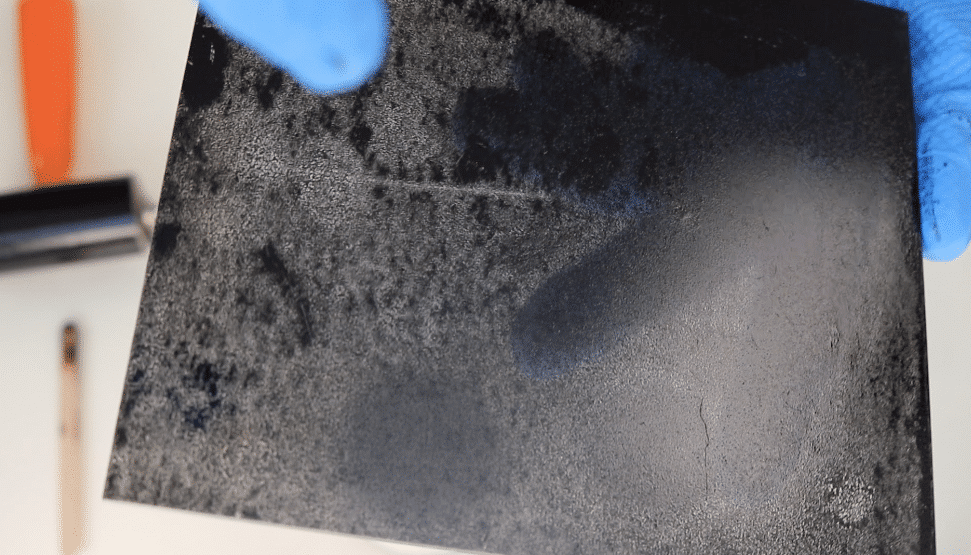
Here’s how it happened. After tearing down a pile of Rives BFK Printmaking paper for a previous small-format project, I tucked the leftover sheets in a hanging wall file in my studio.
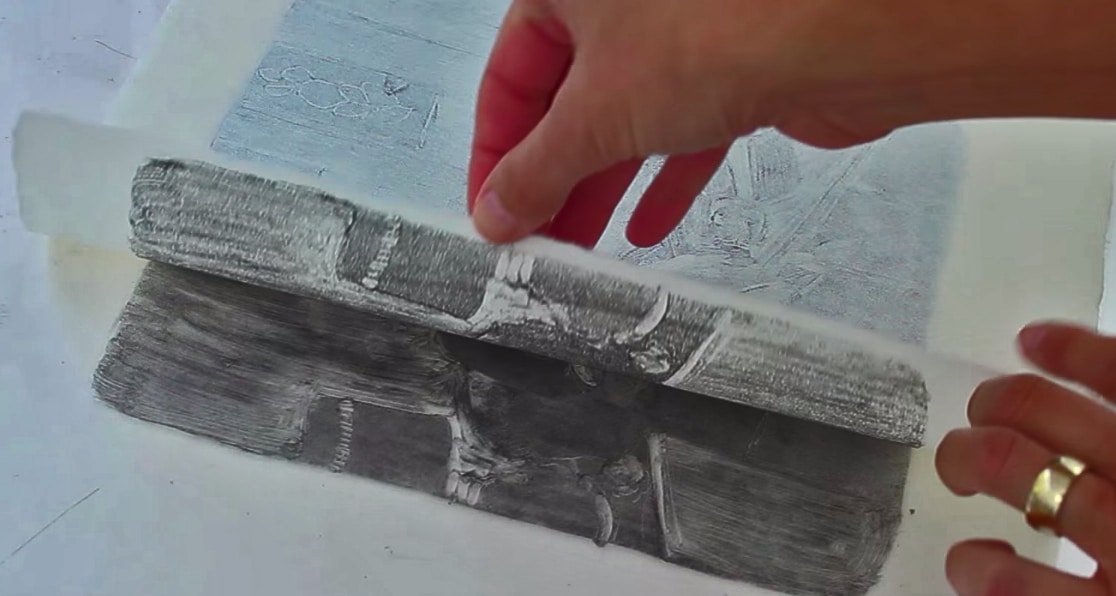
The papers peeking out of the wall file pocket were exposed to air for weeks or months or longer. The sheet of BFK Rives that I used for this monotype print was pulled from the lower file pocket, below.
As a result of air exposure, the paper had no sizing in the top half, and the sizing was still good in the bottom of the sheets, where it was covered by the envelope of the pocket.
Preserving your Paper’s Sizing
I wrote to the folks at Legion Paper about the air exposed sizing failure. They were interested enough to schedule a phone call from the company’s founder. I sent samples of the paper to their lab, at their request, and they promised to follow up with conclusions. I didn’t hear from them again.
So, the moral of the story is this: Protect your fine art papers. They don’t have to be sealed airtight (this might encourage mildew), but at least keep them in cello bags with one end open. (Read about adding wet media – like watercolor – to printmaking inks that may not dry permanently.)
Also, be mindful of aging paper. If you find a great deal on fine art paper at an estate sale, consider the age of the paper, and whether it was stored properly before you buy it. Getting a ream of Winsor Newton Watercolor paper milled in the early 1980s may not have a molecule of sizing left in it. That would have a profound effect on your art-making experience.
Note: I’m not a chemist, or a paper engineer, so I’m writing from experience rather than expert knowledge.
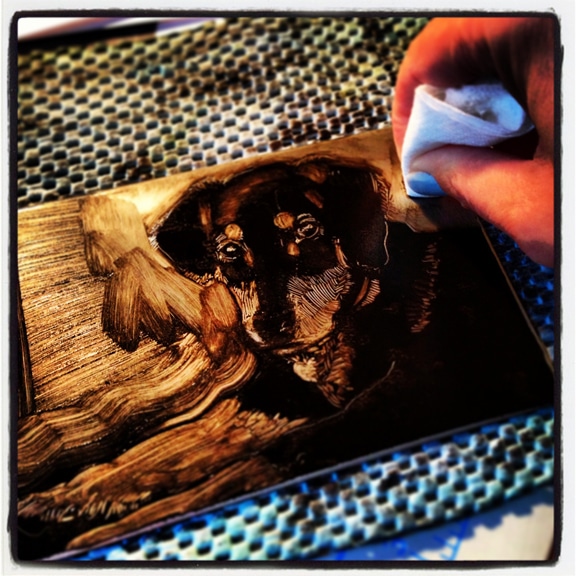
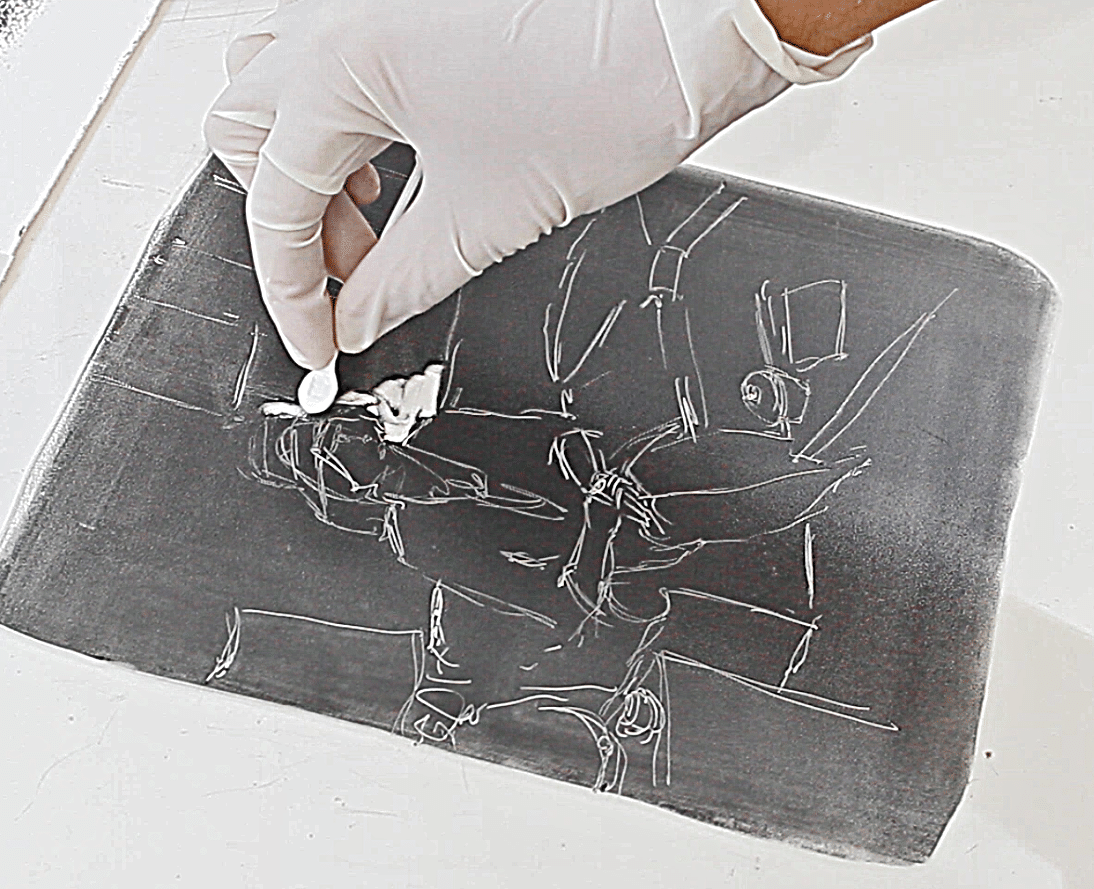
Back to the Monotype Repair
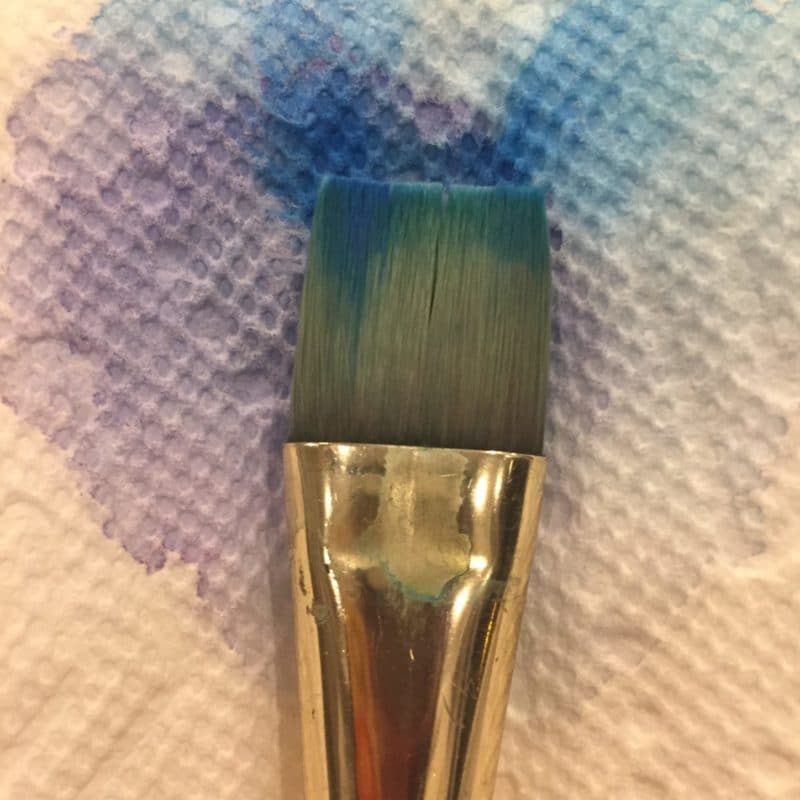
The next day, my half-diluted monotype was dry and ready for some colored pencil repair. The first step was to outline areas that would improve with altered shape, enhanced definition, or covering up altogether.
Colored pencil will completely cover printmaking ink, so you’re the Boss of your monotype. Change whatever you’d like. Go ahead.
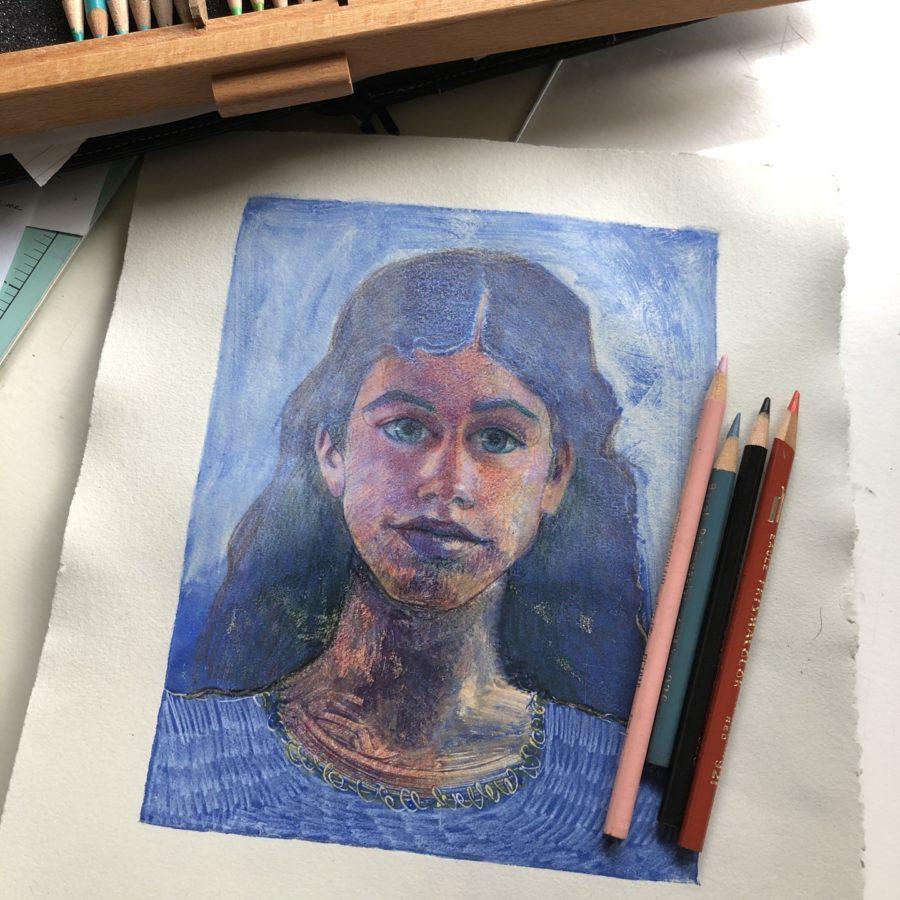

Monotype and Colored Pencil
I hope this mini-primer on sizing was helpful. And I also hope you’ll make a monotype print soon. On good paper. 😁
If you have any questions about this process, leave them in the comments and I’ll get back to you.
Thanks for your visit, and I’ll see you in the next post.
Be adventurous,
Belinda
P.S. I’m building an introduction to dark field monotype video course, and I’m really excited about it. Sign up to get an email when it’s open for enrollment right here.
How to Make a Monotype Print
If you've ever wondered how to make a dark field monotype print, you've come to the right place! Here are step by step monotype process photos, videos, and a supply list with links to the items you'll need to get started.
You don't need a press, or any fancy printmaking equipment.
And if you learn best by watching a demonstration, here is a list of monotyping tutorial videos that cover dark field and light field monotype, as well as trace monotype printmaking demos.
With a little space cleared on a kitchen table, a few supplies, and some reference photos, you'll be making monotype prints in no time at all! Happy Printing!
Materials
Tools
Instructions
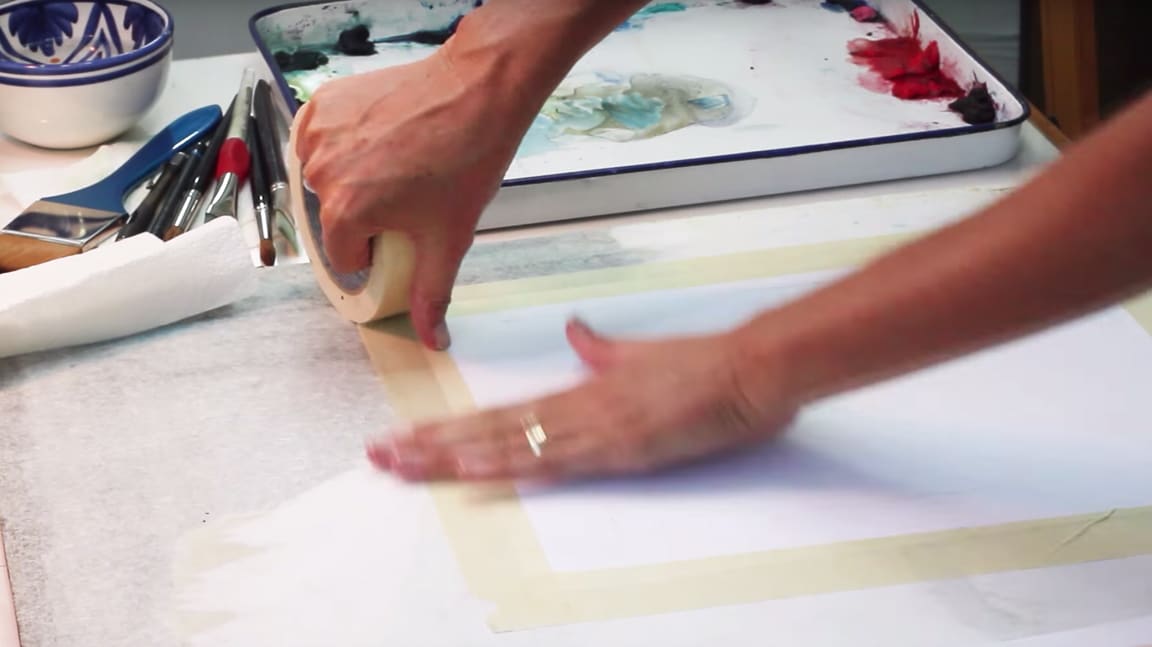
- Prepare a flat, clear surface to work on by covering it with newspapers. Gather all supplies close at hand, and put on your apron and rubber gloves.
- Tape down your ink slab.
- Stir your printmaking ink until it's smooth and mixed well. Put a dollop of ink on the slab about the size of a cashew nut.
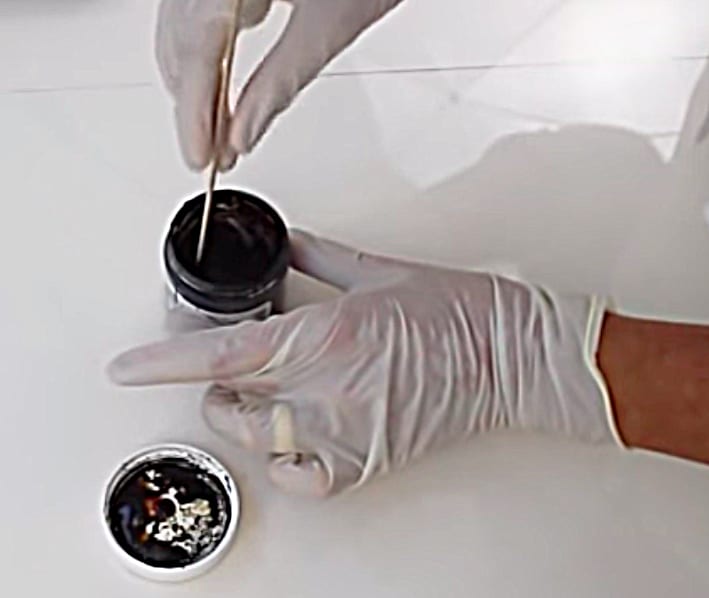
- Use your brayer to roll the ink out on the slab until it's evenly covering the brayer, and the slab, and you hear the ink "hiss" as you roll back and forth
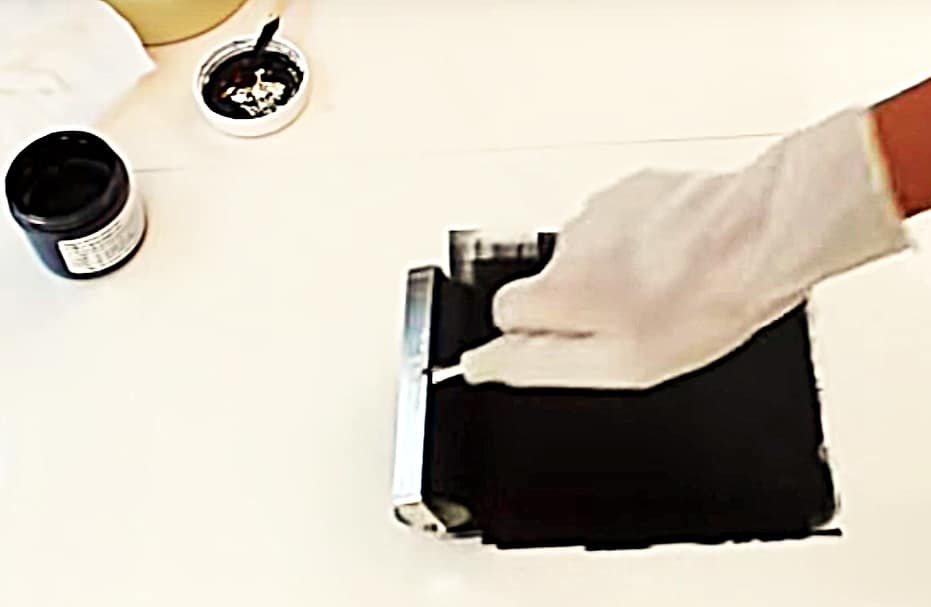
- Put a piece of non skid under your plexiglass printmaking plate (not necessary if you're printing from a gelli plate) and begin coating your plexiglass with a smooth, even coat of ink
- When the plate is completely covered, if the ink appears loose, shiny or thick, lay a piece of newsprint on the plate, and very gently, with light pressure, smooth it with your hand as though you were smoothing a wrinkle from a bed sheet
- Peel the newsprint from the inked plate and discard it. Now that your ink has been blotted, it should be less shiny, and a bit thinner on the plate.
- Pull out a reference photo, and without touching the inked plate with your hand, begin drawing into the ink with your rubber tipped tool, and cotton swabs.
- If you need to rest your wrist while drawing, slide your drawing bridge over your ink plate so you can rest your hand on it above the ink.
- Use your brushes or your gloved finger tip, or rolled paper towel, or cotton swabs to feather halftones in your design. You can also use them to add more ink by dipping in the ink slab and adding darks to your design.
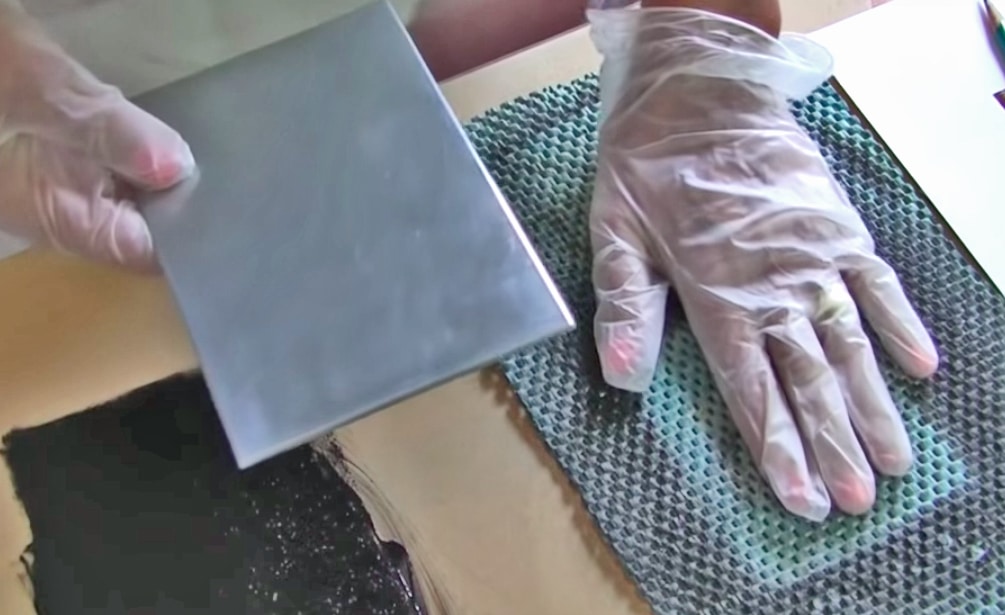
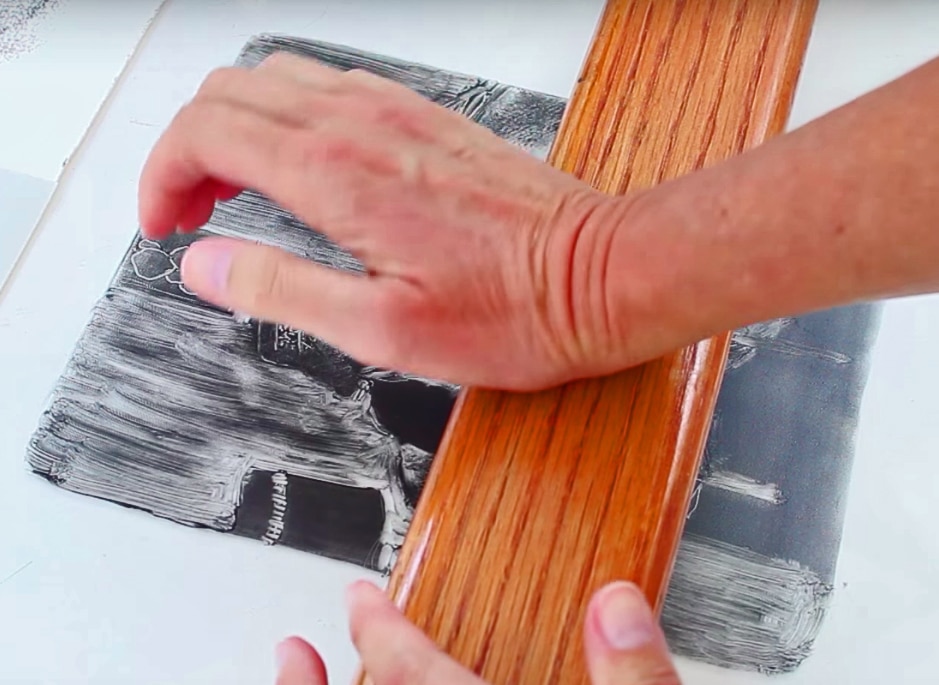
- When your design is ready to print, pull a sheet of printmaking paper from the package or pad, and with your spray bottle, lightly spritz the side you'll be printing on. Blot with a paper towel, and lay the damp side down on your inked and designed monotype.
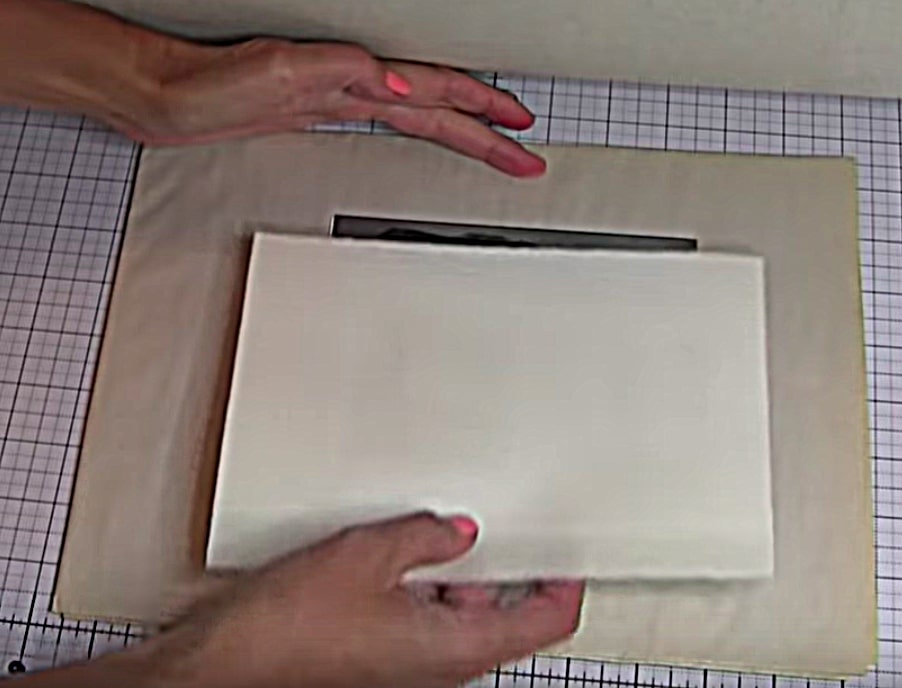
- Hold the paper steady with one hand, while rubbing the back of the paper with either the baren or a metal spoon.
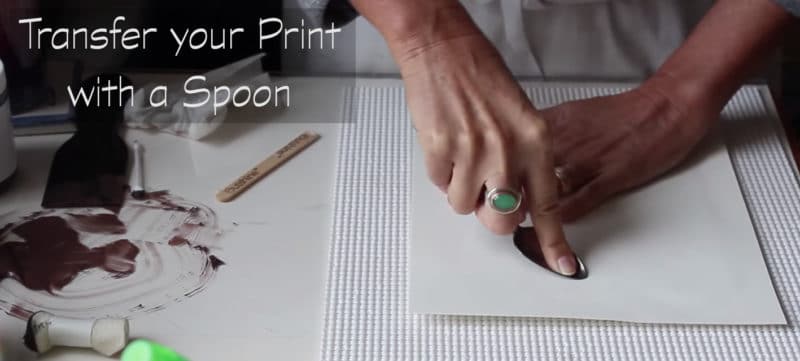
- Keep the paper in place with a firm hand, and peel up a corner to see how your ink is transferring to the paper. If it looks too light, or mottled, apply more pressure with the spoon in circular motions.
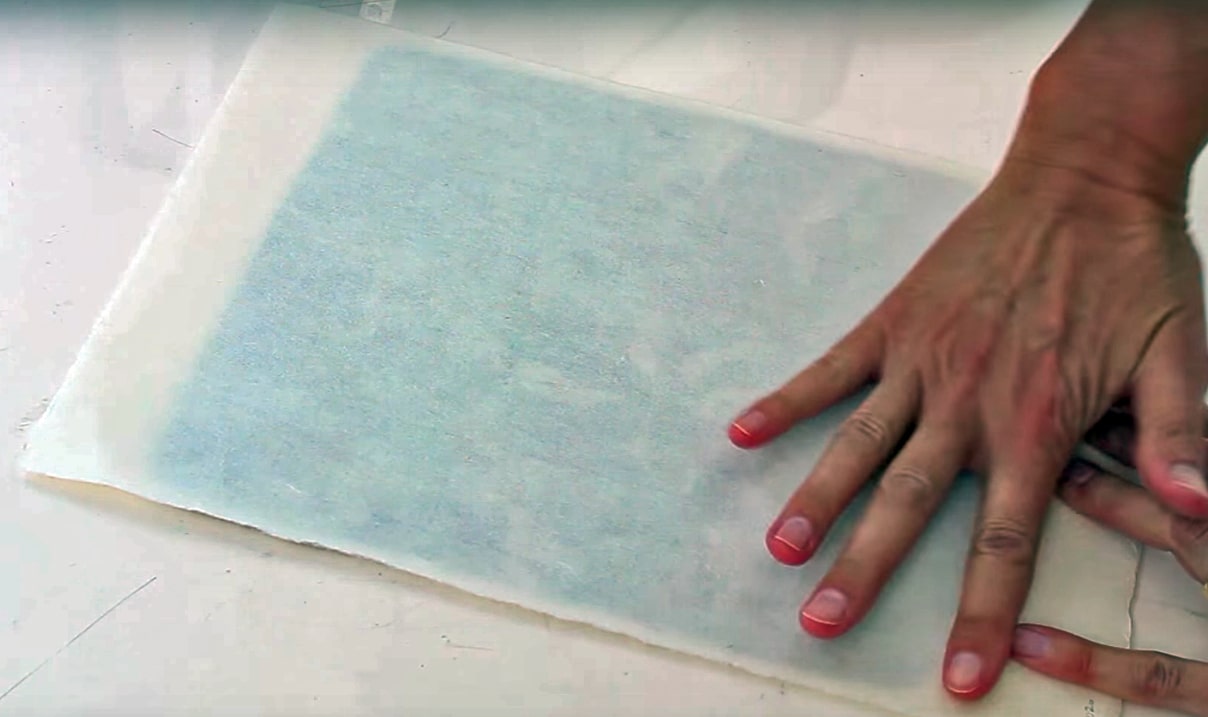
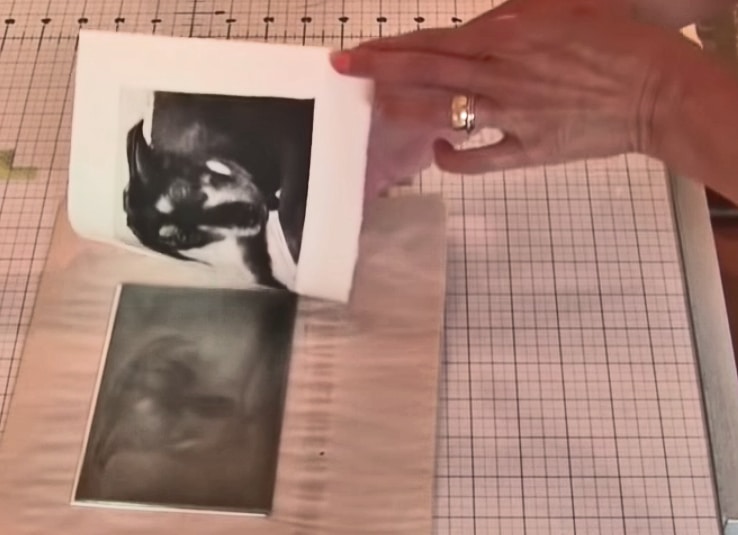
- When you feel like you've transferred enough ink from the plate to the paper, pull your print, and take delight in your beautiful monotype.
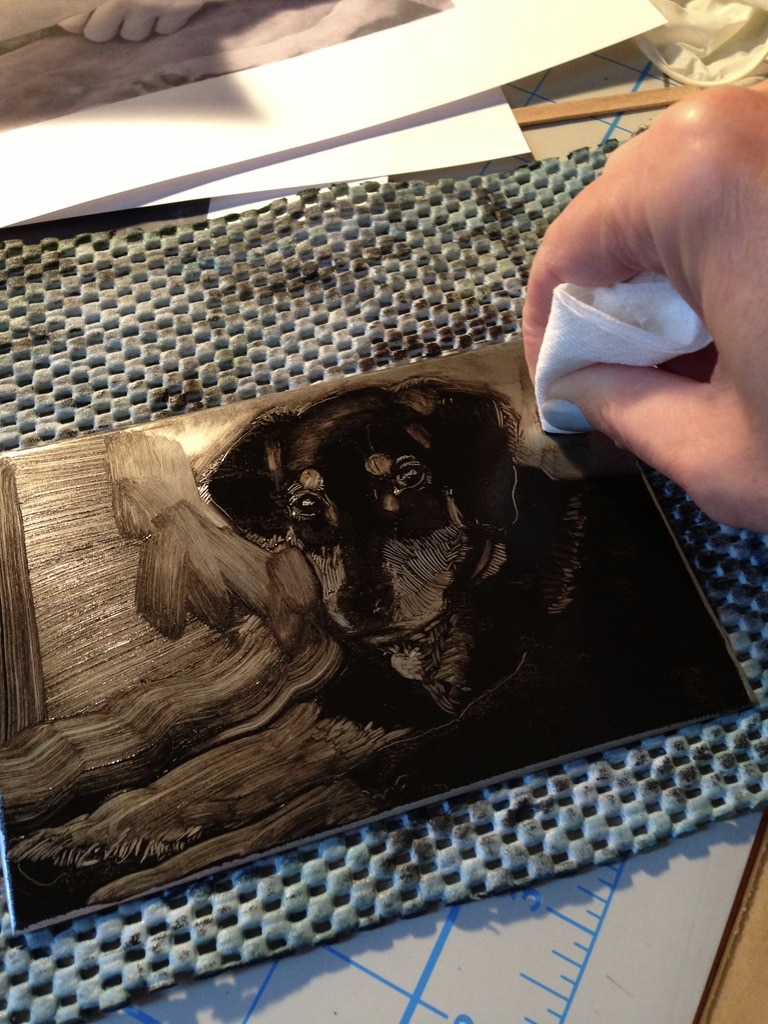
- After the ink is dry, feel free to add color to the print with colored pencil, pastels, or watercolor (provided you didn't use re-wetting ink, like Speedball).
Notes
If you make a mistake on a portion of your plate while you're designing and clearing ink, re-roll your ink, and re-blot if necessary. The inks (if you're using akua) stay wet for a very long time, until they are pressed to paper, so take your time, and get the hang of this painterly printmaking process.
Read More About Monotype Prints
- This monotype print tutorial will introduce you to the basics of making a dark field monotype print without the need for a press.
- When you create a monotype print, you often have enough ink left on the plate to pull a second, faint version of the first monotype. These soft, transparent siblings of the original image are perfect candidates for colored pencil or watercolor enhancements, and they’re called monotype ghost prints.
- If you’re on Facebook, be sure to join the Monotype Printmaking Group, as there are lots of helpful posts, inspiring images and shared How-To’s.
- Note: For the past two decades, I’ve used a mix of Prismacolor Pencils, and Caran D’Ache Luminescent Pencils. I still have pencils from the original set I bought in 1999, and they adhere beautifully and brightly to most printmaking inks. They are one of my favorite art supplies for enhancing monotypes and watercolors. (Here is another post about using colored pencils to repair watercolors.)
Hi Belinda, What an interesting article. I had no idea not that storing paper exposed to the air could lead to a problem. This info helps me to make choices in my own studio as well as in the classroom. But, in addition to learning something important and new, your post reminds me once again that a piece that “fails” in one respect can have a new life with a new approach. Your positive attitude towards art making is so wonderful and encouraging. Thanks again for all that you share with all of us.
Hi Kathleen, I didn’t know it either, till I encountered this issue. Who knew about an expiration date on air-exposed sizing? Now we know, and I hope to preserve the paper in my studio, especially given the price. Thanks for your kind note and feedback. I do enjoy repairing things, as the daughter of a mechanical engineer and chronic tinkerer. 🙂 I hope the results of your studio practice don’t require any repair, and your creative flow state produces beautiful art all the day long.
This article is very, very interesting. Thank you for these insights, Belinda – greatly appreciated. I sometimes use Thai Mulberry with Akua, and thoroughly wet the paper with a sprayer. Later on might chin colle it onto a western style paper. Some folk have noticed a halo effect from both Caligo and Akua inks on the Thai Mulberry after some months, but I haven’t seen this.
Hi David,
Thanks so much for your feedback. I really appreciate your encouragement. I have also heard about the halo of oil-creeping with those inks, but the only time it ever happened to me was a block print on heavy weight BFK Rives with Akua intaglio modified with mag mix, and I believe it happened because I did not stir the ink enough before printing. So, it was my bad. Also the halo was miniscule… it did not ruin the print. I needed glasses and a hard squint to spot it. Carry on, my friend!