
How to Print a Monotype without a Press
Monotype printmaking is the “painterly print” option. This printmaking process is accessible to everyone, and it doesn’t require sharp tools, carving lines into hard material, or using a printing press.
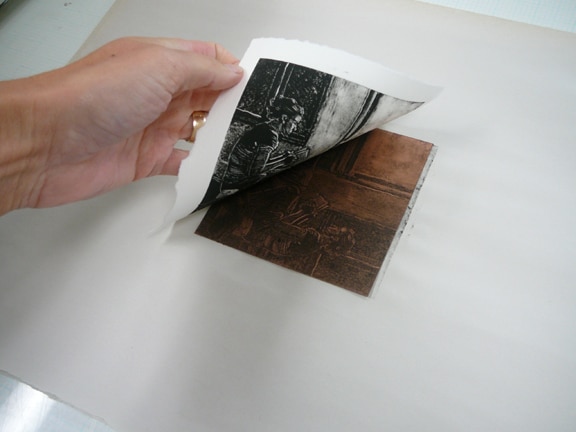
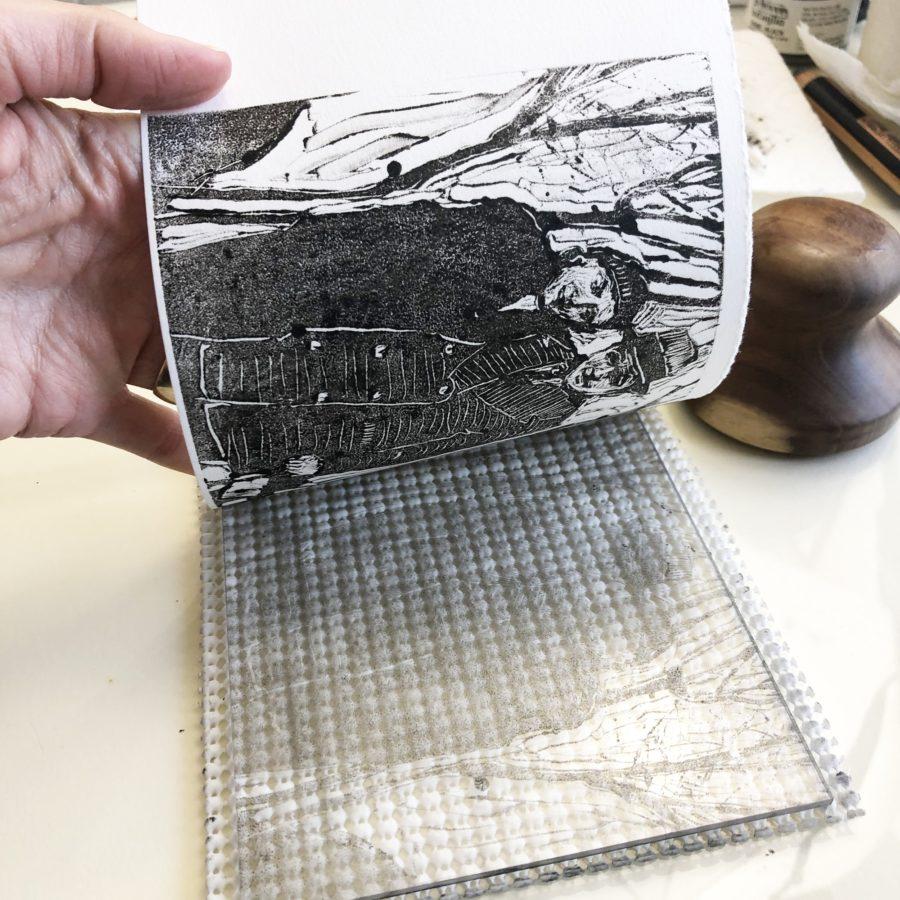
At its most basic, monotype prints are made by manipulating pigment into shapes on a smooth, flat surface, and then pressing printmaking paper onto the wet pigments to transfer the image from the plate to the paper.
You might ask why not just paint directly on the paper? You can do that, and it’ll be a marvelous painting. But I urge you to give monotype printmaking a try because the magic happens in the kiss between the plate and the paper. Read on…
The Magic is in the Kiss of Pressure
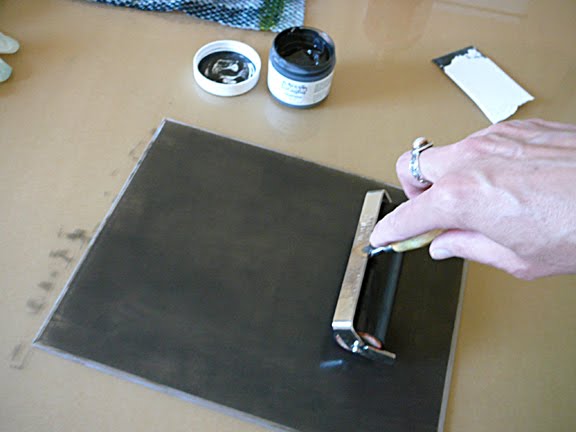
Roll ink onto a smooth plate made from plexiglass, a sheet of metal, drafting film, Yupo paper, tin foil, plastic snipped from a produce container, a Gelli plate, or glass from a photo frame.
The magic will happen in the marks you make in the ink, and the way values and edges between boundaries in your design will all renovate during the transfer from plate to paper.
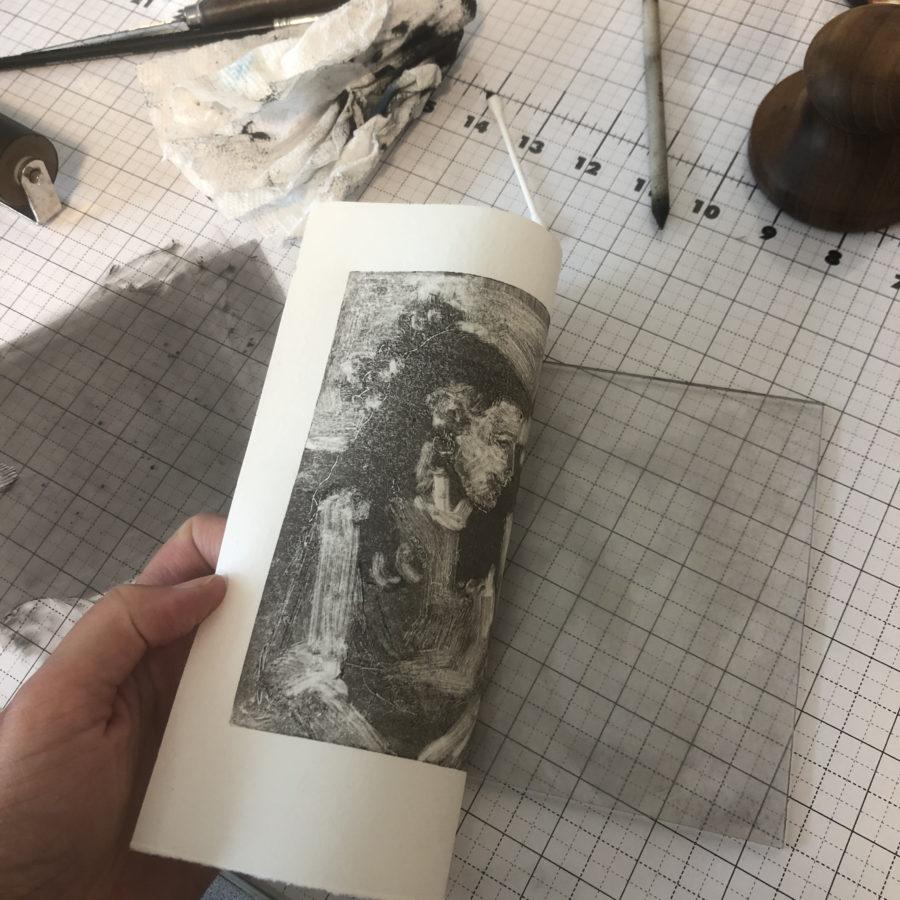
The pressure of pushing printmaking paper into the wet pigment – and the resulting compression marks, rubbed movement, and paper textures from that kiss of pressure will be a surprise every time you pull a new monotype.
You never know what you’ll get, and the reveal, as you pull the paper off the plate is thrilling. Pay attention to your heart-rate – because it will increase as you peel your paper from the plate to see what you’ve made.
Training to Loosen Up Your Art
The surprise reveal of a monotype print has great lessons for all artists too. Especially if you suffer from white-knuckled attempts to control your art till it looks suffocated.
Making monotype prints will reward a controlled artist’s eyes with surprises you can’t foresee. The beauty that blossoms naturally from compressed pigments – without the donation of the artist’s noodling – are a wonder. The alluvial blooms of ink on paper will encourage you to lighten up. Loosen up. Don’t squeeze so hard. Quit trying to make a masterpiece.
Focus instead on fluffing your sense of wonder at what a little ink will do after you roll it onto a plate, manipulate it into a shape, and then press it into a good paper.

When You’re Ready to Print
After you’ve manipulated your ink into a shape and design you’d like to see on paper, you’re ready to print.
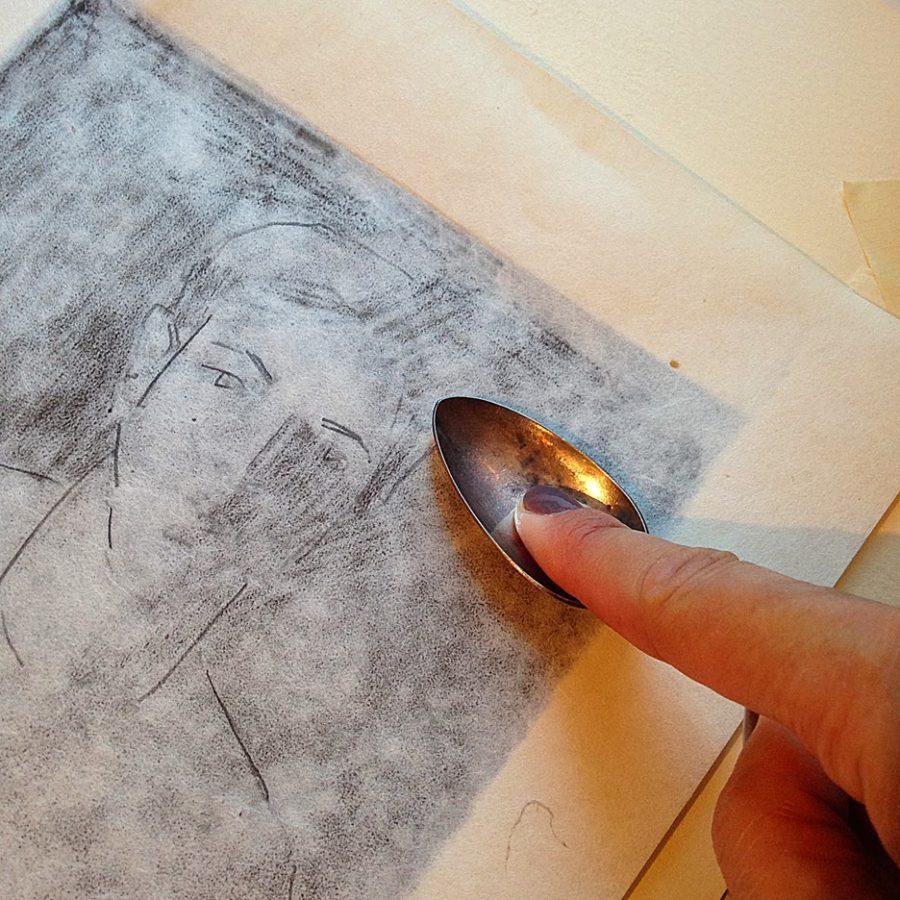
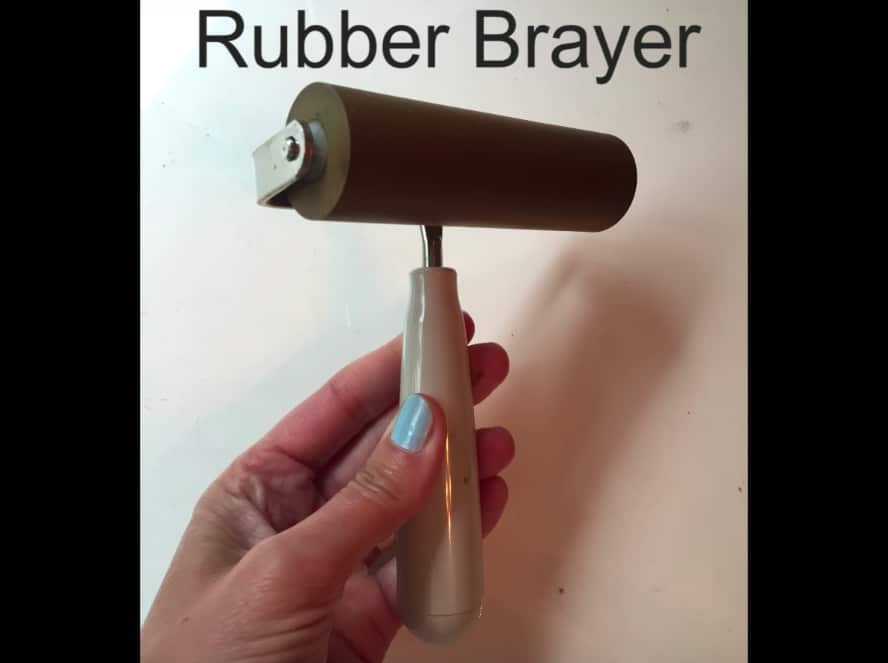
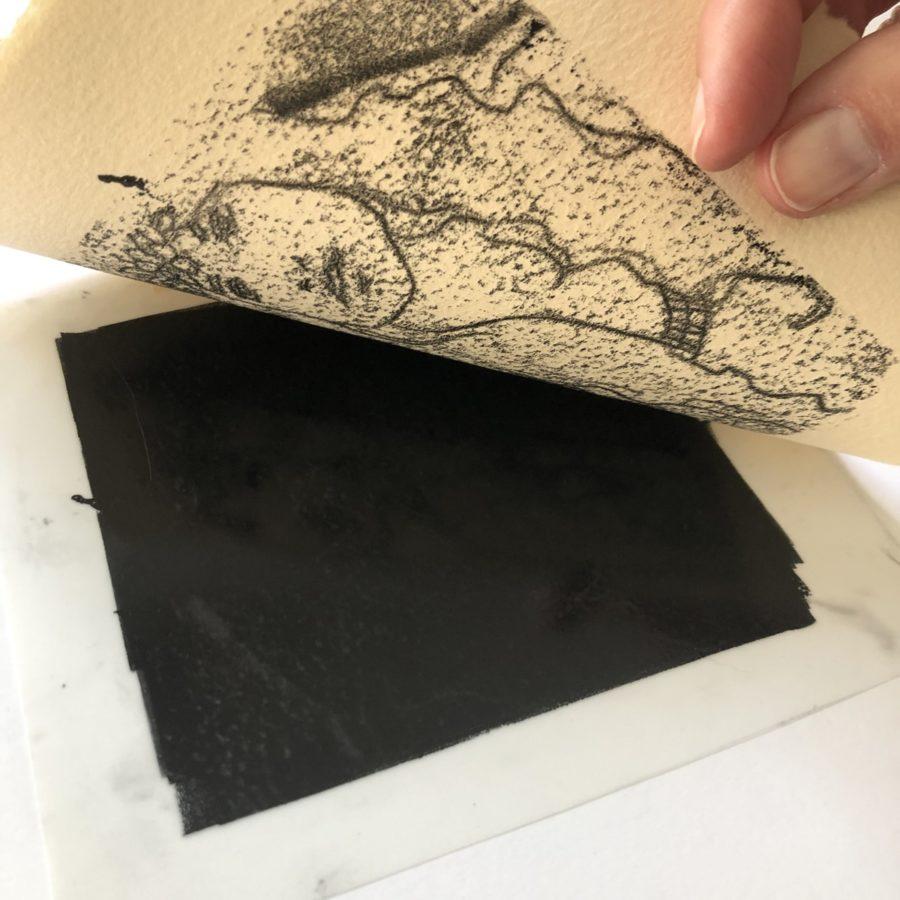
Lay your printmaking paper gently onto the plate, centered so you’ll have an even margin of white space around the monotype. Lay one hand on the paper to hold it firmly in place on the plate, and with the other hand, begin rubbing the back of the paper with a spoon, or baren or some other pressure-inducing item.

Making a Monotype on the Fly
One of the things to keep in mind related to printing a monotype like the ones in this post is to Keep it Simple. If you think of the set up and supplies as all sorts of complicated and messy, you’ll talk yourself out of getting started.
Here are some tips to make your monotype printing time most worthwhile:
- Using your printmaking plate as a guide, pre-tear your paper down. (I like to leave 1/2 to 1 inch of paper around the plate.) Have a stack of paper ready to go. You’ll use the same printmaking plate over and over again (hopefully, for years) for monotypes, so none of your pre-torn paper will be wasted.
- Print plenty of reference images from your photos in black and white, at about the same size as your printmaking plate.
- Set a pile of mark-making items out: cotton swabs, a pencil eraser, a ruler, pastel stomps, paper towels, stiff paintbrushes, etc.
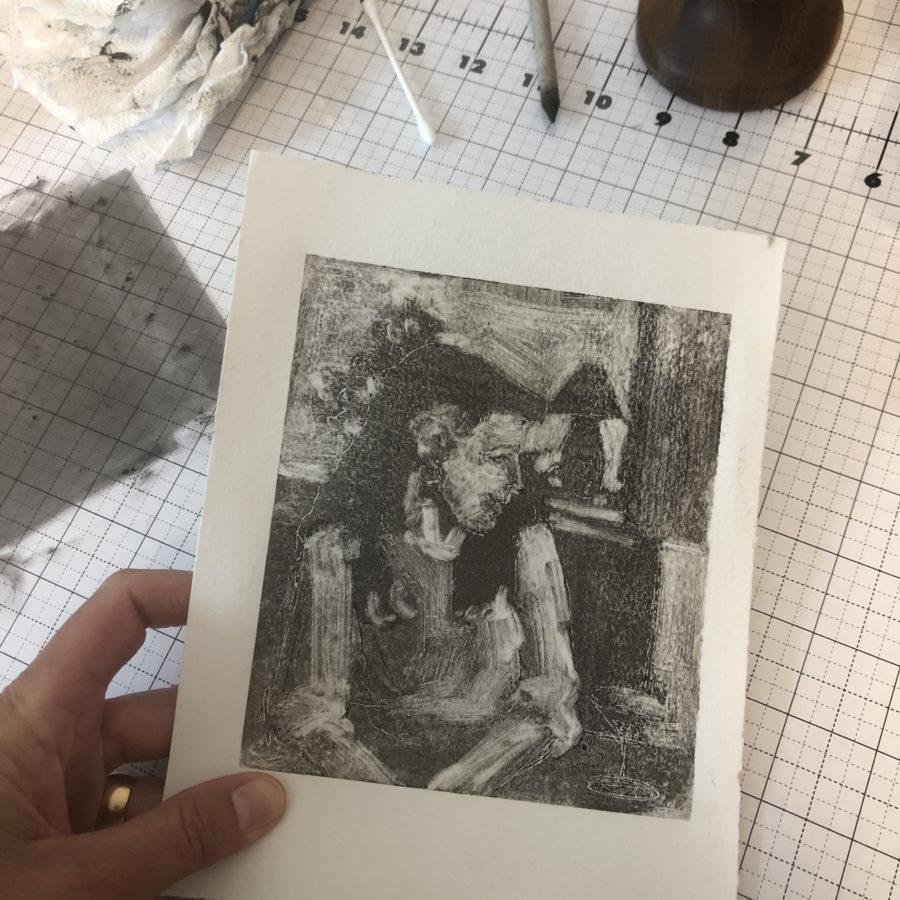
- If you need a little boost in the category of drawing, slide your reference photo under your plexiglass plate, and use a water-soluble crayon to trace your reference image onto the plate, and then roll your ink nice and thin over your drawing. You should be able to see your drawing as a guide underneath the ink.
- When you make a monotype, work *fast*. Don’t fiddle around with accuracy, or lots of little details. The pressure of the paper on the ink will likely obliterate them. Go fast, and make 4 to 8 monotypes in one sitting.
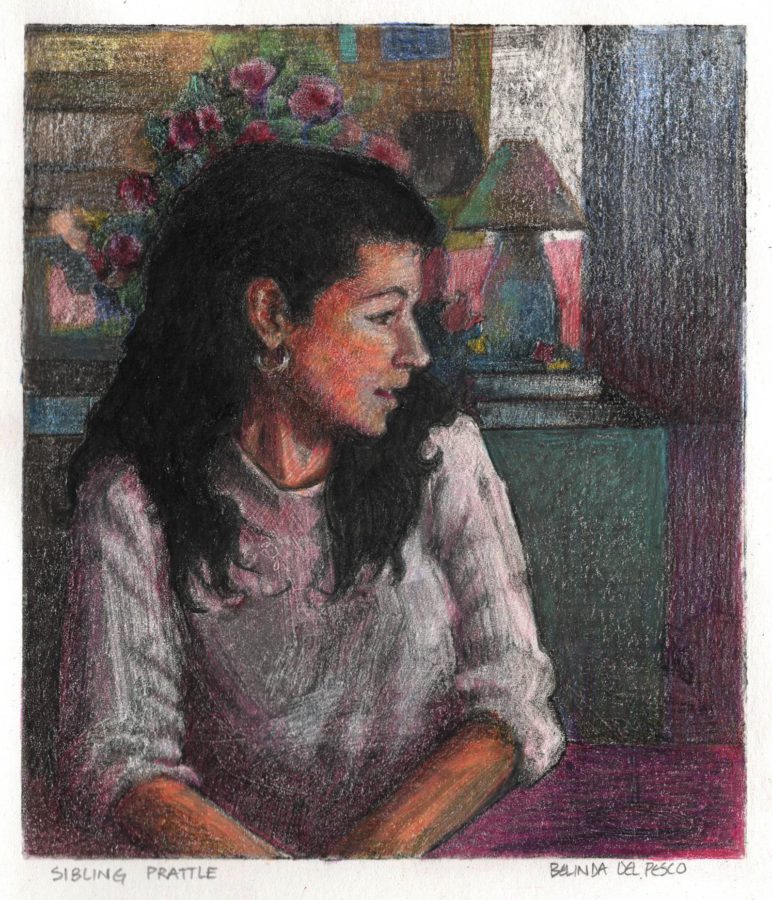
- Even if each of your monotypes comes out wonky (like mine did below) you can have a party with them later by adding colored pencil.


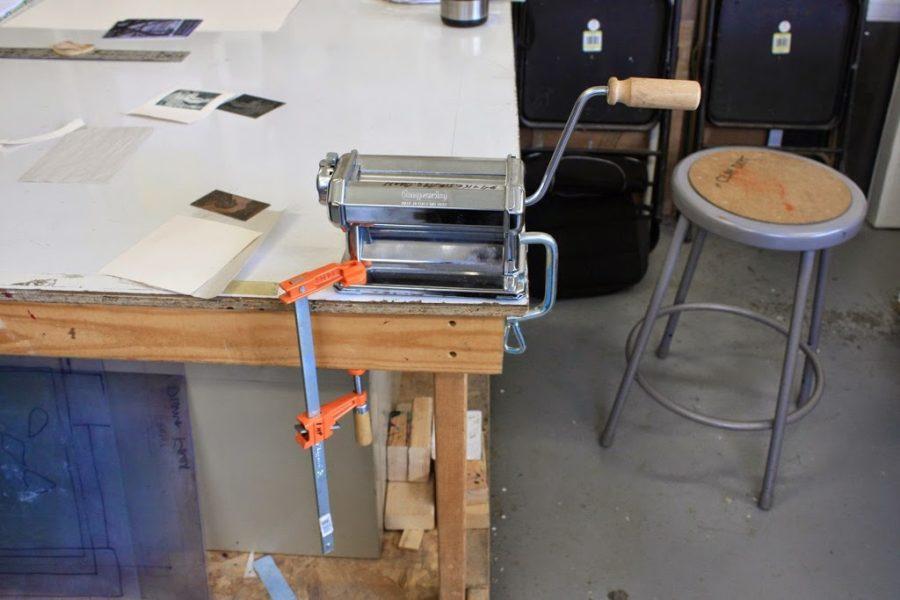
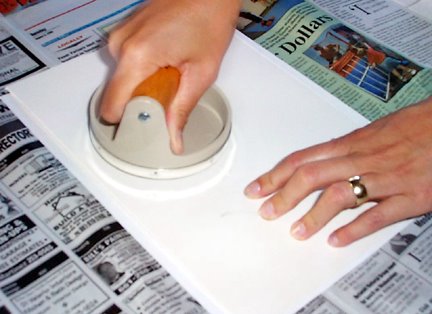
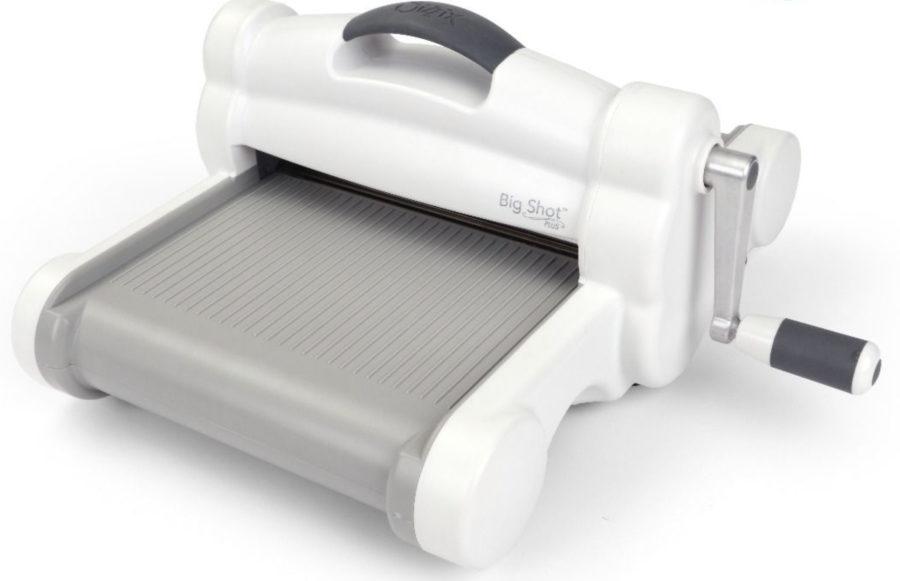
Small Craft Press Alternatives
Many printmakers wish they had a press to make collagraphs. If you work small, and you’re looking for alternatives to the size and expense of a traditional press, I hope you know about all the ingenious press “hacks” happening in the print world with embossing machines.
Have a look at this excellent little printmaking demo (below) by printmaker Robin Ezra of Printmaking Sisters. You can see more informative demos on the Vimeo page where she and her sister Annie Day share printmaking hacks. The little Sunlit embosser she’s using (below) can be found here on Amazon.
Make a Monotype Print
I hope you’ll dive in and give monotype printmaking a twirl.
Here is a playlist of demo videos on my YouTube channel with monotype print tips, tricks, and supplies listed with links in each video’s Show More section.
If you have any questions, leave them here in the comments or over on YouTube. Q&A about art-making always helps the folks who come after you, when they read through the comments.
Thanks for stopping by, and I’ll see you in the next post!
Belinda
P.S. Watch Dan Tirels make monotype portraits without a press, ink, or a brayer, using recycled chip bags, a rag, and oil paint.
Art Quote
We have eyes, and we’re looking at stuff all the time, all day long. And I just think that whatever our eyes touch should be beautiful, tasteful, appealing, and important.
Eric Carle

Hey Belinda, you are just so inspiring! I had forgotten about my Big Shot as being a nice little printing press. In fact, I had written an article for Cloth Paper Scissors magazine back in the day for the Sept/Oct 2013 issue entitled “Watercolor Monoprinting. Turn a die-cut machine into a printing press.” It’s so fun re-purposing equipment on hand for new art activity! Anyway, I so enjoy your newsletter. Thanks for your continuous generous sharing of techniques! See you on IG 🙂
Jeanine
Hi Jeanine! I had no idea you were a print-hacker! But I shouldn’t be surprised one bit! Is the article you wrote still available online? Is there a link to it? I’d love to read it and share it with other folks looking for tips and tricks to make prints more affordably and in a smaller format.
🙂 I checked to see if the article was available on-line but it looks like one would have to purchase a digital copy of the magazine. Unfortunately, it doesn’t look like my article alone can be accessed.
Here is the link to the issue: https://www.interweave.com/product/cloth-paper-scissors-september-october-2013-dig .
Thanks for asking!
Awwwe, phooey! I see on the cover there are examples of your prints, and it was an anniversary issue too! Good job, my friend! Thanks for checking though!