The Beauty of Monotype Ghost Prints
Monotypes are painterly, singular prints made with a smooth plate and pigment. There is no carving, no incised lines, no adhered ephemera to leave a repeatable mark on printmaking paper. And you don’t need a press to transfer the print.
Monotypes are made by manipulating printmaking ink or pigments (oil paint, watercolors, gouache, etc.) on a smooth plate, and pressing those pigments against a sheet of paper before they dry. If you’d like to see some of the step-by-step process photos, visit this page.
Let the Art Simmer
Monotype ghost prints – like the one that became the art at the top of this post – waited in my flat files for months before I pinned it up, and had a good long stare at its possibilities. (If you haven’t heard about monotype printmaking yet, visit this post and this one to see video tutorials, and process photos. You’ll be ready to make a monotype at the kitchen table in 20 minutes!)
The beauty of monotype ghost prints is that you can take them anywhere you’d like to go, with other media. Ghost prints are a perfect underpainting to get you launched into creating a new image. Read on so I can explain….
Monotype Printmaking Process
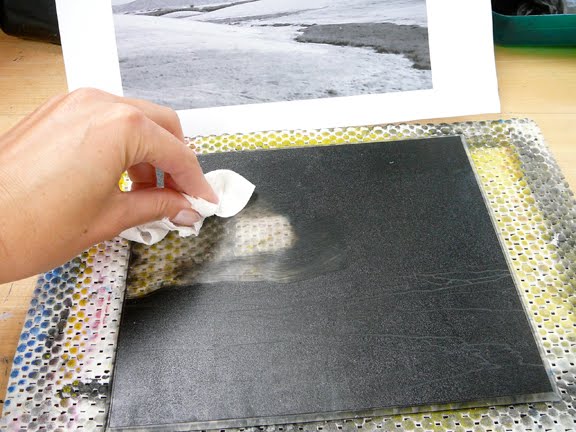
This monotype started on a sheet of beveled plexiglass, coated with Daniel Smith oil-based etching ink. (This is called a dark field monotype, because we are starting with a completely ink-coated plate, or a ‘dark field’.)
With my reference photo propped nearby (you can see it in the upper frame of the process image above), I’ve drawn into the ink with the point at the end of a watercolor paint brush handle, just enough to give myself a map in the pigment.
I’m using paper towels to lift ink away from the plate, to clear areas of big sky. Dark field monotypes are rendered using a subtractive process – or a removal of pigment. Pretend you are “carving light” into the dark field.
Ready to Print
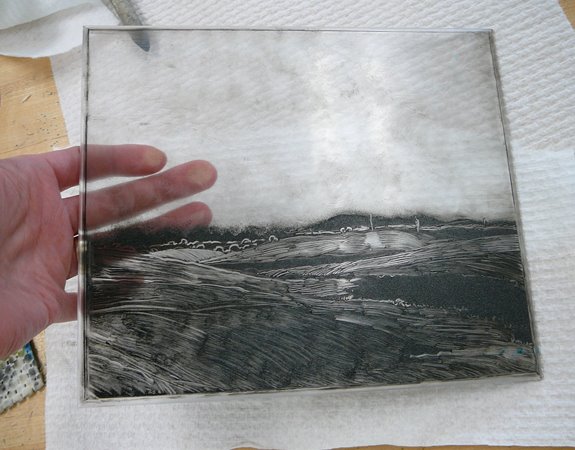
The ink (above) has been pushed, cleared, scraped, lifted into halftones with finger-tapping, and grooved with pastel stumps. The plate is ready to have a sheet of soaked and blotted paper laid on top of the still-wet ink, and rolled through an etching press to transfer the ink to the paper.
Pulling the paper off the plate is always a surprise, because the pressure of the paper’s surface – either via the press, or a hand transfer with a baren or the back of a spoon – squishes the ink against the paper’s surface, and moves the pigment in a myriad of ways. It’s great fun.
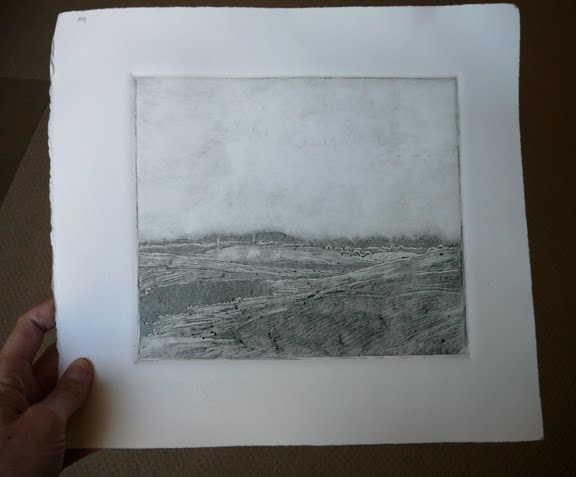
Monotype Ghost Prints
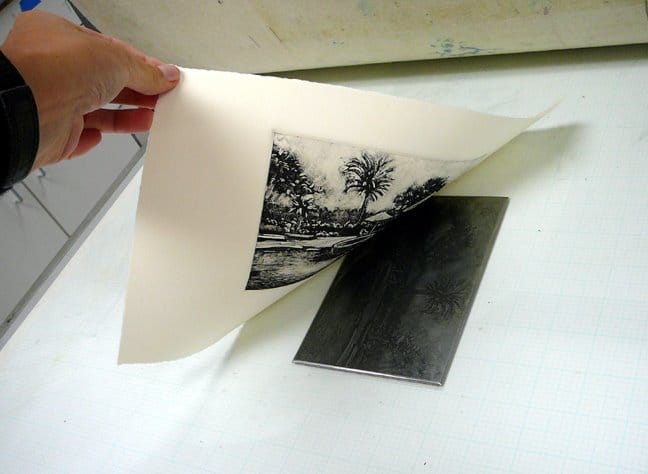
After a monotype is pulled, the plate usually has a faint layer of ink left behind, which is altered a little from your original mark-making because the ink was squished by the paper.
You can lay another sheet of soaked and blotted printmaking paper on the sheer layer of remaining ink on the plate, and either run it through the press, or rub it with a spoon for a hand transfer to pull a ghost print.
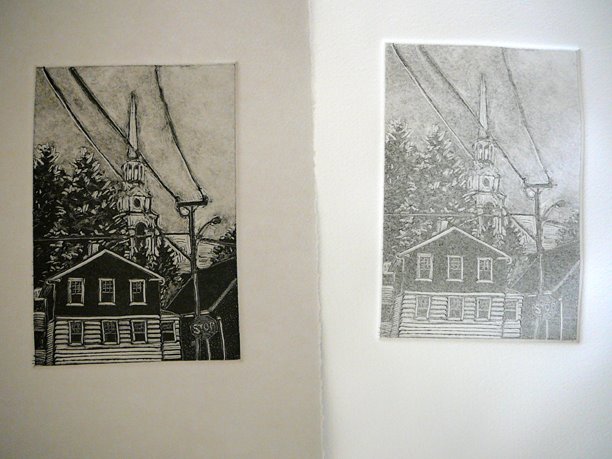
Where to Learn More About Monotype Printmaking
If you’re new to the process of monotype printmaking, you can visit a playlist of tutorial videos on my youtube channel here. You can also check out a 5 minute video of dark field monotype from start to finish by British printmaker Chris Gollon here. And if you’d like a fun online course about Monotypes, sign up here to be notified when the online classes I’m filming are available.
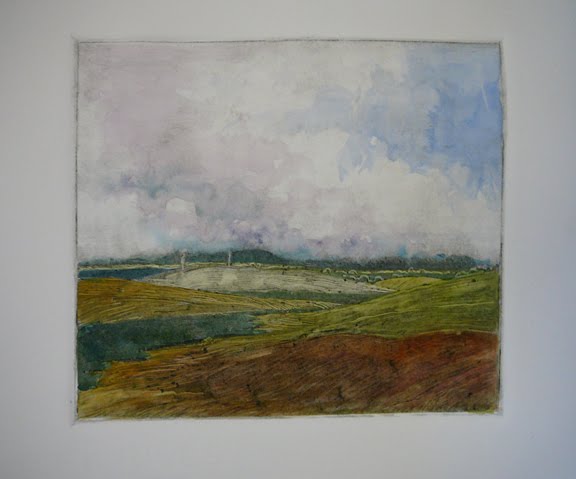
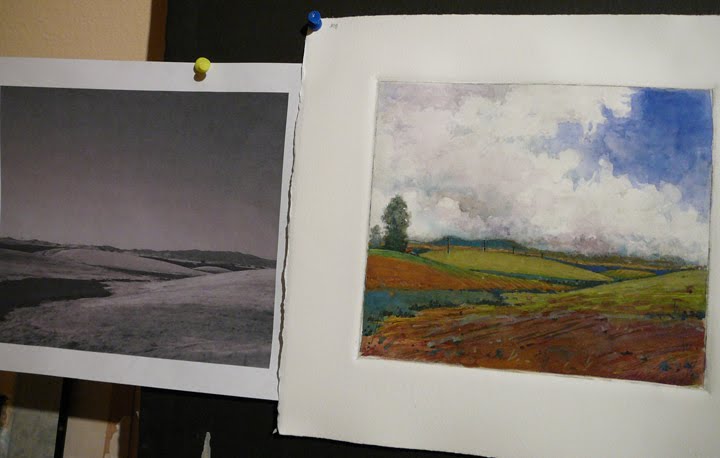
Play with Your Monotype Ghost Prints
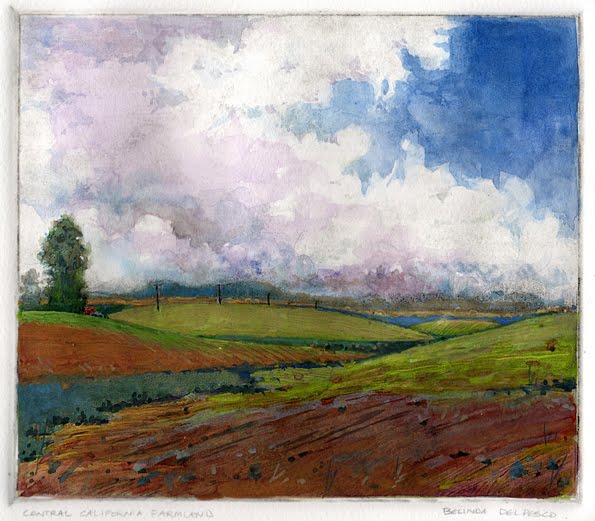
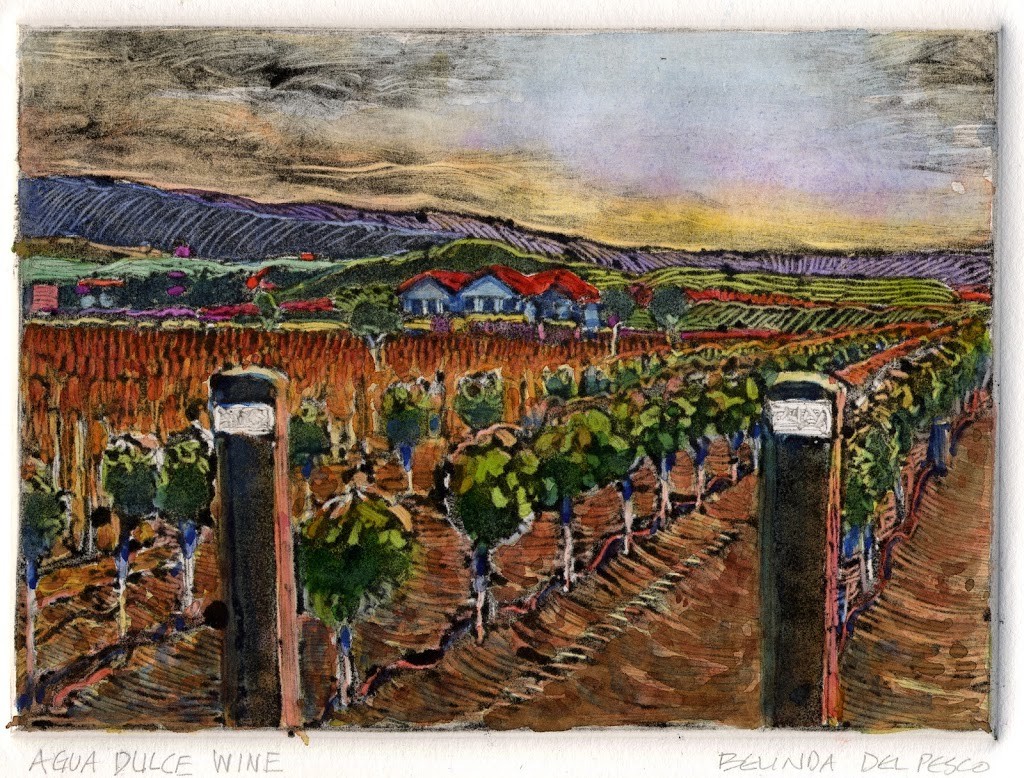
Almost finished, with my reference photo on the left (above). You can see that I’ve used a little creative license, and strayed from the photo by adding a few trees, the clouds, and an altered shape of the horizon on the finished monotype.

Make a Monotype Print
If you’ve never made a monotype, I hope you’ll give this flexible, no press required, inventive and painterly printmaking process a try. Follow along on any of the tutorial videos on my channel, and if questions come up, leave them in the comments here, or under the video you’re referring to when you make your print.
Have a monotype party with friends and share the results online so we can see. Tag me (@bdelpesco) on social media so I can check out the fruits of your labor. Whataya say? Let’s get started!
Thanks for stopping by and I’ll see you in the next post!
Belinda
P.S. You can subscribe (free) to get each new post via email by signing up here.
NOTE: The title of the monotype in this post is Central California Farmland – which is a subject-based title. Not very imaginative.
After titling that print, I created a painless system to title art that moves away from subjects, and towards titles that actually enhance the art. I might have called that monotype Single Knave Quilt, or Cirrus Sentry, or Roaming the Hinterland…
If you need help with titles for your art, here is an Art Titling course that’ll solve that quandary once and for all.
Helpful Printmaking books for you:
Art Quote
I have done a few drawings. All in all, I have been less courageous than I expected to be. I refuse to give up before I get results, though. As I am at loose ends here, I might as well make the most of my time and study my craft. I have started down a hard path that requires great patience.
Degas, age 24 (1858) in a letter to a friend while visiting Florence Italy


Hi Belinda – Arches Cover is available by mail from Jerry’s Artarama and Blick’s, with Blick’s being a little less expensive and both are free shipping at $35.00.
Hi Ivy! Thanks for the suggestions! They are often out of Arches Cover, so I’ll give them a look, and stock up! ??♀️
? no haven’t tried Arches 88 yet or silk screen…u can get arches 88 here but haven’t found arches cover yet or BFK Rives so will check out those links. Rosipina behaves as you described with watercolour on Arches88, but have actually been able to get it to work with a watercolour monoprint off glass.
I’ve been having a lot of fun going to local work shops so no doubt will learn about silk screen etc. We’ve just had a go at solar plates and our next one is on collagraphs.
Thank you again for your help?
Good for you on local workshops. Hands-on tutelage for equipment, inks, papers, modifiers, etc is so much quicker to absorb (to me).Solar plates are fascinating to me, though I haven’t tried them yet. And collagraphs! You will have so much fun! I haven’t done silk screen since the 80’s – but I love silk aquatint; it’s another “painterly” form of printmaking, and there are no caustic solvents involved. Have heaps of fun! And share you work somewhere we can see it. Post links here in the comments. 🙂
Not sure how to post images yet ? a new challenge
Are you in the Belindatips facebook group? https://www.facebook.com/groups/belindatips/ You could post them there, or in the Monotype Group? https://www.facebook.com/groups/MonotypePrintmaking/ Here are the instructions:
To share photos or videos with a group:
From your News Feed click Groups in the left menu and select your group.
Click Add Photo/Video at the top of the group.
Pick a sharing option:
Upload Photos/Video.
Create Photo/Video Album.
When you’re ready to share, click Post.
Any member of the group can add photos to a group album. Group photos are only visible to other members, and only group members can be tagged in group photos.
Hi I posted some pics on the monotype print making site as suggested ?
Hi Lesley! I just saw the posts yesterday, and responded on the monotype facebook page. Did you see the post replies?
Yes I did…Thanku for being so positive. It’s been nice getting feedback from people outside my usual circle, given me a nice little ego boost?
Yayyy! That camaraderie and encouragement is the best part of sharing your work online. You make the art alone, and then you enjoy the community of sharing it. Wonderful! ??
Thank you Belinda…I’ll continue to experiment and try the BFK Rives as suggested. Fabriano Rosipina is great for printing on but is unsized and the surface can be damaged by anything hard.
Hi Lesley, I may have to try that paper…. it could be good for silk aquatints. Have you made prints on Arches 88? ( https://amzn.to/2TNVhS0 ) It is bright white, with a very smooth, almost plate finish, and no sizing at all. It takes dry media over monotypes, like colored pencil or oil-crayon beautifully, and it’s pretty strong. Just don’t put any watercolor on it, or you’ll watch the pigments travel well beyond where you meant them to be. 🙂
Hi from New Zealand ? I’ve only been playing with monotypes etc for a short time and use akua. I’ve been using Rosipina print paper mostly and done a little playing with rice paper. I’ve found the rosipina is too soft for adding colour pencil etc…the akua does not prevent the surface fluffing up. Rice paper was good with colour pencil but unsure how it would take watercolour. I was interested to know what paper you use for multi media finishes?
Hi Lesley, Yes, paper choices when exploring other media on top of a print can be a quandry, depending on what sort of media you want to add, and where you live. My favorite printmaking paper for adding water-based media (watercolor, gouache, etc.) is Arches Cover, since it has sizing in the fibers, which slows/prohibits the paint from sinking into the pulp and “bleeding” beyond the area where you lay it down, but it’s difficult to find online and not available where I live.
Second to that for wet-media on a print, I like BFK Rives printmaking paper, which is a little more “spongey”, and available on amazon (http://amzn.to/1yMFTtc) <--- in a thinner paper, (https://amzn.to/2HTTfhK) <--- and a thicker paper. If you use a lot of liquid with your pigments, I would recommend the heavier paper. Watercolour on rice paper - in my experience - with the rice paper I used - was like painting on a paper towel; the paint traveled far and wide beyond the area I meant it to settle. Maybe test a small scrap before you give that a try? 🙂 Good luck and let us know what you find out, since this is a common question in different parts of the world. I've never heard of Rosapina paper. ??♀️
So beautiful! Thanks for this. Your works are amazing.
XOXOXOXOXO
XOXOXOXO ?