Resources for small, affordable printing press alternatives!
One of the most frequent comments left on my youtube channel printmaking tutorials asks how to make linocut, drypoint, monotype and collagraph art prints without a printing press.
A traditional etching press is an expensive investment, and they’re heavy, with a large footprint that’ll take up quite a bit of floor space in a room.
There are also many to choose from, so it’s understandable that beginning printmakers are overwhelmed.
Drypoint Printing Press Alternatives
There are workarounds to make both relief and intaglio prints at home that include hand transfer, or printing press alternatives.
Hand transfer of drypoint engravings, etchings and intaglio style prints is a lot of work, but it can be done.
The effort to print an intaglio etching by hand might be too challenging for beginners. If the prints fail, first-timers might lose interest in printmaking.
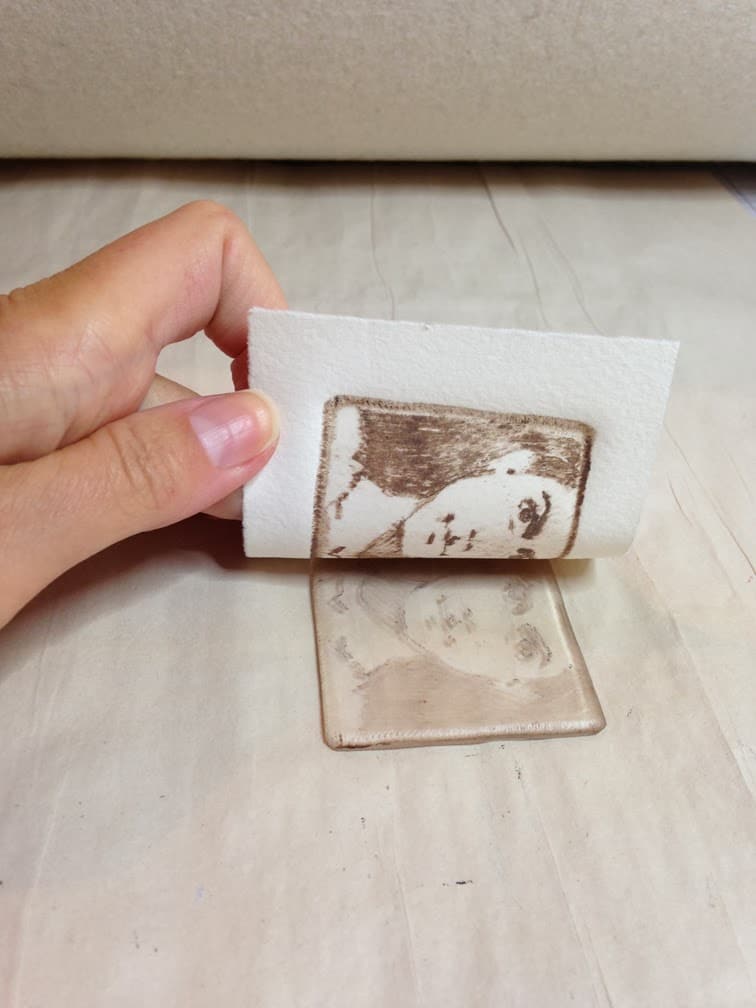
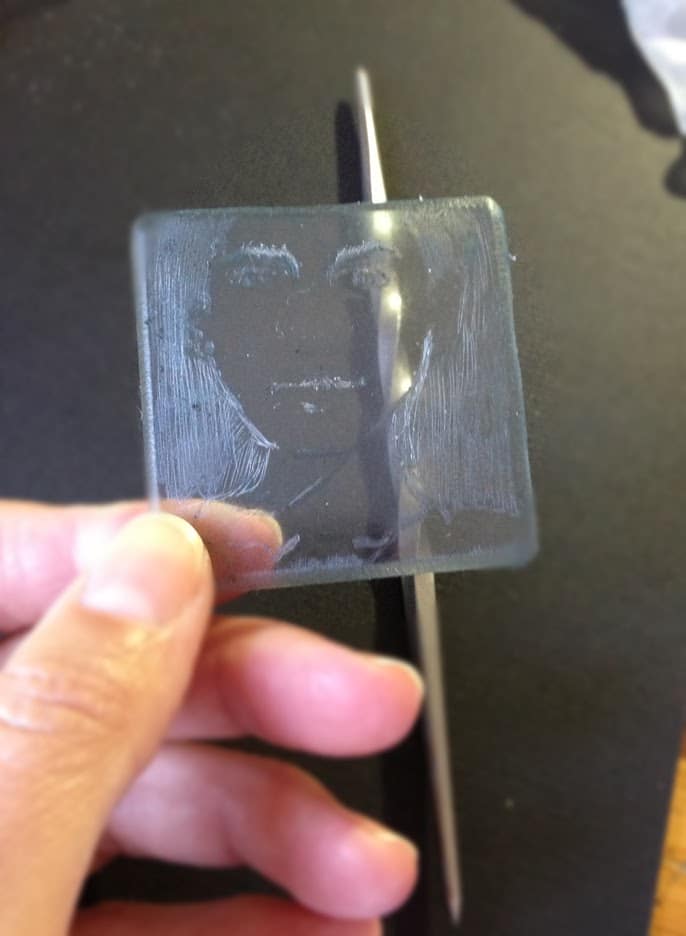
To avoid that risk, I’d recommend acquiring a small embossing machine to try with a few sheets of plexiglass to make some drypoint prints.
We need successes in the studio to stay interested in building new skills.
Maybe a small printing press alternative would help… here is a post by artist Annie Day in Australia. She describes using the pressure from a small, inexpensive die cutting machine to print her beautiful dry points, etchings, linocuts and collagraphs. Might that work for you?

Printmaking without a Printing Press
If you search the net for artists experimenting with printmaking from embossing machines, you’ll find successful plexiglass drypoint engravings printed with a Sizzix Big Shot.
Check out these posts by three different creatives using printing press alternatives: here, here and here.
There is also a group on facebook full of tips and tricks to jerry rig embossing machines and pasta makers into workable printing presses over here.
The basic printing press mechanics of applied pressure work on an embossing machine with a little tweaking. Adjustments of the paper, and layered padding or cards will help keep everything snug and secure as the plate goes through the machine.

Share your Successful Results
If you’ve tried one of these groovy little embossing machines, please leave a comment to let us know how you like them.
If you have a blog that shows your set up, leave a link too.
I think this option is very exciting, for the size and portability, the affordable price point, and the opportunity for new printmakers to produce small format editions on a kitchen table. How cool is that!?
Thanks for stopping by today, and I’ll see you in the next post!
Belinda
P.S. You can subscribe (its free) to get each of these posts as an email here.
P.P.S. Here is another post all about drypoint engraving and etching on plexiglass, with more links to useful resources.


Art Quote
Until one is committed, there is hesitancy, the chance to draw back, always ineffectiveness. Concerning all acts of initiative and creation, there is one elementary truth the ignorance of which kills countless ideas and splendid plans: that the moment one definitely commits oneself, then providence moves too. All sorts of things occur to help one that would never otherwise have occurred. A whole stream of events issues from the decision, raising in one’s favor all manner of unforeseen incidents, meetings and material assistance which no man could have dreamed would have come his way. Whatever you can do or dream you can, begin it. Boldness has genius, power and magic in it. Begin it now.
Johann Wolfgang von Goethe


Great blog, so appreciate your generous instructions Belinda! Just wanted to mention there is a FB group “printmaking on the xcut xpress” if anyone is interested
Thanks for the tip, Maja! I just added a link to it on the post. ??
I created 90 Christmas cards from an original woodblock using my tiny Epic Six this year and a home made carrier. I have also used the little craft press to make a monoprint and it will, I am sure, handle and etching with some planning and the appropriate paper or felt blanketing. The maximum print size is 5″ x 7″.
Hi Barbara, That’s amazing! I wish these little craft presses were available when I was just getting started! SIgh. I’m convinced that over time, artisans will come up with tried & true workarounds to print any small format relief or intaglio work on them, at a fraction of the cost of a larger press. It’s *very* exciting! Great job on your productivity, and your monoprint experiment. Thanks for stopping by to leave a little more encouragement to folks considering this less cumbersome path towards printmaking on a budget.
Love the image, the information and the quote. Your posts are magical. Happy Valentine’s Day.
XOXOXOXOXOXO Barbara
Thanks for the kindness, my friend. I’m boomeranging it back to you in imagined thousands of Spring leaves budding under branch-bark. xoxoxo
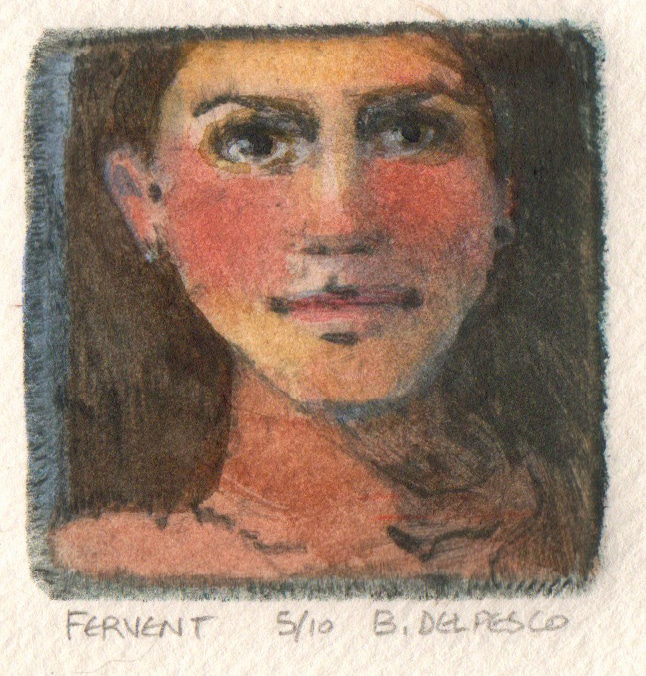
Hello Belinda, we’ve spoken before. I’m loving my Cuttlebug. Your little drypoint is inspiring me to do some even smaller than the 5×7’s I’ve been doing up ’til now. I like that you showed photos of your process. It gives me something to measure my progress to. PS: I’m giving classes at our local gallery in trace monotype. I’ll let you know how I get on.
Hi Sasha! Its nice to hear from you again. I’m thrilled that you’re giving classes in trace monotype! It’s such an accessible form of printmaking, and with just a little guidance, the inspiration blooms! I’m glad the little drypoint is giving you ideas, and I look forward to seeing the results from your class and your experiments. Come back and visit again… Happy printing!
I am using an old wooden mangle..found at a junk yard. the Victorians used them for wringing washing. Hubby is currently making a raised flat tray to make it easier for me to place the plates.. I will use it for printing tea towels lol. I have used it but it needs more tweaking but it does work! Giselle
Hi Giselle – Good for you on the repurposing of those old ringer cylinders! I wonder if anyone has put a Pinterest Board together of all the ways a printing press can be kluged together from disparate parts never meant for an art studio. If you take photos of your set up and post them online somewhere, please come back and post a link so others will be inspired to pull out the tool box to start something fun!
Hi Belinda, thanks so much for your blog. I bought the Xcut Xpress and absolutely love it! I am about to order the long cutting board so I can create larger prints like Colin. So far I’ve done a few linocuts, but I have some excess acrylic so thought I would have a go at a drypoint. I think for many printmakers the lack of a press is a real handicap and I am delighted that there are other, inexpensive options. There was a long thread on Facebook’s ‘Linocut Friends’ about the Xcut, with printmakers from all over the world commenting on their purchase and the results. The power of the internet!
Hi Cheryl, Thanks for adding to the conversation. I’ll search the Linocut Friends Facebook group for that thread… I’m sure there are all sorts of tips & tricks to be harvested from the collective of sharing printmakers there. We love the internet! Post your acrylic plate drypoint somewhere online so we can all be inspired and encouraged. I love that these little machines, and scrap pieces of plexiglass can launch a whole new experience to budding printmakers. 🙂
Wow! My etching came out really well. I will post it on my Facebook page which is https://www.facebook.com/cheryl.bell.33865
I have a cuttlebug that I bought for this very purpose, but I don’t know how to use it to pull small prints. I will check out the links you have provided!
Hi Sharon, Congrats on your purchase of the cuttlebug, and I’m so glad the links might be useful to you. Here’s a cup of coffee toast to your spirit of adventure with your new tools!
I recently bought a small (A4 size bed) die cutting model which many people are now using for lino cuts and etchings. The one you feature looks about the same.Mine has a pressure adjustment and i bought a small piece of felt for my blanket. So far, I’ve had no problems adjusting for lino, zinc and photopolymer plates.Like all new things, it takes a few practice runs.
So far, everyone seems to be happy with the performance. For anyone interested, an artist in Scotland has written a blog post on his trials of it here http://www.colinblanchard.com/blog/the-handbag-press.
And yes, “handbag” is an accurate descriptor!
And any readers from Australia may find this helpful https://www.annieday.com.au/xpress
Thank you, Belinda.
Hi Diane, Thank you very much for the introduction to Colin’s blog! What a gold mine of printmaking inspiration. I’ll move the link up into the body of my post, with hopes that readers will also discover him, and subscribe to his youtube channel.
Thanks again! B.
I have used a Cricut Cuttlebug, an Epic letterpress and the Evolution (a very sturdy little machine) as little presses and all work well. I also use an Akua pin press with good results so there are lots of choices. Your print making is always inspiring.
Hi Mickey, I’m so glad to hear you’ve had success with ALL of them! This gives artists so many options! Thanks very much for stopping by to let us know. And thanks for the compliment too. 🙂
Hi Belinda, thanks for all these tips and links about press options – this is very exciting information!
Hi Gabrielle – I’m glad you’ve seen this post, because I thought you might be enticed by the intaglio print options…. even more to experiment with! 🙂 happy printing!
You notice a lovely moment and fashion a print so that we may also notice. What feeling in her face, cropped and colored just so! As usual, a generous sharing…
Thanks, Laurel, I’m glad the quiet things speak to both of us. Maybe the world could use a little more of that these days. 🙂