
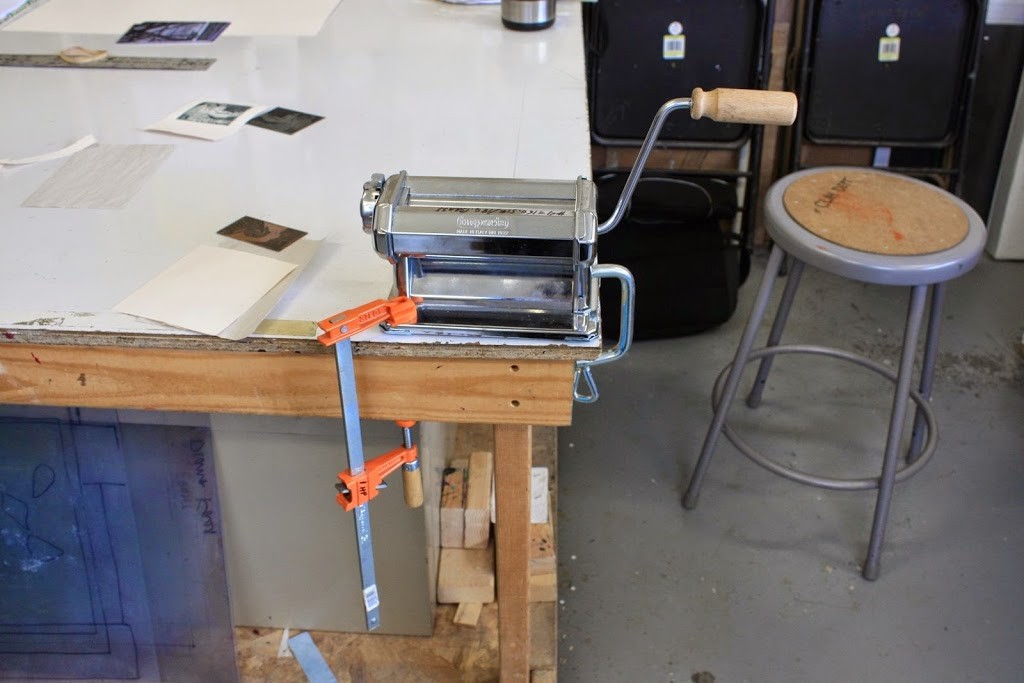
Printing a Drypoint without a Press
I’m delighted that you’re enjoying this series of posts on Drypoint printing at home without a press. (If you missed any of the most recent drypoint print demos made from recycled plastic, I listed them for you below.) This is Part 1 of a two part post on Drypoint Printing without a Press – What to avoid in your attempts to transfer a drypoint print by hand.
Adding Shading to a Drypoint with Crosshatch
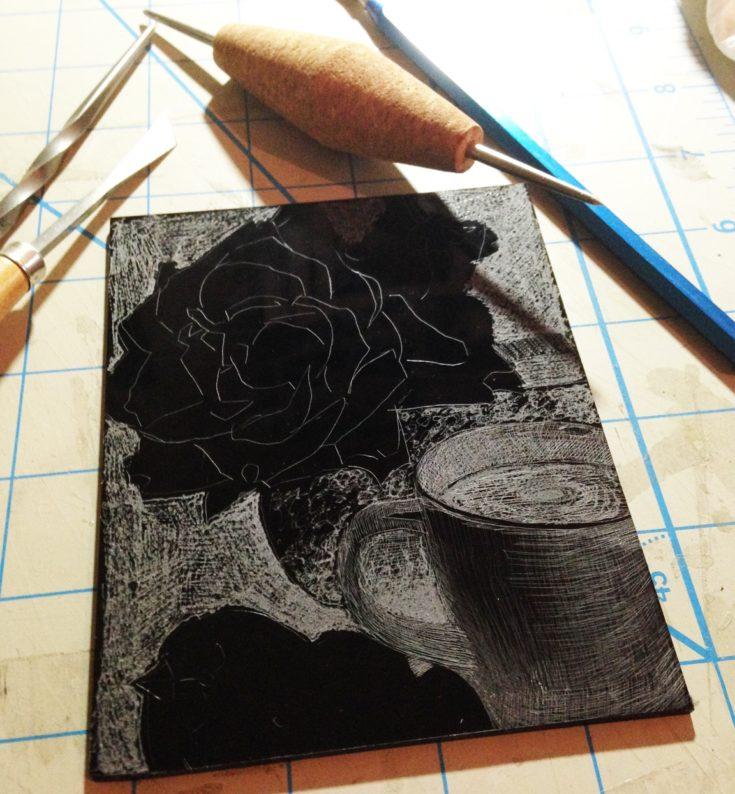
One of the design considerations important to remember for your first hand printed Drypoint relates to your line work. You might be inclined to add all sorts of shading and details by cross hatching into the plate, but I’m suggesting you to hold off on that.
Hatching in drawing is the use of fine, parallel lines laid close together to create the illusion of shade or dimension. Crosshatching is an extension of that, using two or more sets of fine, close together parallel lines at right angles to each other for the same affect.
Crosshatching on a Drypoint works well on a Press
I’ll demonstrate in this post why your chances of printing a successful hand pulled Drypoint depend on simplicity of line.
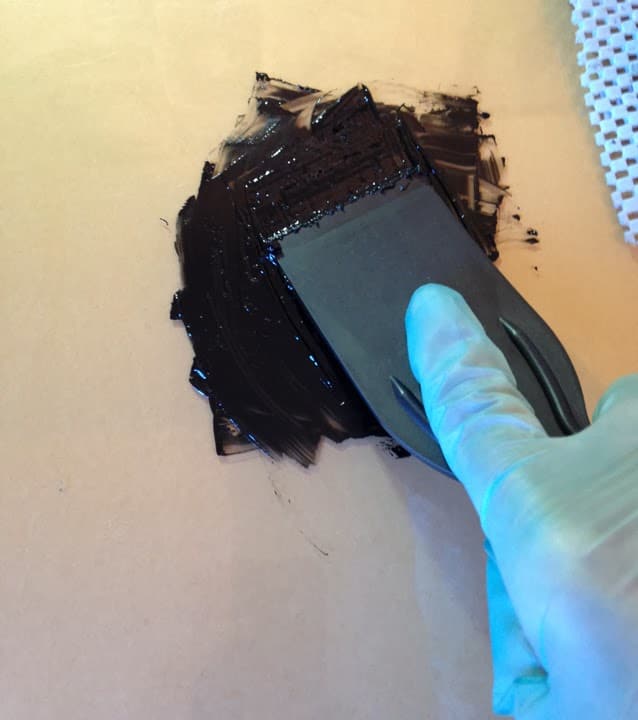
The photos below take you step by step through inking, wiping and printing a drypoint etching by hand, without a press.
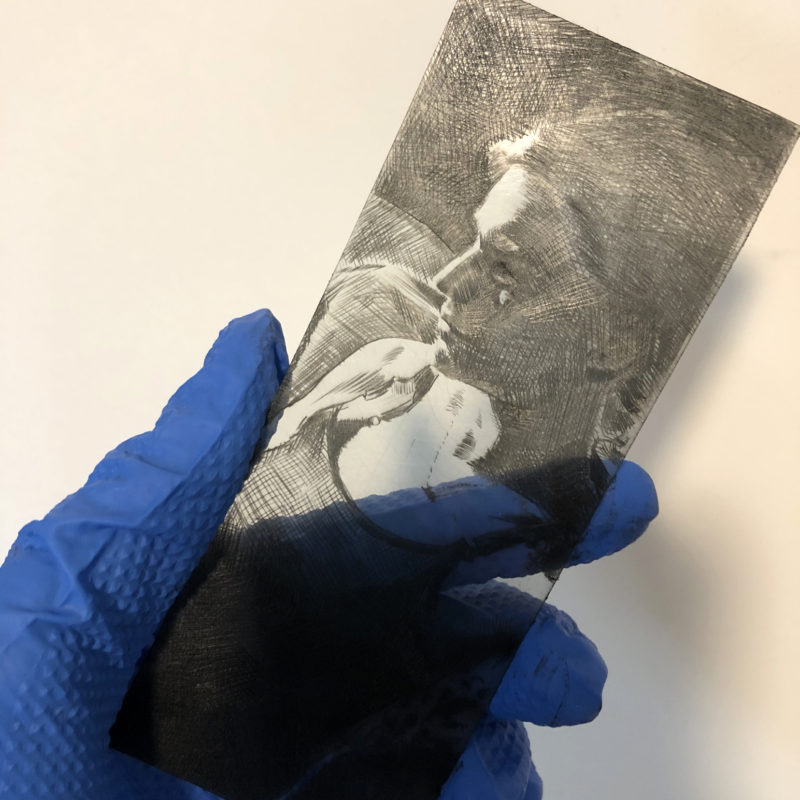
The drypoint is tiny, but it’s almost entirely made with crosshatching. Lots and lots of parallel and right-angle line work, all clustered close together, to print solid areas of ink. And every line needs to make contact with your printmaking paper just once, if you’re going to get any definition in your print.
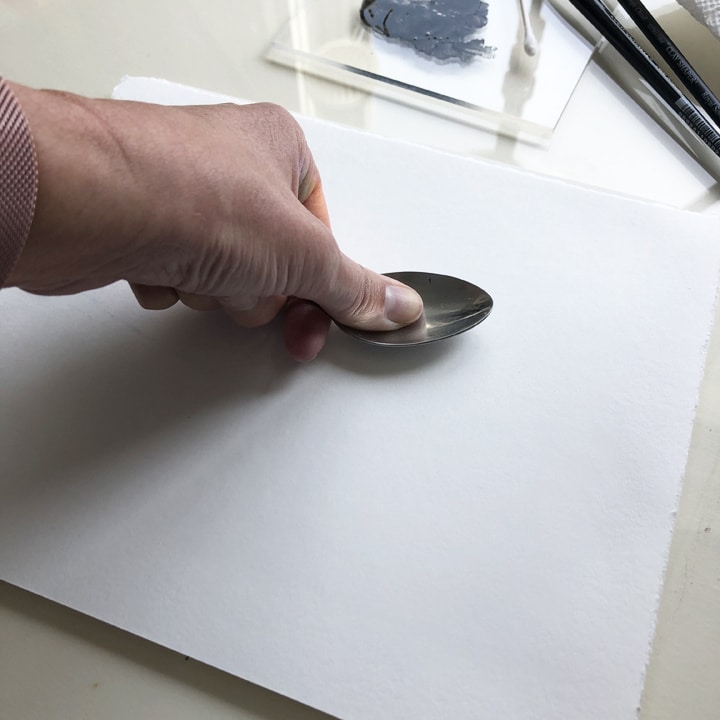
Hand Transferring a Print with a Baren
When you hand transfer a print with a baren, you hold the paper steady against your inked plate, and rub the back of the paper with a spoon or a baren to push it into the ink. In a perfect world, your paper makes contact with the ink, and pulls it out of the line work in a single, graceful transition.
But your baren is moving back and forth – repeatedly – across the back of the paper. You might even move it in repeated circles. This is the correct way to press a baren against the back of printmaking paper to pick up ink.
Good printmaking paper is made from cotton, and it’s been soaked in water and blotted. That means the fibers in the paper have plumped, and relaxed. Now, they have some stretch, to make it easier for the fibers to dip down into your line work and collect the ink. Some papers expand a full 1/4 inch when they’re soaked. That’s a lot of stretch, and then as it dries, that’s also a lot of shrink.
Each pass of the baren’s pressure is tugging at the now-flexible paper, and pushing it against the inked plate in a slightly different location on the page, resulting in a skipped print. See below.
The Beauty of a Press
When you have a thousand tiny lines filled with ink, and they need to make contact in one spot on your printmaking paper. Rubbing over and over from the back of the paper is a risky transfer process for a multi-lined drypoint.
On a press, the paper and plate move together between the press bed and a cylinder locked into a tight squeeze. The pressure is concentrated along the width of the cylinder in a space about 1/4 of an inch wide, as it rolls over the plate in a single pass. A press uses an enormous amount of pressure to push the pulp pf the paper into your recessed lines just once to pick up ink.
If only presses were inexpensive, foldable into a small format to tuck into a closet, and available world wide, right? (Well, read this post about the growing list of printing press alternatives.)
Drypoint Printing without a Press Hopefulness
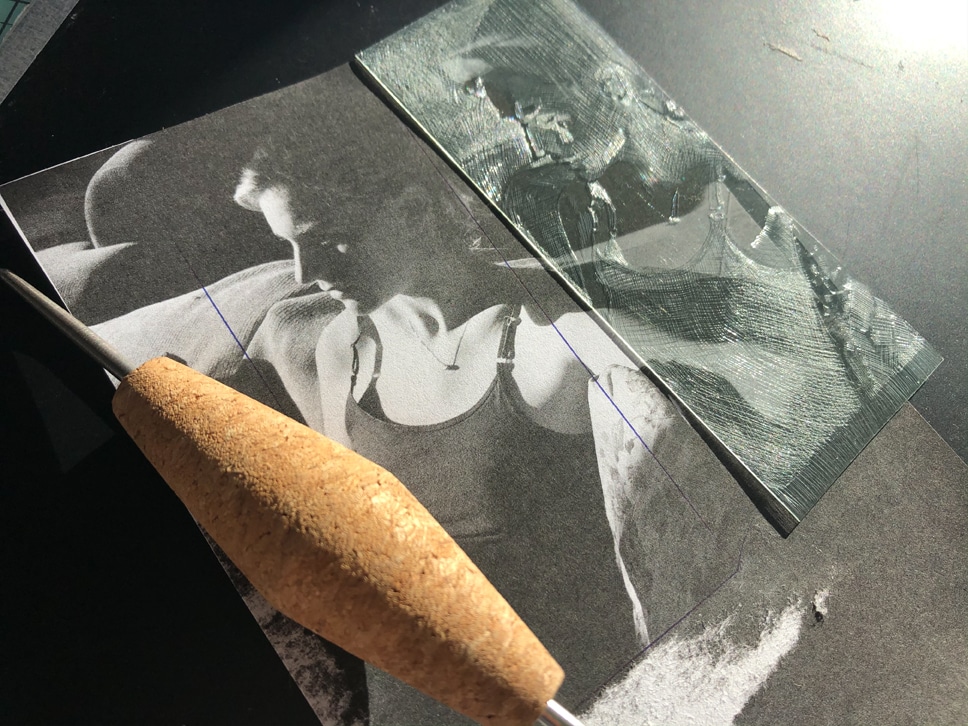
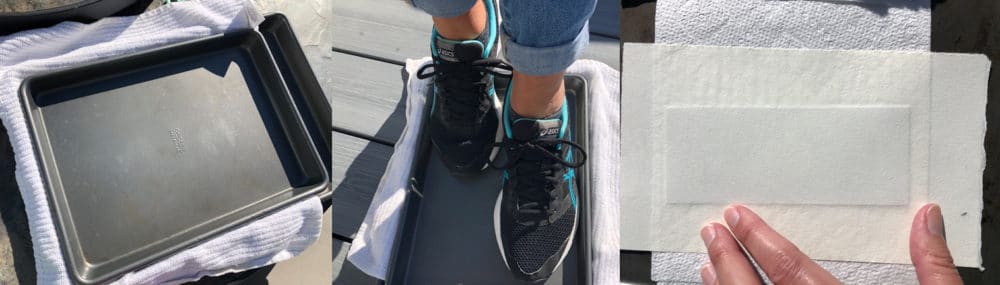
In my adventure with printing a drypoint etching with lots of cross hatching without a press, I tried the single-contact stomp method. (There was that time I had success with printing a drypoint without a press in this post using a Trader Joe’s biscotti container lid.)
After sandwiching two metal cookie sheets, I put the plate and printmaking paper between them, with a cotton towel as my ‘felt blanket’ on top. My stomp had enough impact to wobble a nearby beverage! It looked (see below) like it might have worked, because there was visible plate impression in the paper. (I was so excited!)
Back to the Drypoint Drawing Board
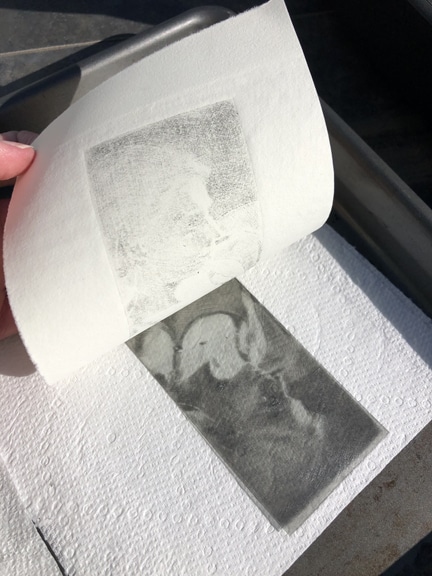
When I pulled the print up from the cookie sheet sandwich, it didn’t work. (Insert the no-win buzzer here.)
There was no skipping in the print, like there had been after rubbing the paper with the baren, but the print was not defined enough (see below). Clearly, the little print needs More Pressure!
I didn’t engrave this plate as deeply as I did on this recycled plastic drypoint print, because this particular plastic is much thinner. Could that be the issue?
It occurred to me that supporting the plate with a same-shape and size piece of mat board, to raise it up a bit might help. I also thought it would be smart to remove the paper towel underneath the plate to increase resistance from that side of the squeeze. Maybe?
But this post is so long already, I’ll put the conclusions in the next post for you. Too much information can leave a creative brain (mine) in a state of kerfuffle, so I’m sparing us both by breaking this into two missives. I know, you’re relieved. Eat some cookies and go make some art.
Drypoint Printing from Recycled Plastic Round Up
In this series of printmaking projects using stuff around the house to make art during the Pandemic, we’ve explored drypoint etching in these posts, in case you missed them:
- Printing a drypoint etching from a plastic Trader Joe’s biscotti container with a stomp-method (hint: your feet are the press)
- Making a Monotype without a press, from a blueberry container using acrylic paint and watercolors (hint: this one is great if you don’t have inks)
- Printing a Drypoint Etching without a press, from a plastic lettuce box, using a spoon, and then adding watercolor (hint: this one has a tutorial video)
Part Two is Forthcoming….
In the next post, I’ll show you the difference between printing a simple line drypoint of this same image, from the same plastic, compared to hand printing this crosshatched version.
I’ll also show you what the cross hatch version looks like when it’s printed on my etching press. I think you’ll be surprised at the results.
The Gift of Art as Creative Classroom
The iterative experimenting with drypoint in this round of recent posts is a character in every printmaking project I’ve ever tackled. If something doesn’t work, let’s try something else.
Roll out alterations, one at a time, till we distill which ones work better. The same curiosity in the search for improvement infuses watercolor painting and drawing attempts. This, to me, is the most rewarding approach to take while making art.
If we avoid pursuing a masterpiece, and all the anticipated praise associated with that, and focus instead on trying to learn something, making art becomes both a classroom and a salve.
There is no longer anything to be afraid of if you approach art as your classroom. The paints you haven’t opened, the brush you haven’t tried, the paper you’ve been saving…. All of that precious Some-Day-Ness disappears when you go into creative time with an experimenter’s heart.
I’m encouraging you to give that a go. We only get so many spins around the sun. There’s no time like right now to make something with your hands.
Thanks for stopping by, and I’ll see you in the next post!
Belinda
Art Quote
The difference between perseverance and obstinacy is that one comes from a strong will, and the other from a strong won’t.
Henry Ward Beecher
Drypoint on Plexiglass or Recycled Plastic Printmaking Supplies
Here is a list of supplies to help you prepare to make a drypoint print from plexiglass, drafting film (mylar), or recycled plastic.
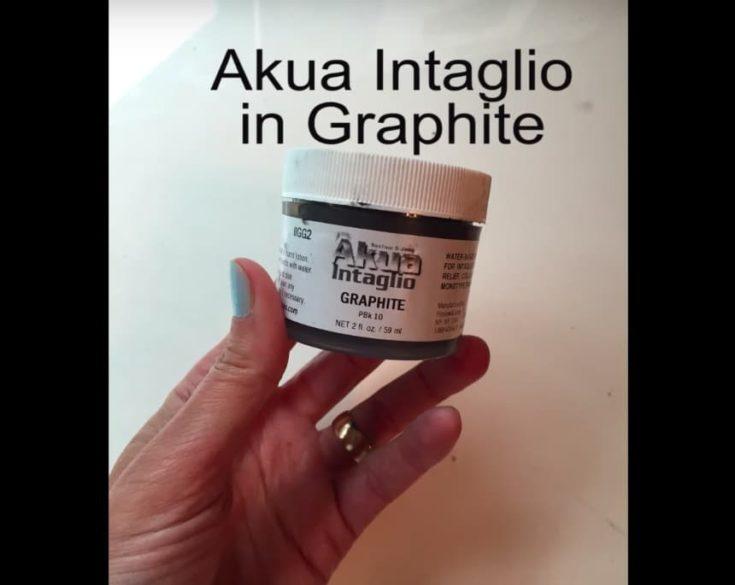
This is the ink I use in my studio when I want to clean things up with soap and water. There's no need for solvents to clean your plates and tools with this ink. Carbon Black intaglio ink is a nice, rich black for great line work. And you can use watercolor on the print after the ink dries - it will not re-wet!
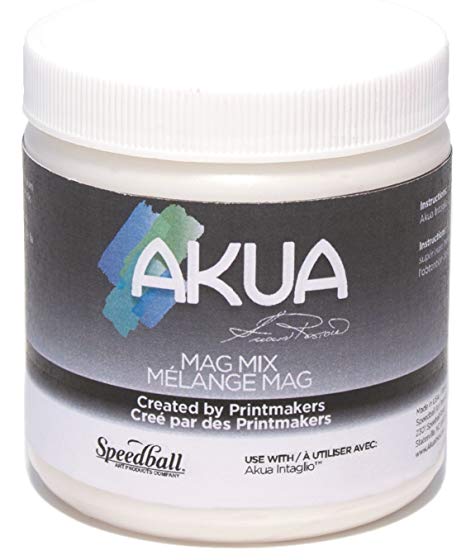
This is a thickening agent to mix with Akua Intaglio Inks. If the ink on your plate wipes out of the grooves and incised lines you've engraved with the needle, it might help to thicken the ink. Mag Mix adds a little more "sticky" to the ink. The pigments stay embedded in your line work a bit better with this ink modifier. You can see how I use it in many of the intaglio and drypoint tutorial videos on my youtube channel.
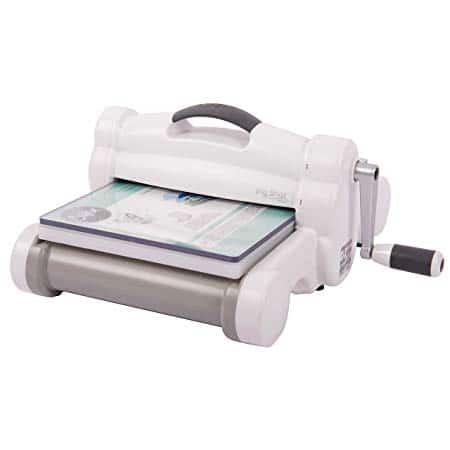
Sizzix Big Shot Plus Embossing Machine (small printing press alternative)
This is an example of the embossing machine artists and printmakers are using to print lovely, small scale drypoint and intaglio prints, as well as linocut prints. Be sure to visit the Facebook group called Craft Press Printmakers. They are doing amazing things with small die cutter and stenciling machines transformed into small printing presses.
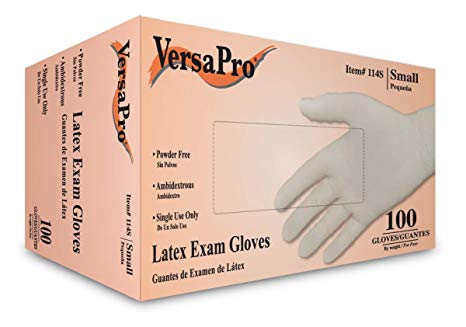
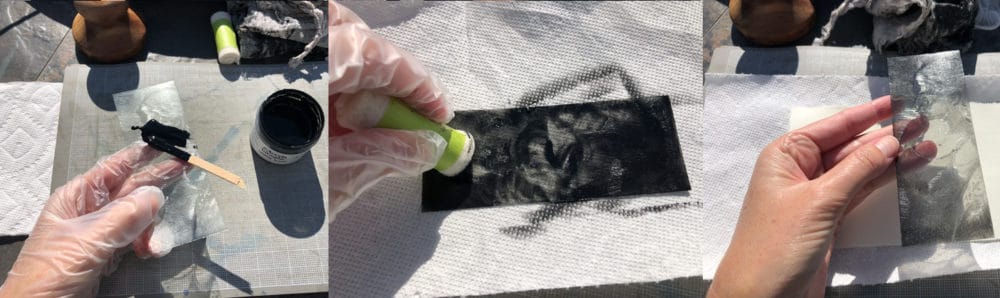
There should always be a barrier between your skin and pigments. Wear rubber gloves (be sure to select the right size) when you mix ink, apply ink to the plate, wipe ink from the plate, and clean the ink up after you're finished printing.
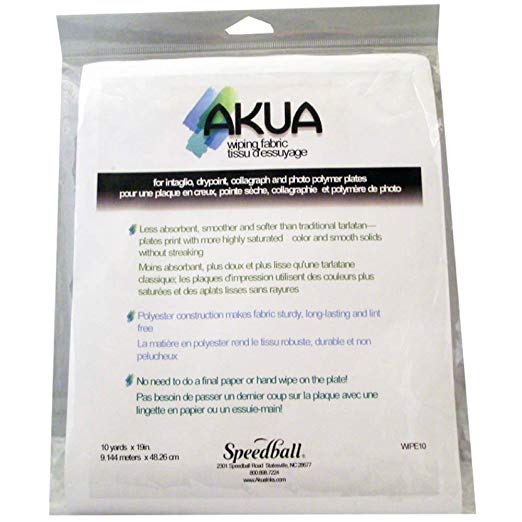
This is starched cheese cloth, or open-weave muslin fabric - also known as tarlatan. It's used to wipe ink from the uppermost surface of your intaglio drypoint or etching plate.
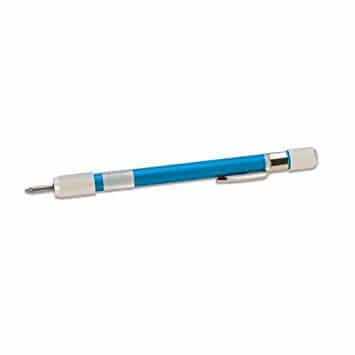
The tip of this scribing pen will carve a narrow groove into plexiglass or recycled plastic.
This is the tool I use to pull ink from containers, and manipulate it on the slab to mix colors, or warm it up with the friction of smooshing and smearing before adding it to the plate. It's also used for scraping leftover ink together, and scooping it into little containers to use in later projects.
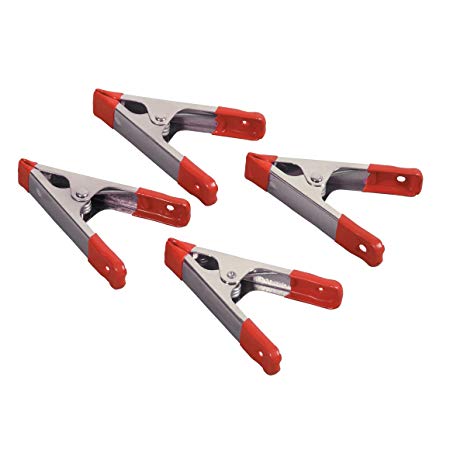
These spring clamps will hold your plexiglass plate steady while you score and snap it into smaller sheets. They also work perfectly for securing the plate without marring the surface while you bevel it, which you can see in a video tutorial on my YouTube channel.

This material works very well to hold your plate steady while you engrave your lines, or add cross hatching with the needle. It also works to steady any printmaking plate while you apply ink, wipe the plate, and clean it after you're finished printing. You can see it used throughout the relief and intaglio videos on my blog and on my youtube channel.
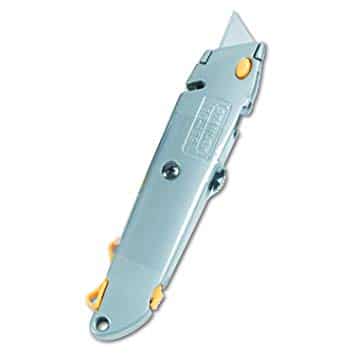
Utility Knife to score and snap your plexiglass material to the appropriate plate size
When your plexiglass arrives, you'll want to score and snap the sheet into smaller pieces to make multiple plates. This is a great tool for that process.
This 12 x 12 plate of opaque black plexiglass can be scored and snapped into smaller plates. Create four 6x6 plates from this sheet. See how to score and snap the plexiglass in the videos that are linked in this post.
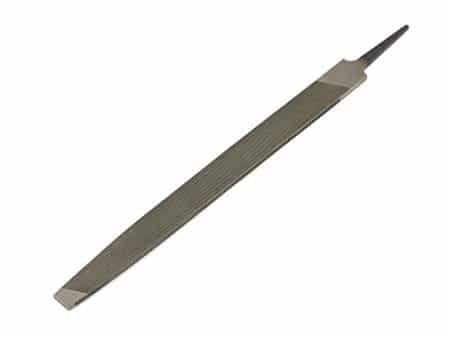
This 8 inch rasp can be used to file the sharp edge of the plexiglass plate down to a 45 degree bevel. This is an important step to prepare the plate before you begin your design, if you plan to print on a press. One rasp will last you a lifetime.
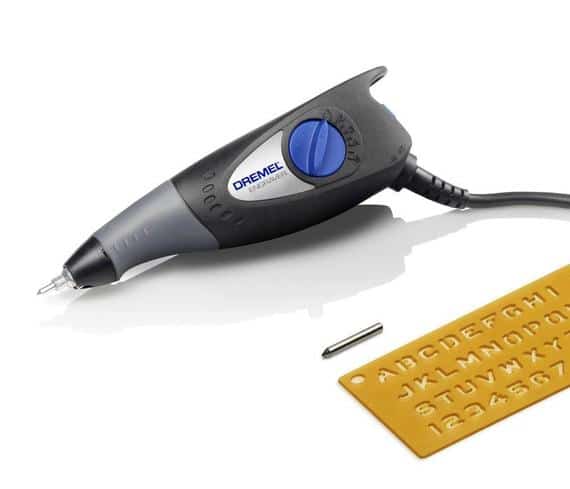
If your hands get tired when doing repetitive motions like cross hatching, or pressing hard on narrow tools to incise lines in plexiglass, you can etch your plexiglass plate with this small electric Dremel.
What is the best paper to use?
Hi Molly, That depends on where you are…. Europe, Canada, America, British Virgin Islands? Also, do you plan to paint the prints with watercolors? What do you have access to? There are many papers that will work, but I can guide you better if I know where you are.
What would be the reason for opaque black plexiglass? Many thanks for your blog.
Hi Ardythe, Scribing clear plastic can be difficult for some folks to see. You can lay a black sheet of paper under the plastic to help see they white line the scribe leaves in the plastic, or get black plexiglass, so the white line is *much* more pronounced. Here’s a video demonstrating that: https://youtu.be/-HlMArVJv-c