
Drypoint Prints by Anders Zorn
A few weeks ago, I saw the Anders Zorn (1860-1920) exhibit in San Francisco.
Zorn is one of my favorite artists, and I’ve harvested books and vintage magazine articles about him for over a decade. But I’d never seen his work in person.
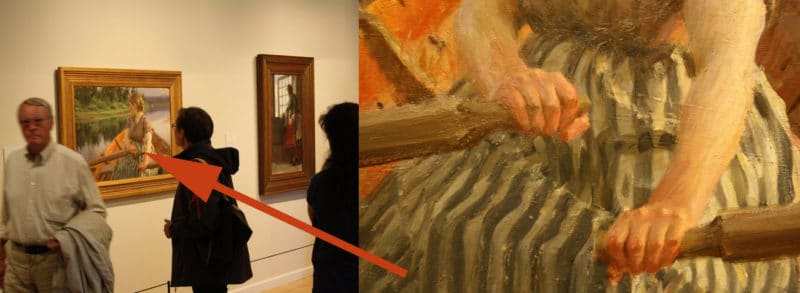
The exhibit was overwhelmingly good, and my artist friends and I were reprimanded more than once to keep our fawning faces the required 16 inches away from the surface of the artwork.
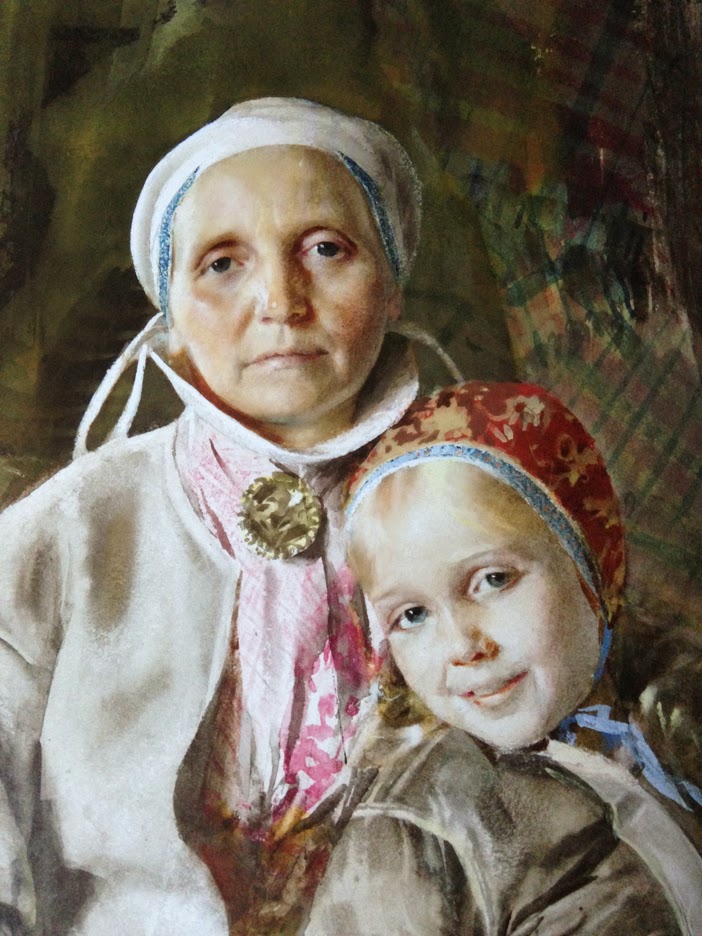
of his mother and half sister done in 1885
Drypoint and Etching Mastery
I knew I might never see so many of Zorn’s works in one place in my lifetime (unless I traveled to Sweden where many of the pieces reside). The show included watercolors, oils, etchings and drypoint prints.
I’ve poured over photos of Zorn’s printmaking in books and magazines for years, and I wondered how much of his process would be visible in the originals. I wasn’t disappointed.
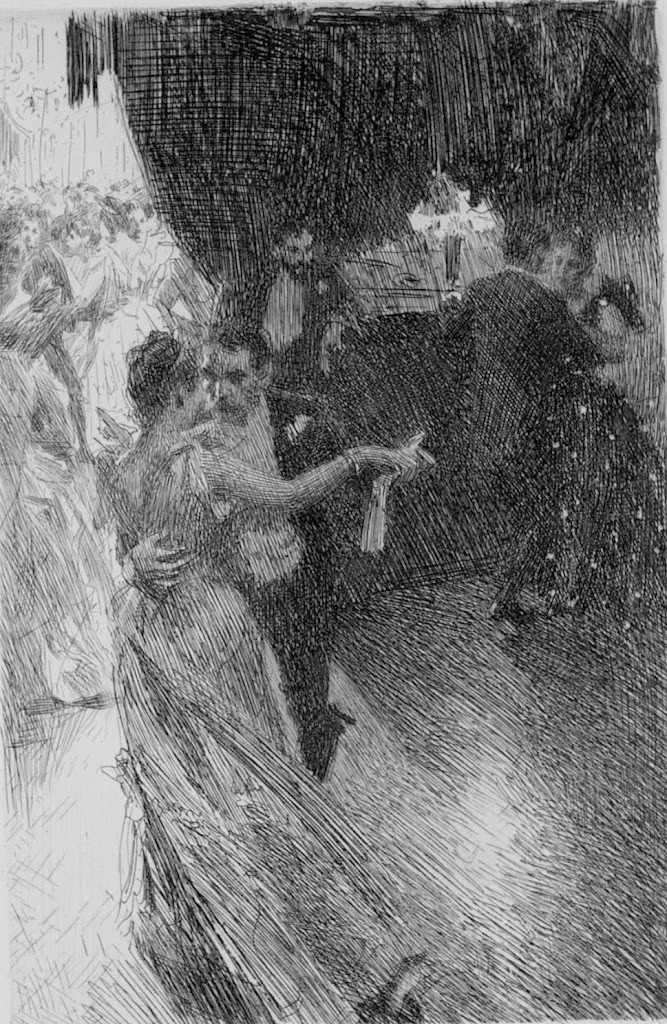
When I finally stood before a wall of Zorn’s etchings and drypoints, I almost cried. That might sound strange, but the beauty was heart-swellingly amazing. Zorn’s prints were astonishing in mastery and subject, both technical and observational.
Zorn’s Drypoint and Etching Process
In addition to large oils, and full sheet watercolors, the exhibit included a display of Anders Zorn’s printmaking preparations.
His reference photography (if he was working with the nude figure, he always hired models) was displayed next to his pencil sketches from the photos. Zorn’s sketches were profuse with mastery of likeness and atmosphere.
His finished copper plates were bigger than I imagined – most of them were approximately 12 x 9 inches.
Drypoint Image Transfer
Visible in Zorn’s preparatory sketches were deeply incised lines, almost scored through the sketch paper. He laid the finished pencil drawing on top of his copper plates to transfer simple outlines of the figures with a sharp tool. Then he went back into the plate with a scribe to begin engraving details and shadow.
The gift of seeing Zorn’s plates next to the resulting prints was a lesson in the furtive art of plate-wiping.
His drypoints were especially telling, with variations of deliberately sparse ink removal, and more intensely polished and cleared areas. I could see strategic plate tone dabbed off here and there for bright areas in the composition.
More on Anders Zorn
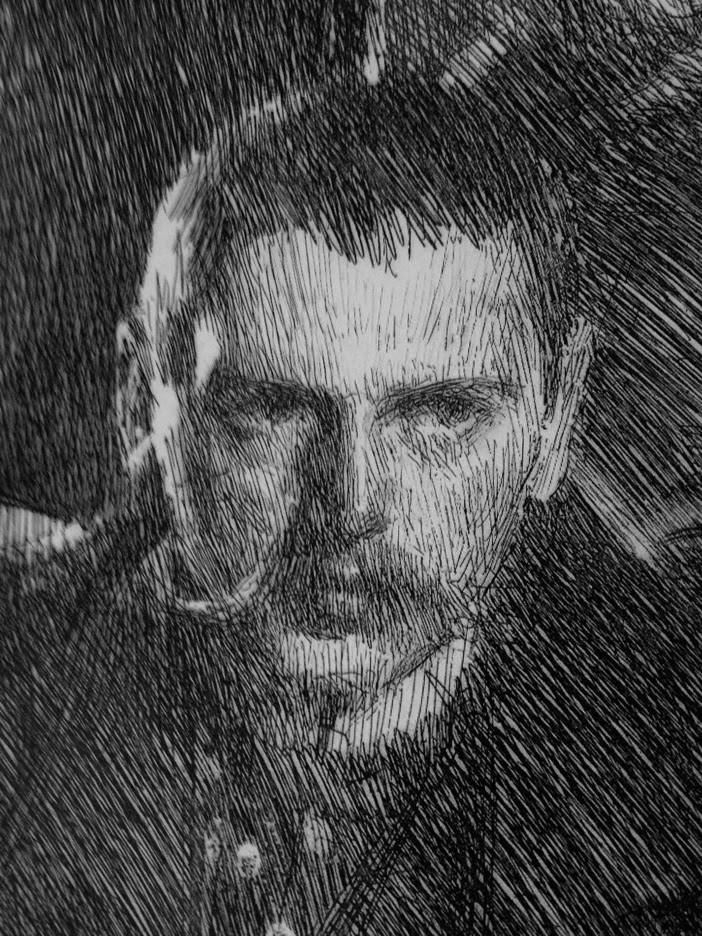
His self portraits relay that Zorn was a broad-chested man, with large hands, and his copper plates are scribed & bitten with the marks of strong, confidently practiced fingers.
He was a masterful printmaker, oil painter, watercolorist, portrait artist and sculptor. His output is awe-inspiring. (You can watch an 8 minute video that features his studio & palette here.)
There is also plenty of information and imagery about Zorn to peruse on this Wikipedia page.
Inspired to Make More Drypoints
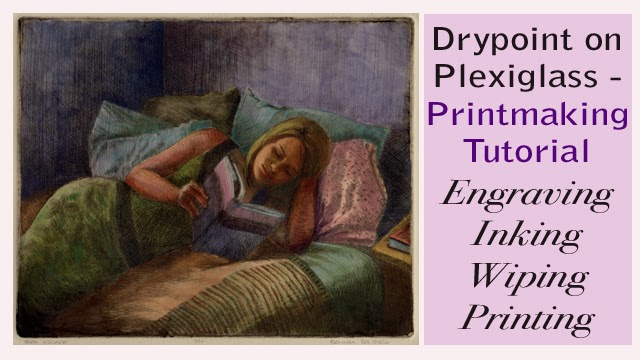
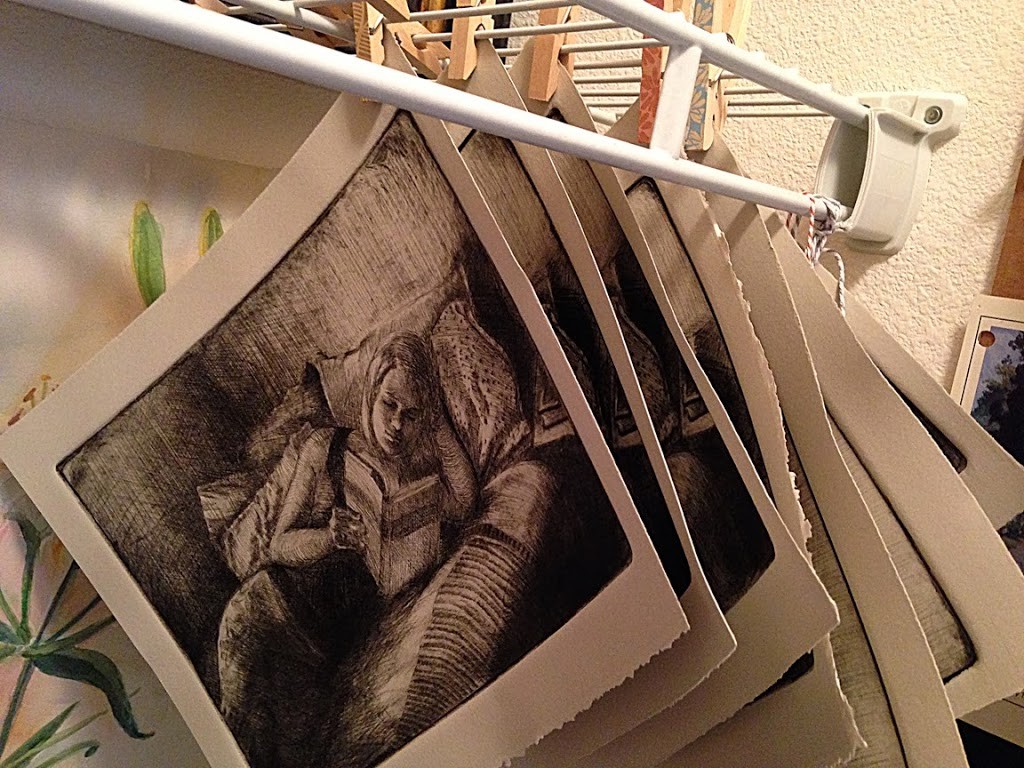
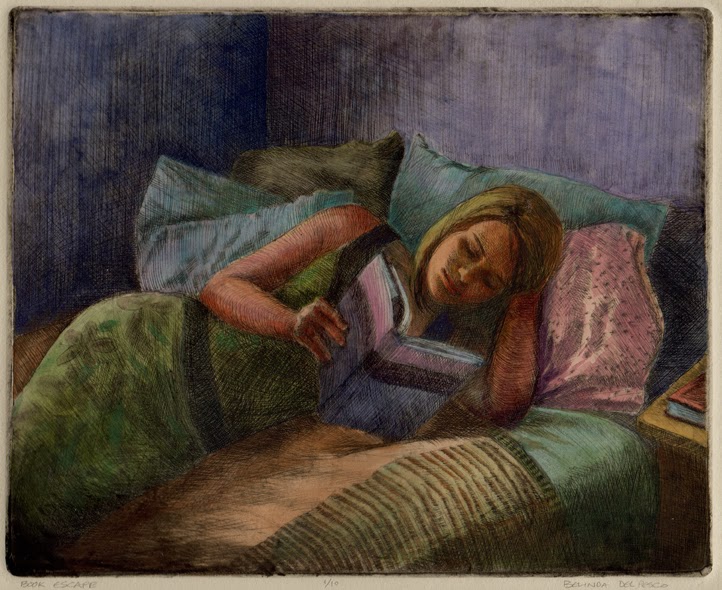
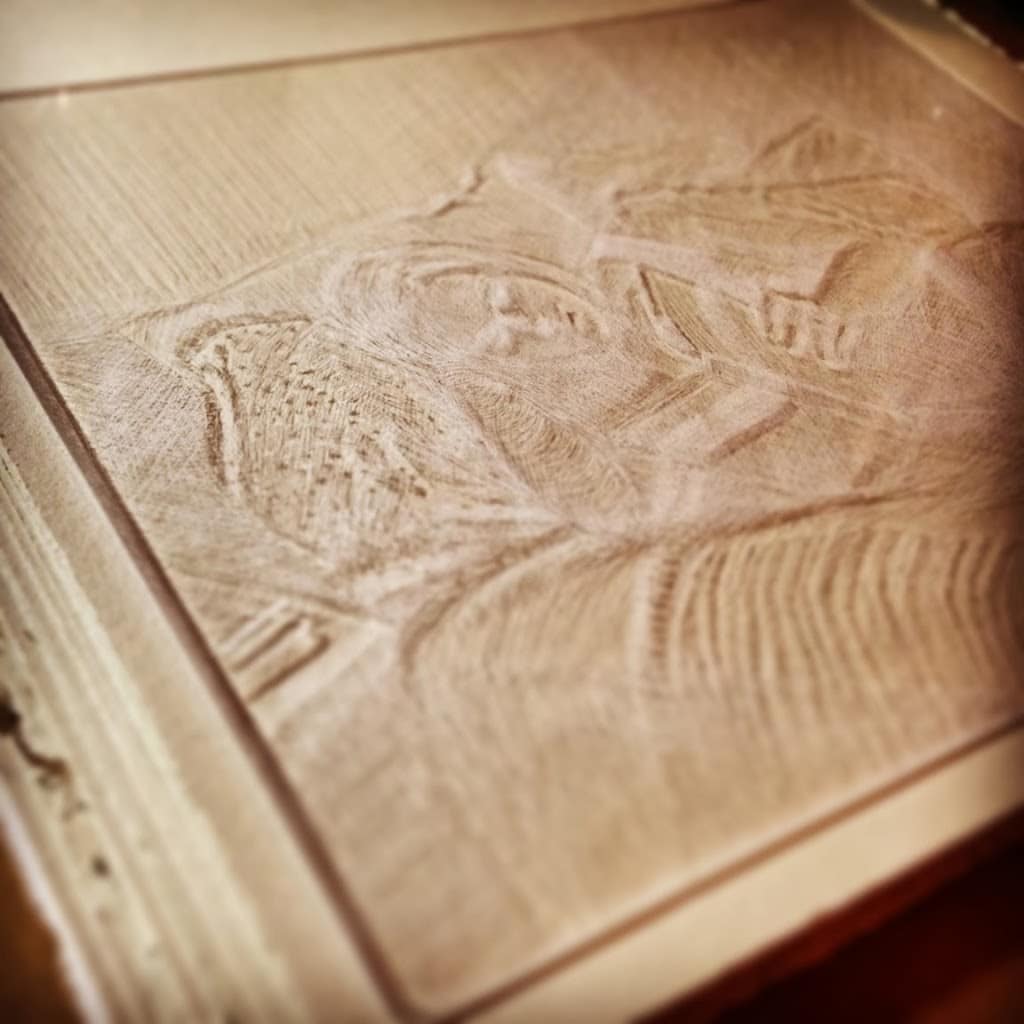
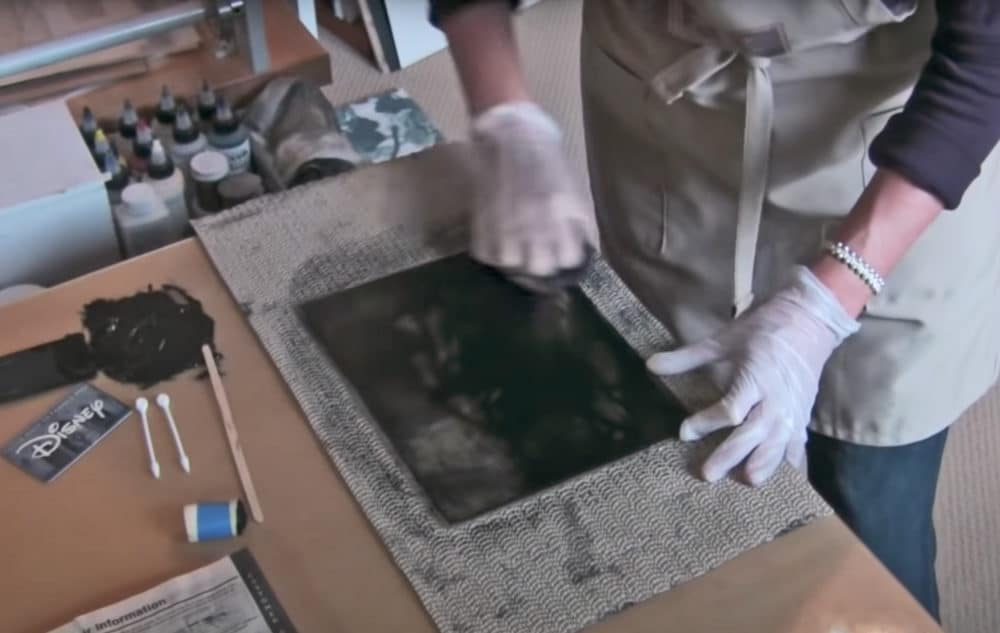
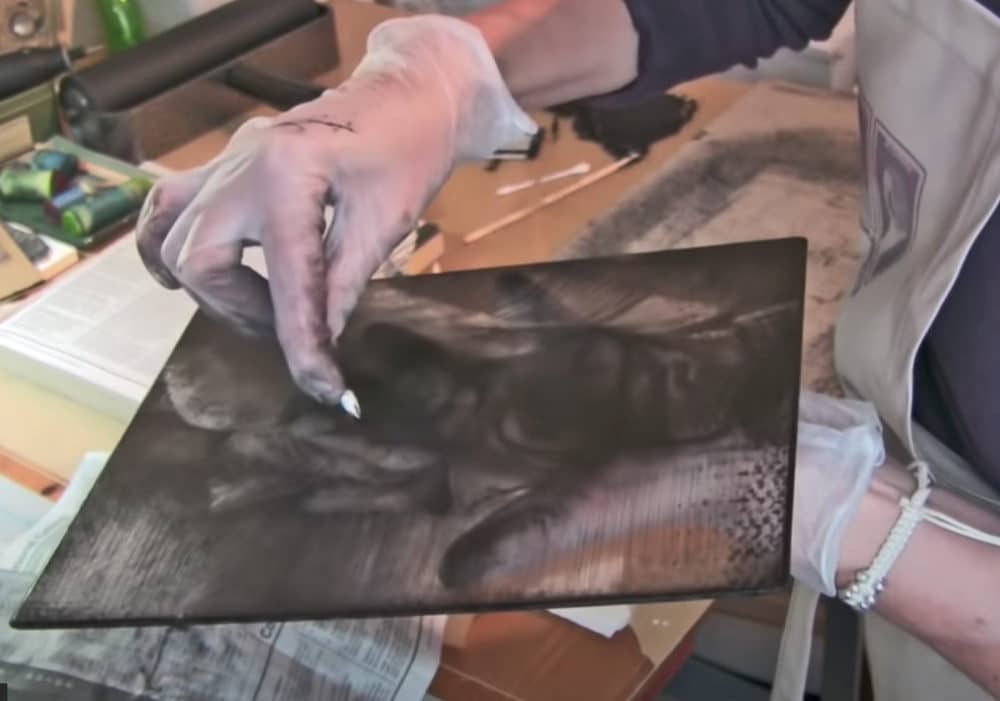
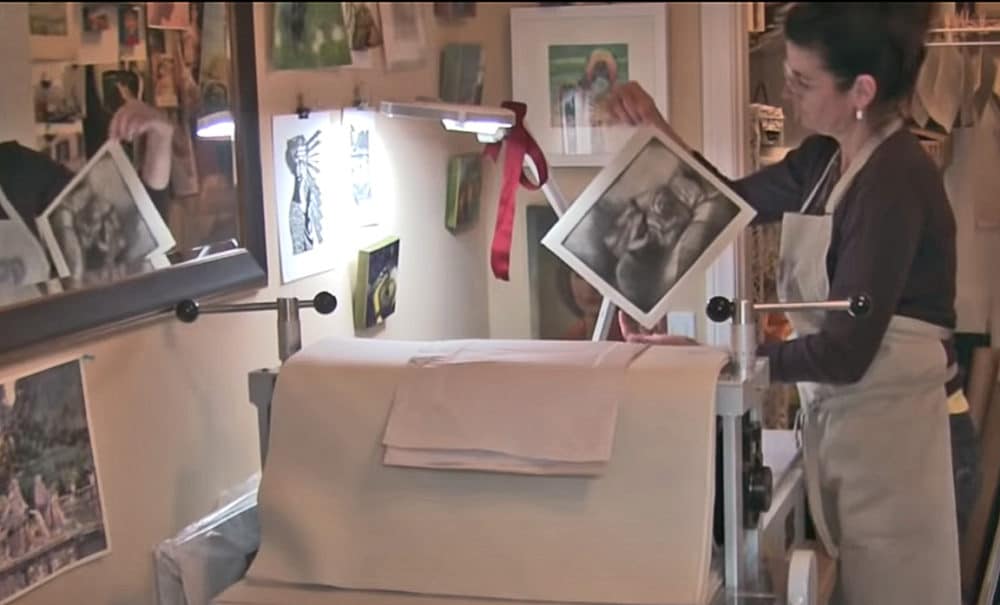
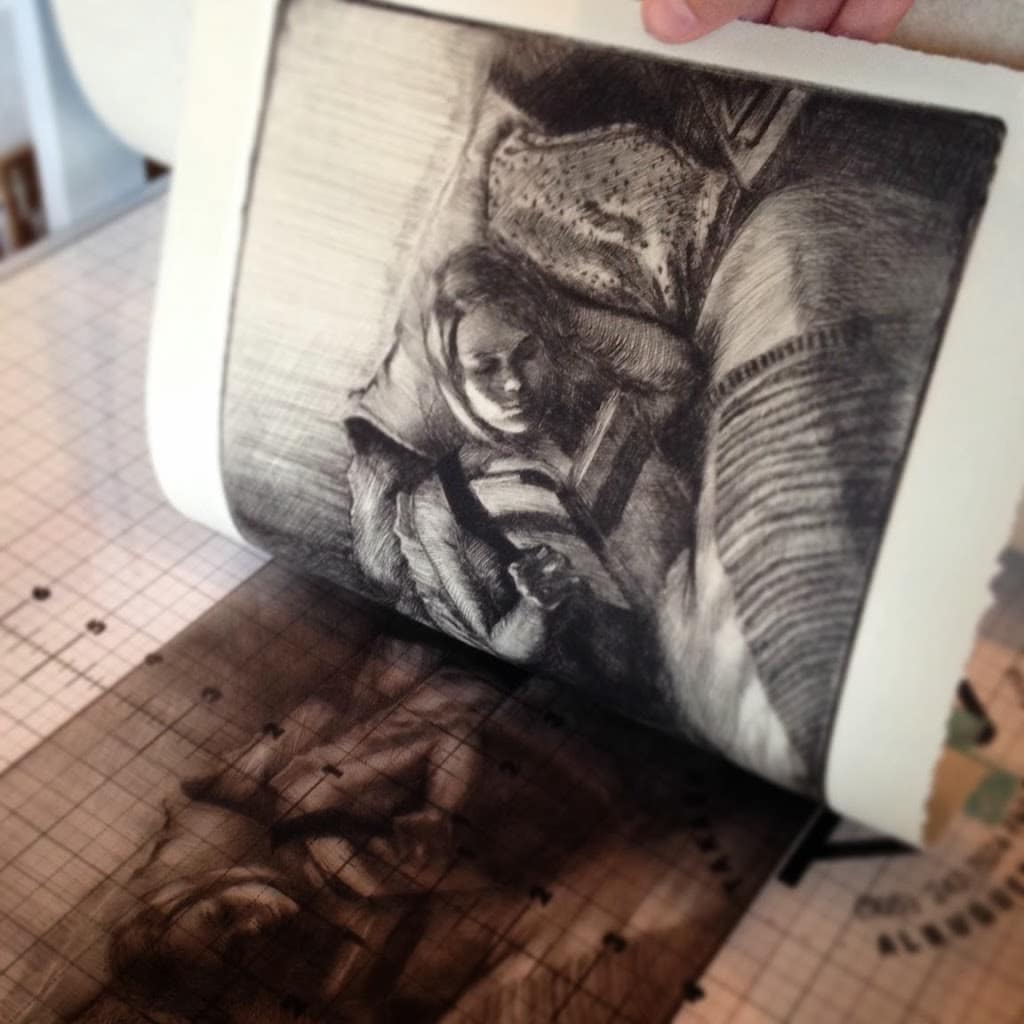
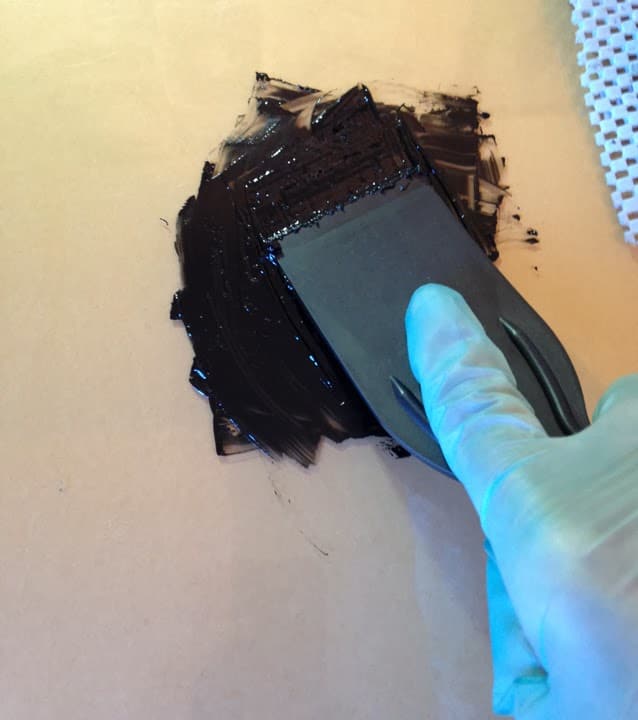
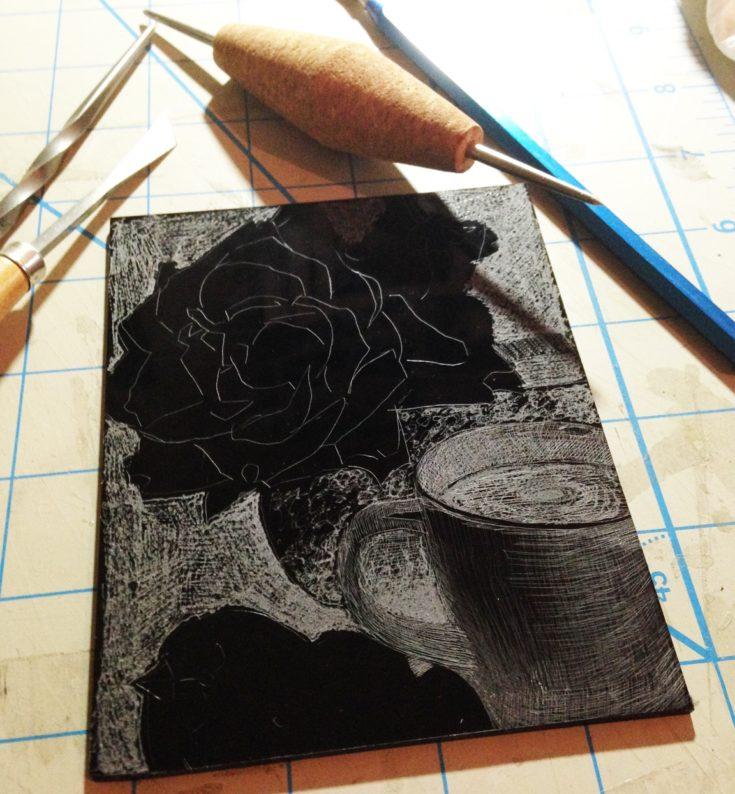
I returned home from the exhibit adventure with an ardent desire to get to work. The first piece on my list was an unfinished drypoint on plexiglass – shown in this post.
Working on the drypoint was an opportunity to ponder and reflect on Anders Zorn, the man who came from humble beginnings, and became an accomplished artist.
I was surprised to learn that Zorn suffered from anxiety and deep depression. He never had children, but he painted and sketched portraits of his wife Emma that bear witness to his love for her. I imagine that he was meticulous in his conviction to work at his art every single day. You can’t be a skilled artist by painting and drawing occasionally, right?
Act Fast When You’re Inspired
I’m so moved and grateful to have seen the passion in his paintings and printmaking, up close, face to face. What a shot of encouragement to stay committed to this practice. It’s so important to work at it every single day.
Which museum exhibits have you attended that left you moved and inspired to work harder?
Thanks for stopping by, and I’ll see you in the next post.
Belinda
P.S. Read about the best ink mixture for drypoint according to the master printmakers at Crown Point Press.
P.P.S. You can subscribe to get each new post via email by signing up here.
Art Quote
Zorn had to overcome a certain amount of xenophobia to break into the French art word. “The press reported stories such as a bas les estrangers,’ ” he wrote in his autobiographical notes. “In one of those long, anonymous articles there was no doubt that I was being targeted. Under these conditions, we foreigners stuck close together. My countrymen and other Scandinavians, along with Americans, were the closest the most sympathetic. ” As for the Societe des Peintres-Graveurs Francais, foreign artists such as Haden, Alphonse Legros, Joseph Pennell, and James McNeil Whistler were strictly excluded from membership but were allowed to show their work by special invitation. Camille Pissarro, a Danish citizen by virtue of his birth in St. Thomas, then a possession of Denmark, was so incensed at being branded an “alien” that he vowed to reject any invitation to show with the group. He joined forces with Mary Cassatt, another castoff who had also shown with the Peinters-Graveurs before its official incorporation, in a two person exhibit mounted in adjoining rooms at Durand-Ruel to coincide with the 1891 show of the “patriots”, as he sarcastically referred to the societaires.
Anders Zorn – Sweden’s Master Painter -from an essay on his printmaking by James A. Ganz
Drypoint on Plexiglass or Recycled Plastic Printmaking Supplies
Here is a list of supplies to help you prepare to make a drypoint print from plexiglass, drafting film (mylar), or recycled plastic.
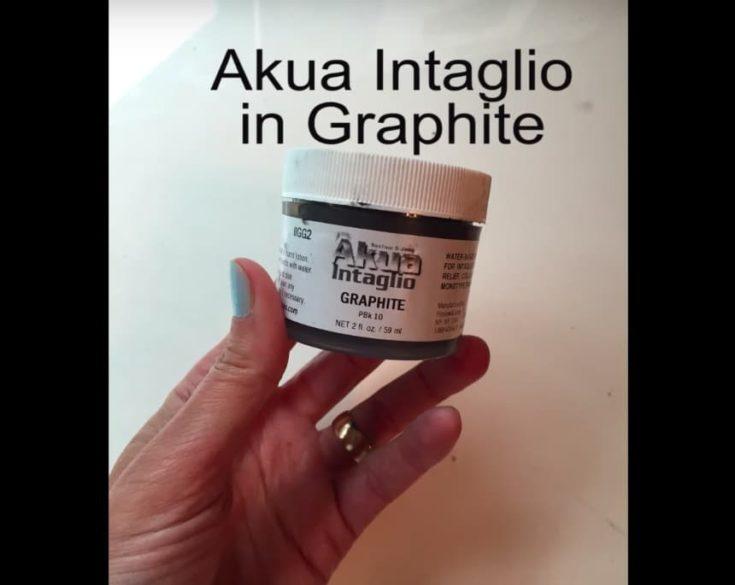
This is the ink I use in my studio when I want to clean things up with soap and water. There's no need for solvents to clean your plates and tools with this ink. Carbon Black intaglio ink is a nice, rich black for great line work. And you can use watercolor on the print after the ink dries - it will not re-wet!
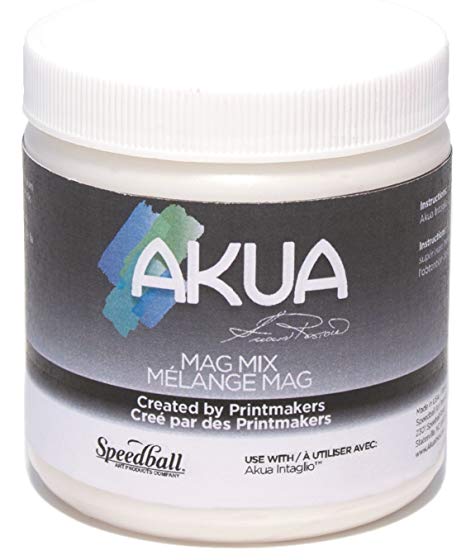
This is a thickening agent to mix with Akua Intaglio Inks. If the ink on your plate wipes out of the grooves and incised lines you've engraved with the needle, it might help to thicken the ink. Mag Mix adds a little more "sticky" to the ink. The pigments stay embedded in your line work a bit better with this ink modifier. You can see how I use it in many of the intaglio and drypoint tutorial videos on my youtube channel.
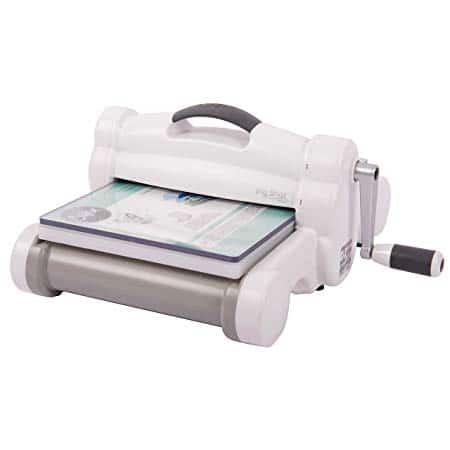
Sizzix Big Shot Plus Embossing Machine (small printing press alternative)
This is an example of the embossing machine artists and printmakers are using to print lovely, small scale drypoint and intaglio prints, as well as linocut prints. Be sure to visit the Facebook group called Craft Press Printmakers. They are doing amazing things with small die cutter and stenciling machines transformed into small printing presses.
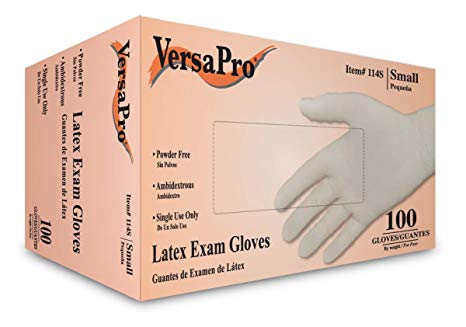
There should always be a barrier between your skin and pigments. Wear rubber gloves (be sure to select the right size) when you mix ink, apply ink to the plate, wipe ink from the plate, and clean the ink up after you're finished printing.
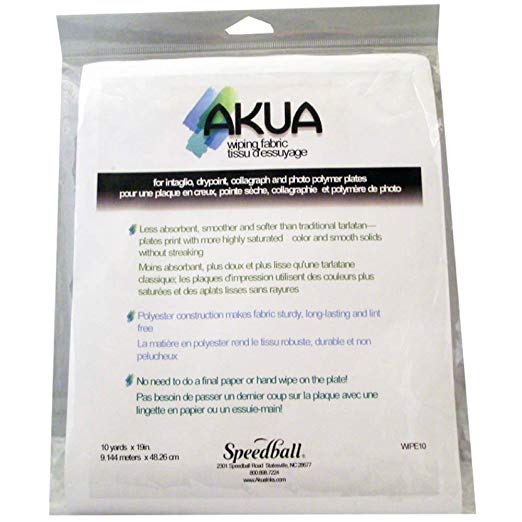
This is starched cheese cloth, or open-weave muslin fabric - also known as tarlatan. It's used to wipe ink from the uppermost surface of your intaglio drypoint or etching plate.
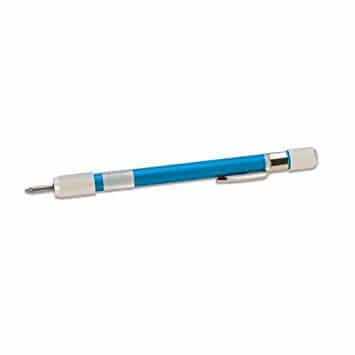
The tip of this scribing pen will carve a narrow groove into plexiglass or recycled plastic.
This is the tool I use to pull ink from containers, and manipulate it on the slab to mix colors, or warm it up with the friction of smooshing and smearing before adding it to the plate. It's also used for scraping leftover ink together, and scooping it into little containers to use in later projects.
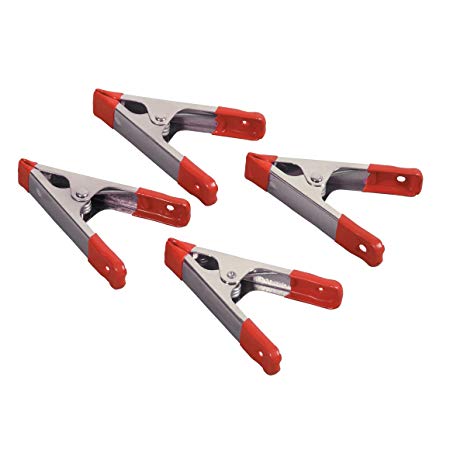
These spring clamps will hold your plexiglass plate steady while you score and snap it into smaller sheets. They also work perfectly for securing the plate without marring the surface while you bevel it, which you can see in a video tutorial on my YouTube channel.

This material works very well to hold your plate steady while you engrave your lines, or add cross hatching with the needle. It also works to steady any printmaking plate while you apply ink, wipe the plate, and clean it after you're finished printing. You can see it used throughout the relief and intaglio videos on my blog and on my youtube channel.
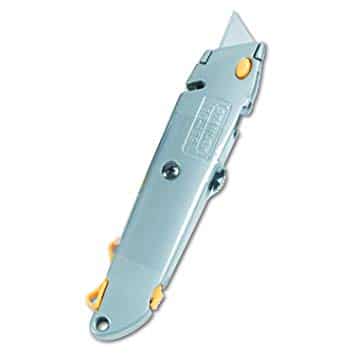
Utility Knife to score and snap your plexiglass material to the appropriate plate size
When your plexiglass arrives, you'll want to score and snap the sheet into smaller pieces to make multiple plates. This is a great tool for that process.
This 12 x 12 plate of opaque black plexiglass can be scored and snapped into smaller plates. Create four 6x6 plates from this sheet. See how to score and snap the plexiglass in the videos that are linked in this post.
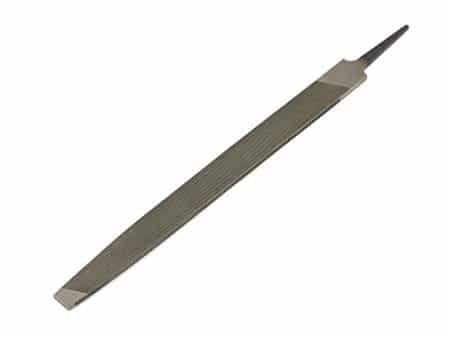
This 8 inch rasp can be used to file the sharp edge of the plexiglass plate down to a 45 degree bevel. This is an important step to prepare the plate before you begin your design, if you plan to print on a press. One rasp will last you a lifetime.
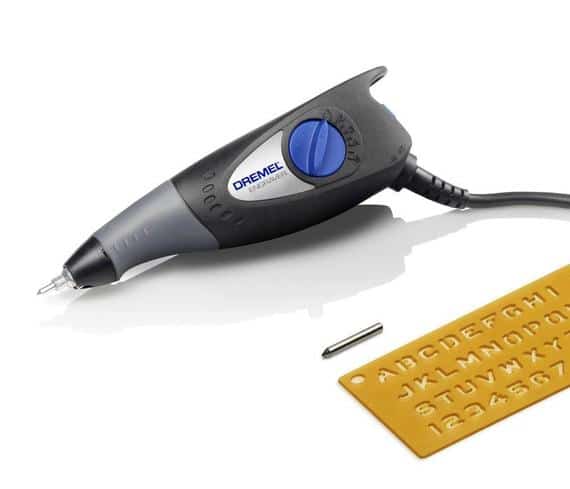
If your hands get tired when doing repetitive motions like cross hatching, or pressing hard on narrow tools to incise lines in plexiglass, you can etch your plexiglass plate with this small electric Dremel.
Thanks for the informative article on the Zorn exhibition, I missed it.
Belinda,
Just an observation (…perhaps more in the way of a question). You very often work on plexiglas and I noticed in the photo of this latest work that the tip of your needle appears to be somewhat blunted. Now I know that plexiglas in particular is rather abrasive and tends to wear normal steel cutting implements. Do you find that you often have to pause to sharpen your needle? Have you tried using carbide-tipped needles?
In addition, let me take a moment to thank you for your inspiring blog posts and videos. I very much enjoy seeing not only your fine work but also reading about the thought process behind the creation and seeing some of the steps you took to achieve the final results. 🙂
– Ignatz