
Drypoint Etching Intaglio Prints from Life Memories
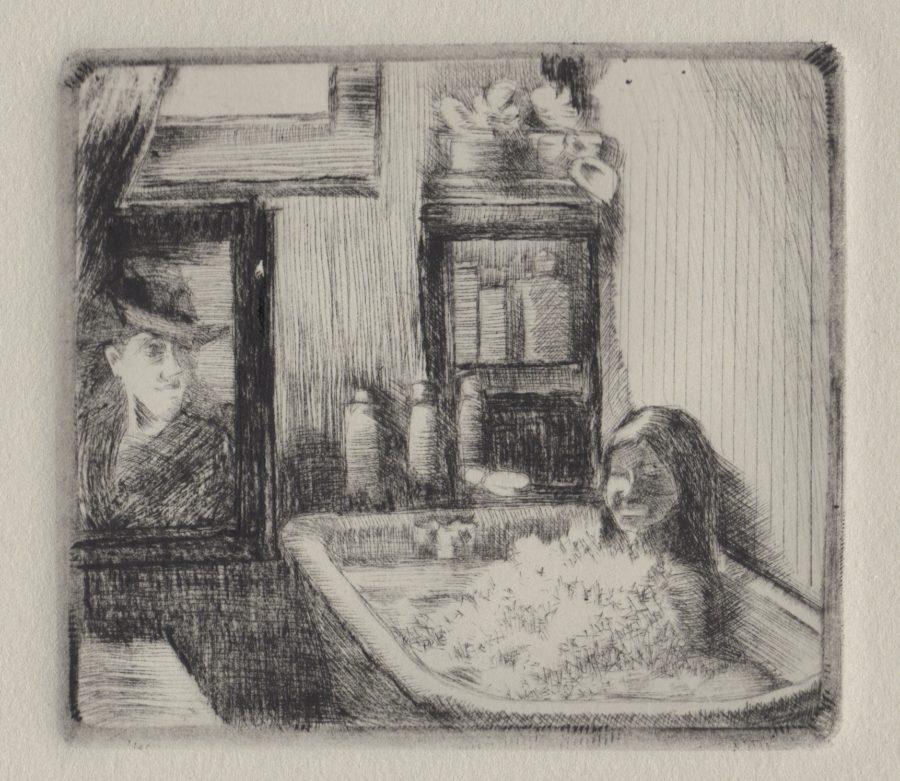
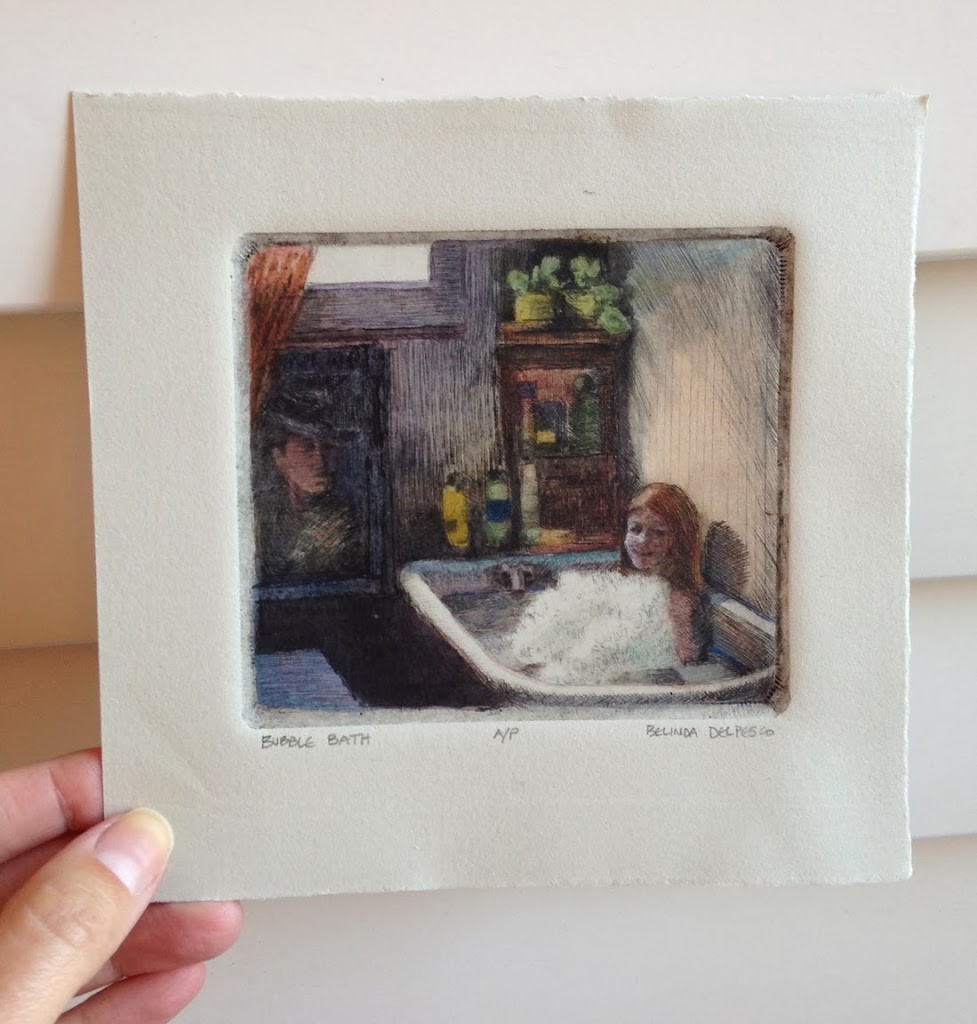
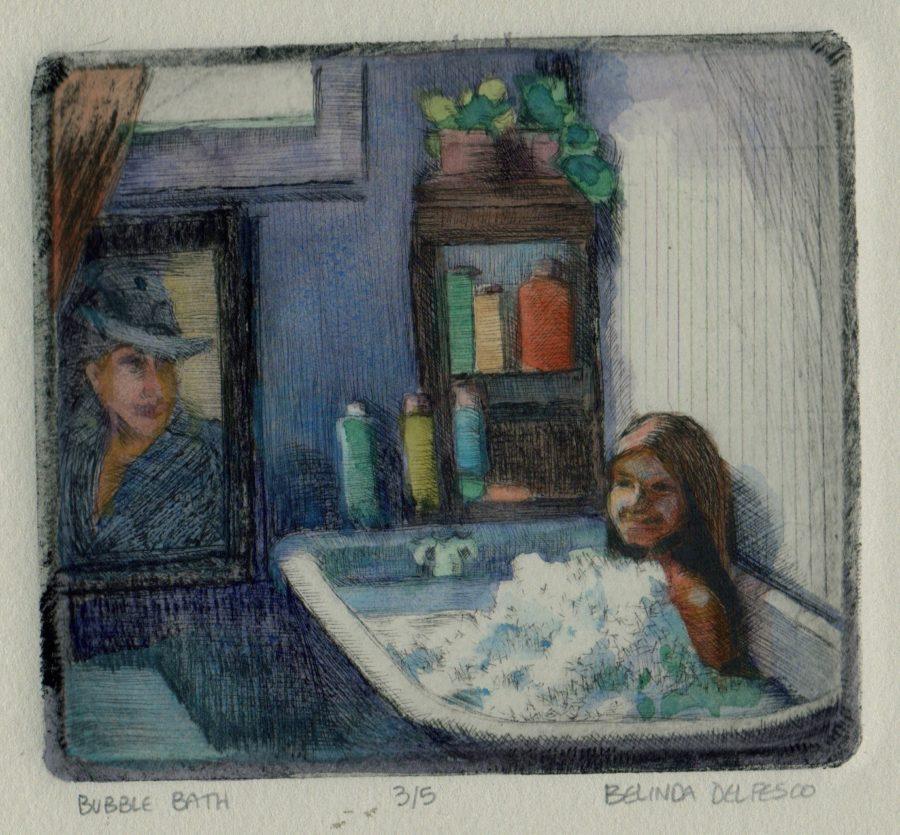
This little Drypoint etching is a nod to a time when my siblings and I lived in a rambling old house in Santa Barbara, California. We had one luxury; a generously sized claw foot bath tub under a sunny window in our single bathroom.
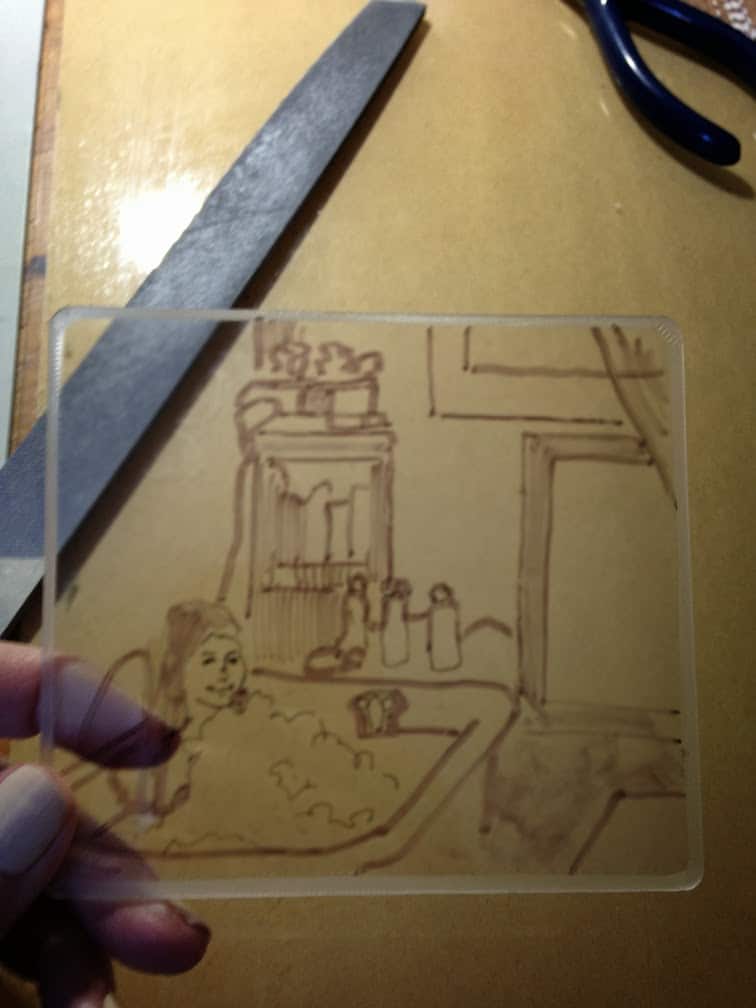
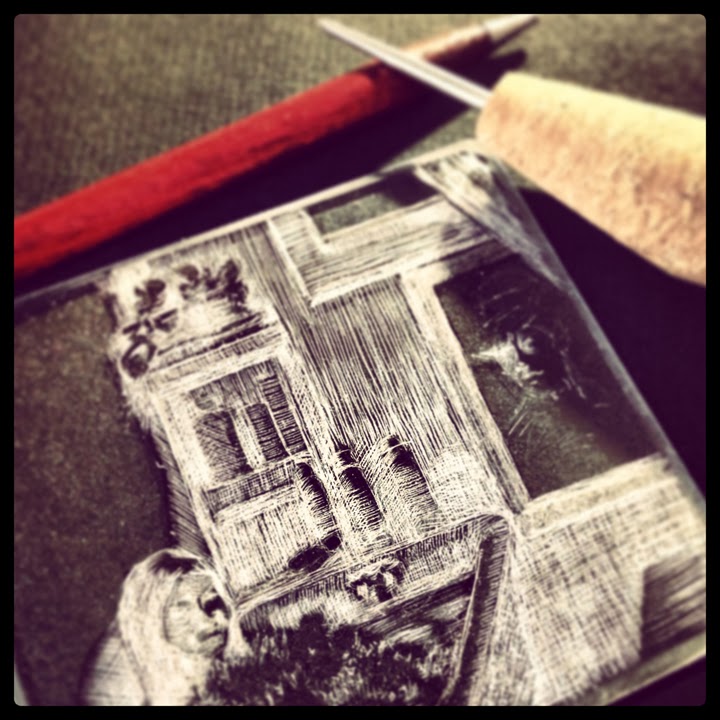
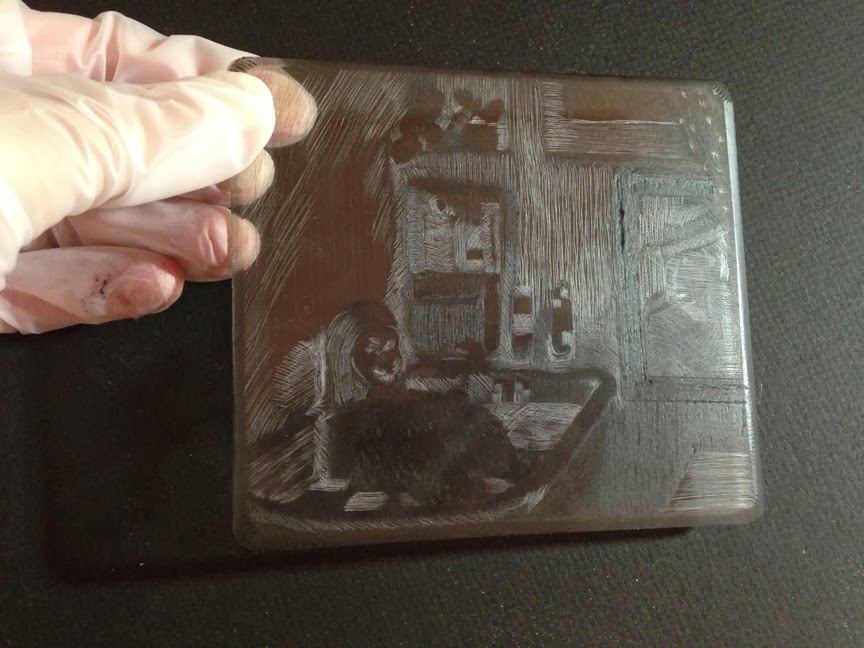
We loved that bathtub. Each of us spent languid time soaking in sun-dappled bubbles, with cups of tea and music. That chapter of my history set up a life long appreciation for the simple luxury of taking a bath. So, I wanted to make a Drypoint, based on a photo I have of my little sister taking a bubble bath in that excellent tub.
Using Plexiglass or Plastic for Intaglio Drypoint Prints
Drypoint printmaking is a very old intaglio printmaking method. Plates were traditionally incised on copper or metal – and they are still made that way. But you can use everything from plexiglass and mylar to recycled produce containers to make an etched printmaking plate. (<—See examples here.)
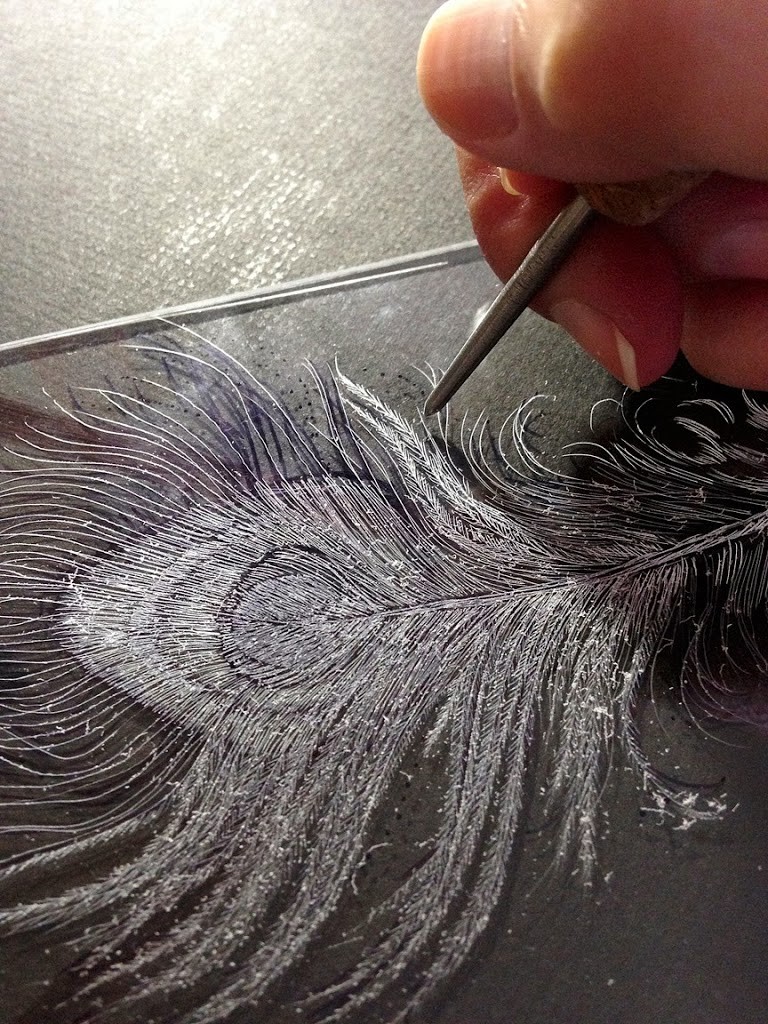
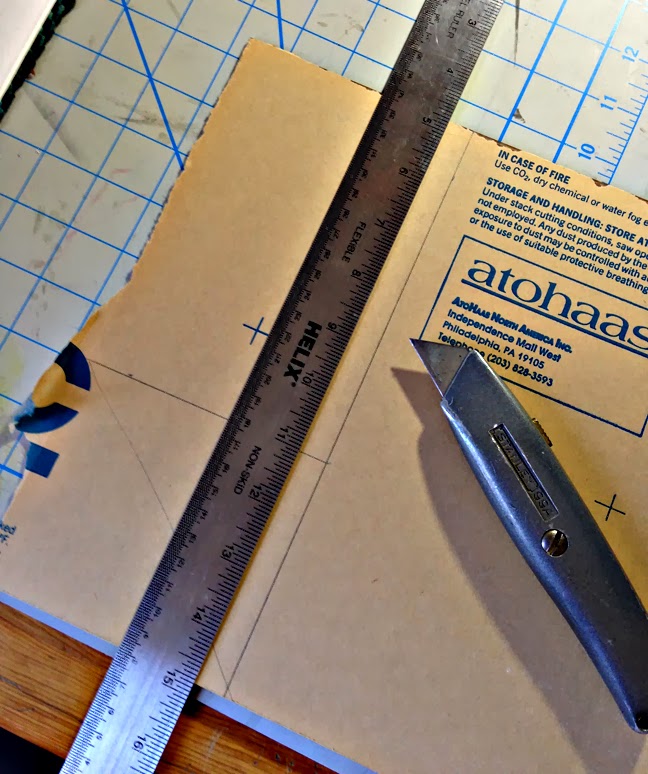
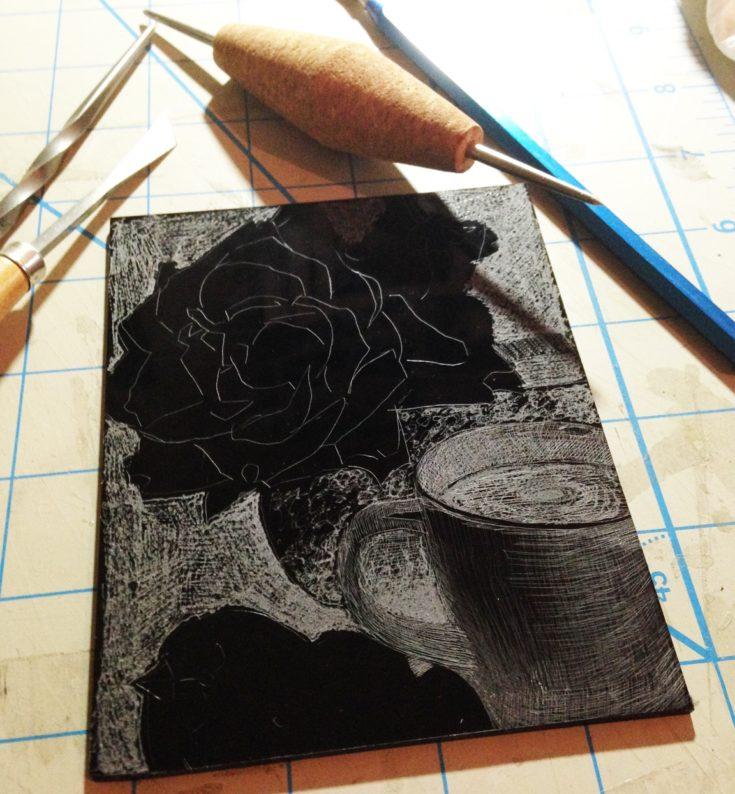
In this demo, I’m engraving a Drypoint print on a sheet of plexiglass purchased online. I used a cork-backed straight edge ruler, and a utility knife to score the material, and then snapped the plate along the score line to make smaller pieces.

Printing Press Options
I borrowed time on other artists’ presses for decades. Eventually, I researched, saved, and selected a press of my own.
These days, there are many more affordable and small scale options for printing intaglio prints (drypoints, etching, mezzotints, etc).
You can use a small embosser as a press ‘, or a pasta press. I love how the creative community usually finds a workaround to solve common problems.
There’s a very active group on Facebook called Craft Press Printmakers, where everyone in the group has altered a craft machine, like a stenciler, or embosser to make small prints. There’s another group called Printhackers, with lots of research into small press alternatives. I recommend both groups if you’re looking to get a small press alternative to make prints from your kitchen counter or dining room table. It can be done very effectively.
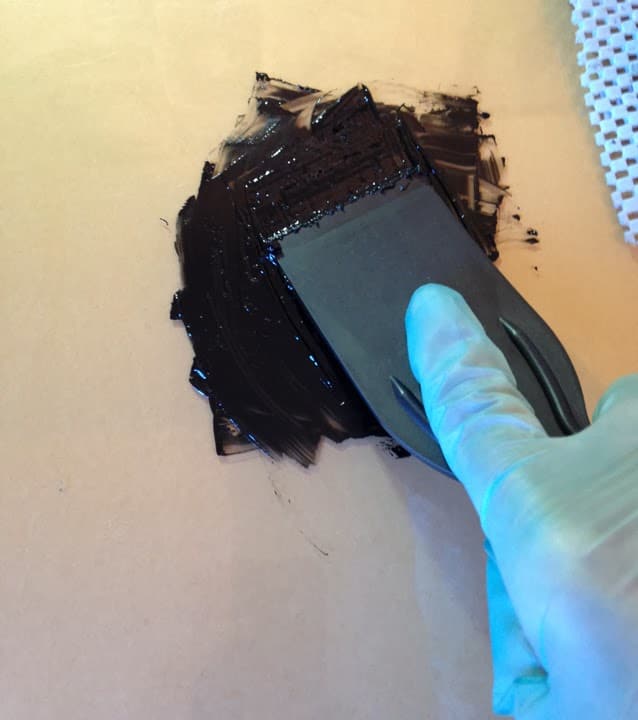
Drypoint Print Ink Mix Recipe
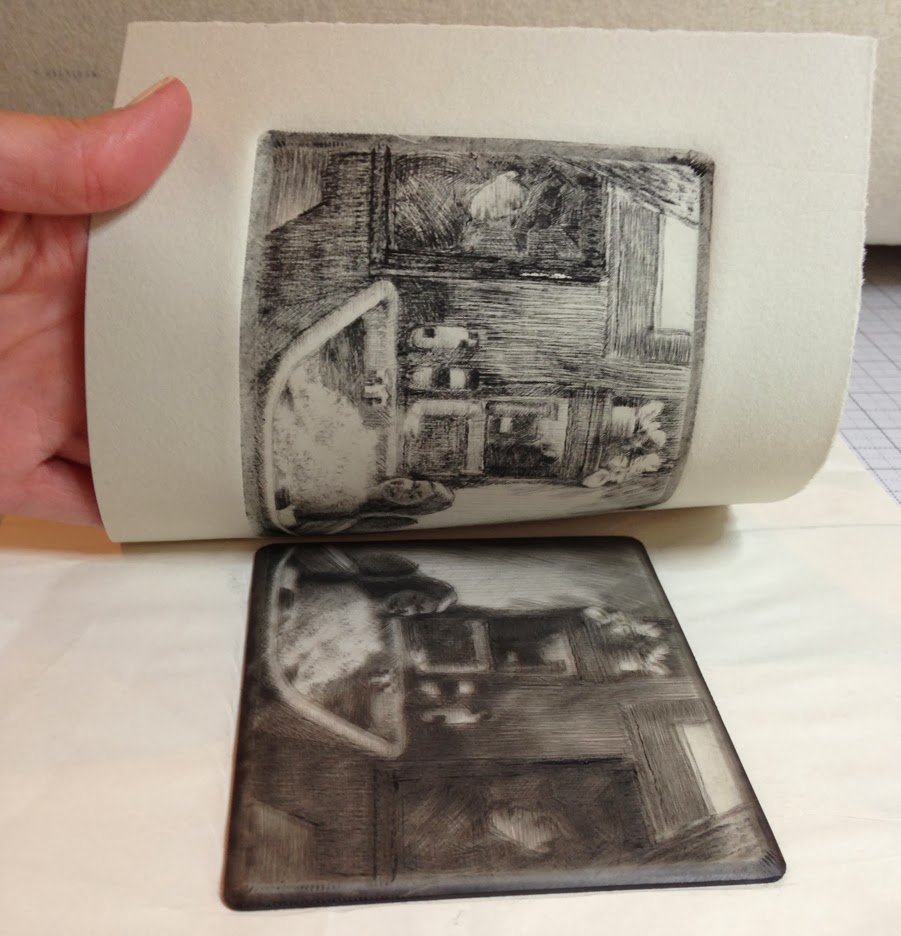
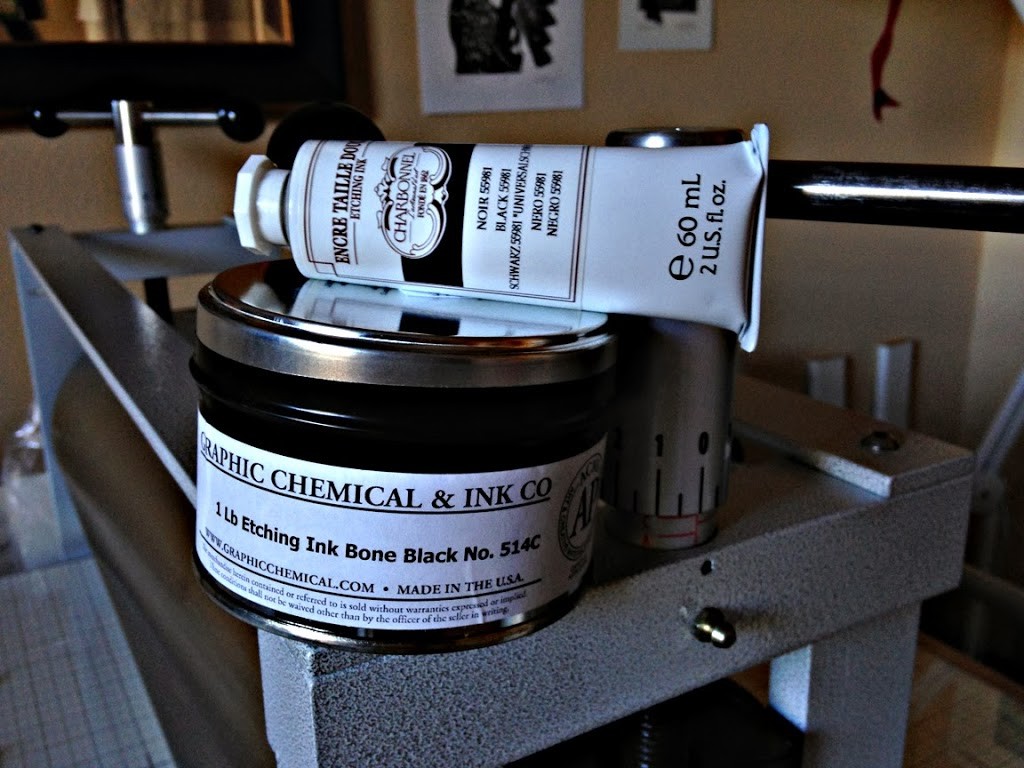
I read a master print shop article (here) about a lovely blend of two inks perfectly suited for dry point engraving. After ordering the inks (below) – this was my first test print with the mix. I *loved* them. The viscosity of the ink printed every line in the Drypoint. If you’re looking for a drypoint ink blend, I recommend this one. It’s oil based, so you’ll either need solvents to clean up, or vegetable oil and dish soap.
Plexiglass for a Drypoint Print
Here is a tutorial video (below) demonstrating how to bevel your plexiglass plate, using a rasp and a sanding block.
By angling the hard corner edge that was snapped off in the plate-cutting process, you’ll ensure that your sharp edges don’t cut your printmaking paper or your blankets under the pressure of your press.
You can read more about the process of preparing a plexiglass plate to use watercolor, water soluble crayons and adding a bevel in this post.
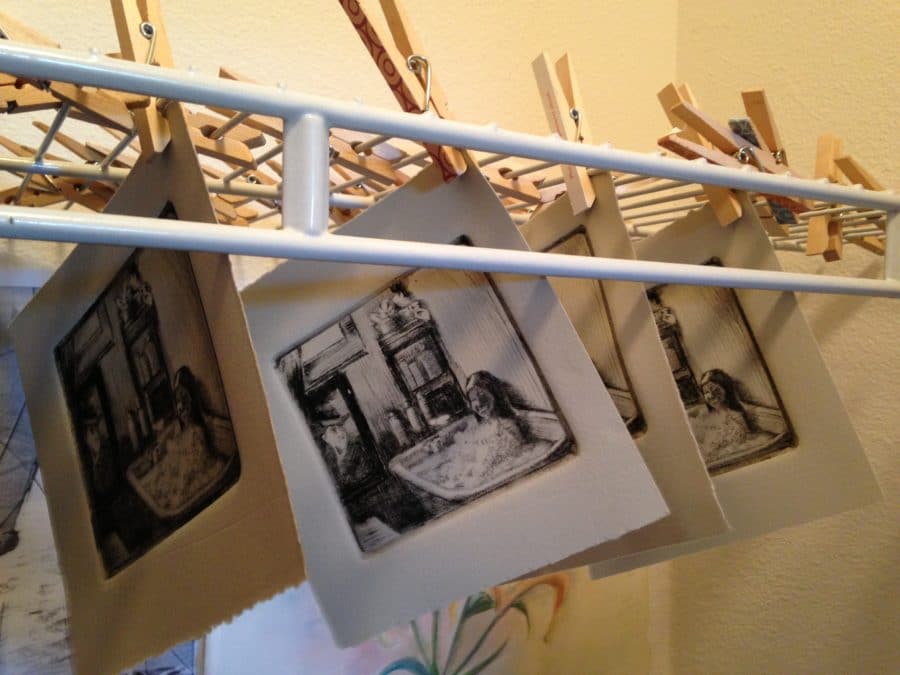
helps me see where I need to adjust tones (darks and lights)
on the plate before printing the edition.
Have You Made a Drypoint Print Before?
Now you have step by step photos of the process to create a drypoint engraving from acrylic or plexiglass (also called perspex in other parts of the world.
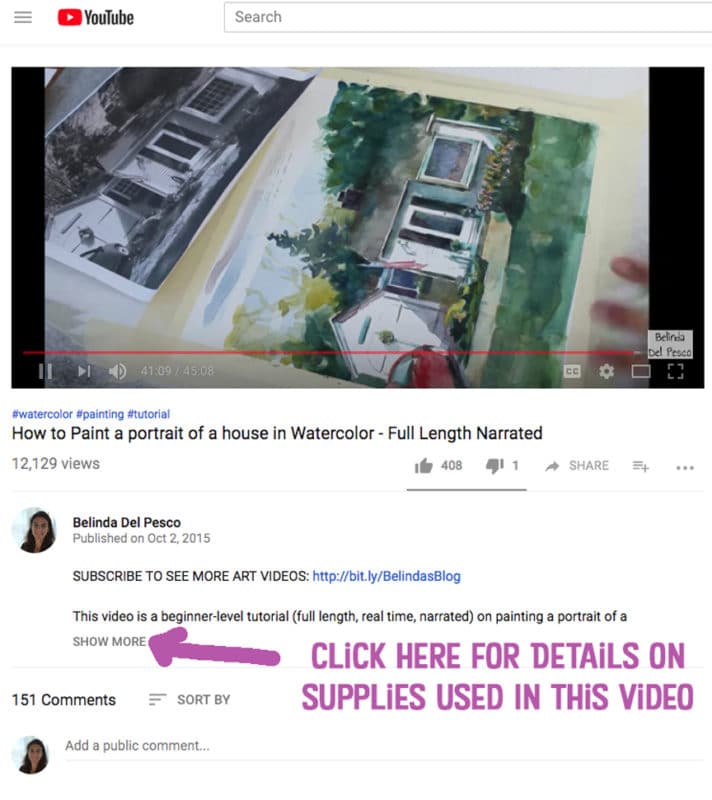
Take a look at this playlist of Drypoint print from plexiglass plate tutorials on my YouTube channel for more details.
Under each video window, you’ll find a Show More link (see the screen shot below) to expand the description, and there’s a supply list with links to help you find the things you need to make a Drypoint.
Have you ever made a drypoint from traditional copper plate? If you know any resources that would be helpful, please leave details in the comments so we can all get better at printmaking together.
Thanks for stopping by and I’ll see you in the next post!
Belinda
P.S. You can subscribe to get each new post via email here.
Finding the Show More Details in a YouTube Video

Art Quote
When Mark Rothko used tempera, he would follow a procedure that has existed since the Renaissance, separating dozens of eggs, and beating the whites into a consistency close to that of a soufflé. Those few friends who saw Rothko perform this rite were delighted by the bulky Balzacian figure, with large hands, delicately transferring yolk after yolk, from half shell to half shell.
While teaching at a University, and feeling isolated and far from home (New York), he participated in an exhibit. He wrote home: Two of my paintings hang here for the last three weeks. Not a word or a look from the faculty, students or the Fricks. One of them, on my first visit, I found was hung horizontally. I phoned the hanger about his error. “Oh, it was no error,” he said. “I thought it filled the space better.” I swear by the bones of Titian this is true.
The Legacy of Mark Rothko – Lee Seldes
Drypoint on Plexiglass or Recycled Plastic Printmaking Supplies
Here is a list of supplies to help you prepare to make a drypoint print from plexiglass, drafting film (mylar), or recycled plastic.
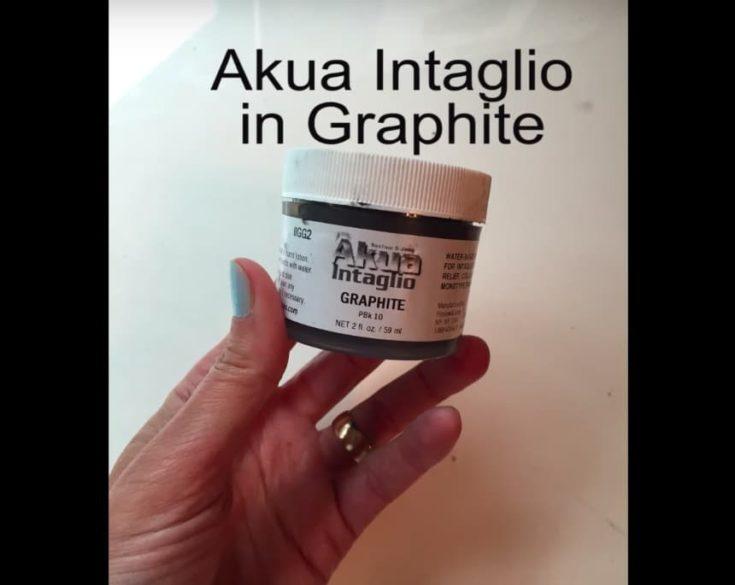
This is the ink I use in my studio when I want to clean things up with soap and water. There's no need for solvents to clean your plates and tools with this ink. Carbon Black intaglio ink is a nice, rich black for great line work. And you can use watercolor on the print after the ink dries - it will not re-wet!
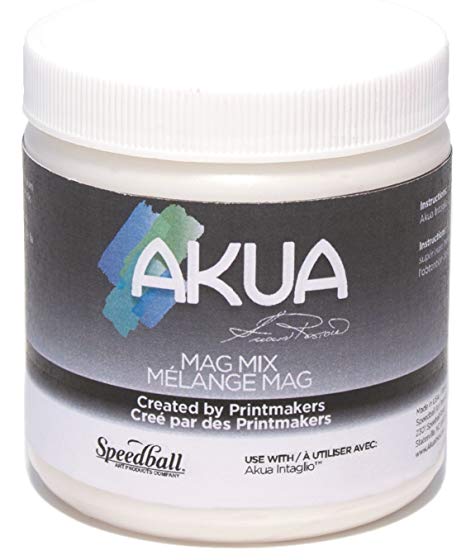
This is a thickening agent to mix with Akua Intaglio Inks. If the ink on your plate wipes out of the grooves and incised lines you've engraved with the needle, it might help to thicken the ink. Mag Mix adds a little more "sticky" to the ink. The pigments stay embedded in your line work a bit better with this ink modifier. You can see how I use it in many of the intaglio and drypoint tutorial videos on my youtube channel.
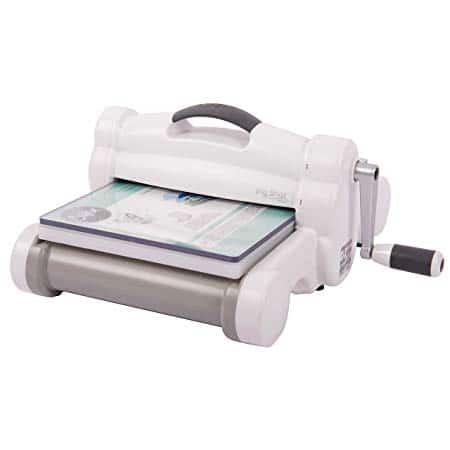
Sizzix Big Shot Plus Embossing Machine (small printing press alternative)
This is an example of the embossing machine artists and printmakers are using to print lovely, small scale drypoint and intaglio prints, as well as linocut prints. Be sure to visit the Facebook group called Craft Press Printmakers. They are doing amazing things with small die cutter and stenciling machines transformed into small printing presses.
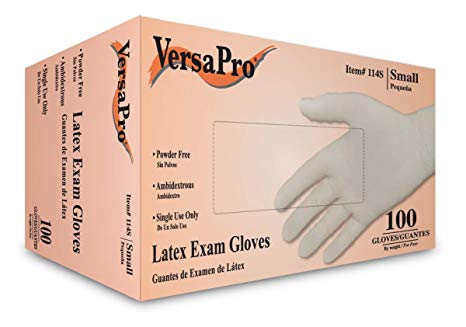
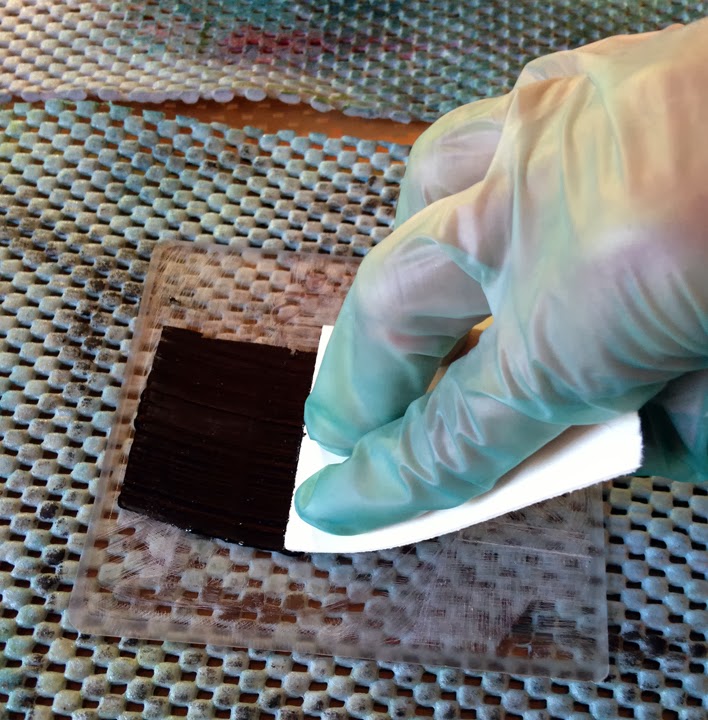
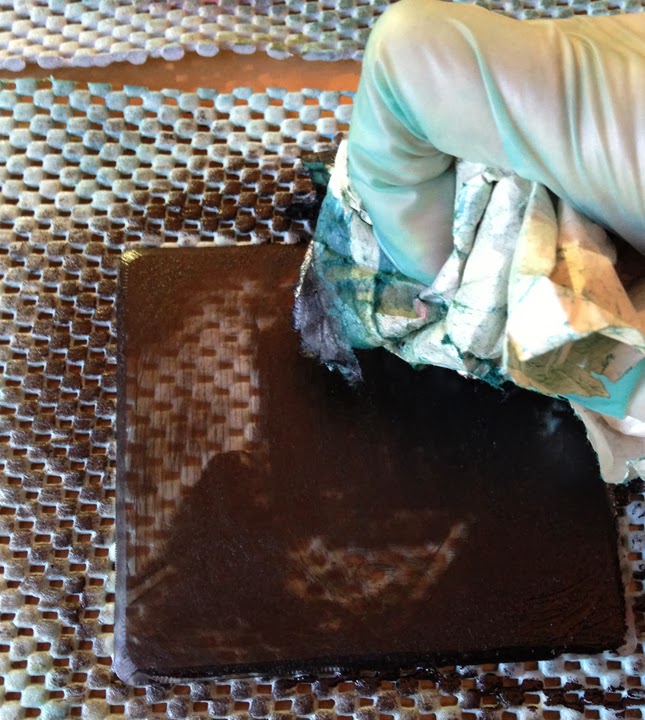
There should always be a barrier between your skin and pigments. Wear rubber gloves (be sure to select the right size) when you mix ink, apply ink to the plate, wipe ink from the plate, and clean the ink up after you're finished printing.
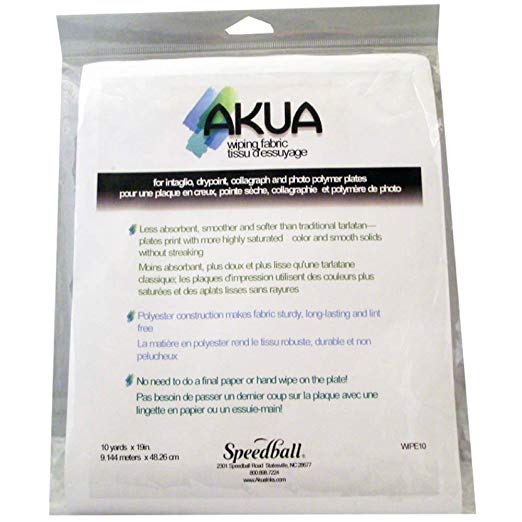
This is starched cheese cloth, or open-weave muslin fabric - also known as tarlatan. It's used to wipe ink from the uppermost surface of your intaglio drypoint or etching plate.
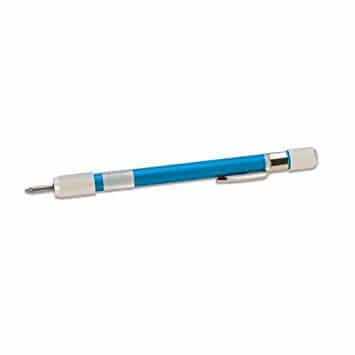
The tip of this scribing pen will carve a narrow groove into plexiglass or recycled plastic.
This is the tool I use to pull ink from containers, and manipulate it on the slab to mix colors, or warm it up with the friction of smooshing and smearing before adding it to the plate. It's also used for scraping leftover ink together, and scooping it into little containers to use in later projects.
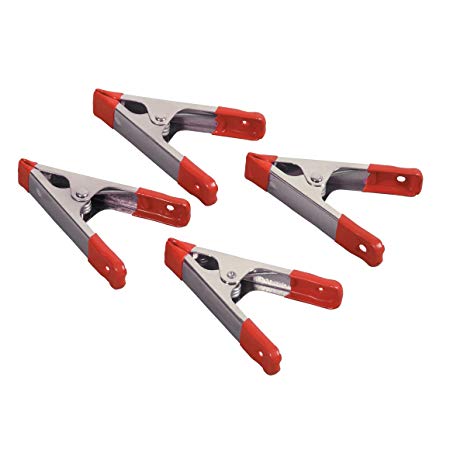
These spring clamps will hold your plexiglass plate steady while you score and snap it into smaller sheets. They also work perfectly for securing the plate without marring the surface while you bevel it, which you can see in a video tutorial on my YouTube channel.

This material works very well to hold your plate steady while you engrave your lines, or add cross hatching with the needle. It also works to steady any printmaking plate while you apply ink, wipe the plate, and clean it after you're finished printing. You can see it used throughout the relief and intaglio videos on my blog and on my youtube channel.
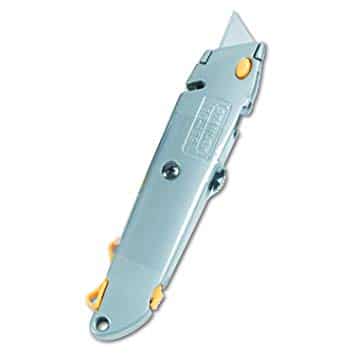
Utility Knife to score and snap your plexiglass material to the appropriate plate size
When your plexiglass arrives, you'll want to score and snap the sheet into smaller pieces to make multiple plates. This is a great tool for that process.
This 12 x 12 plate of opaque black plexiglass can be scored and snapped into smaller plates. Create four 6x6 plates from this sheet. See how to score and snap the plexiglass in the videos that are linked in this post.
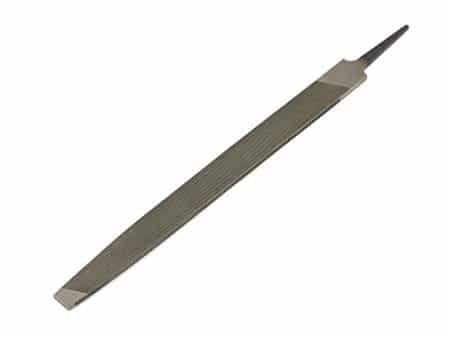
This 8 inch rasp can be used to file the sharp edge of the plexiglass plate down to a 45 degree bevel. This is an important step to prepare the plate before you begin your design, if you plan to print on a press. One rasp will last you a lifetime.
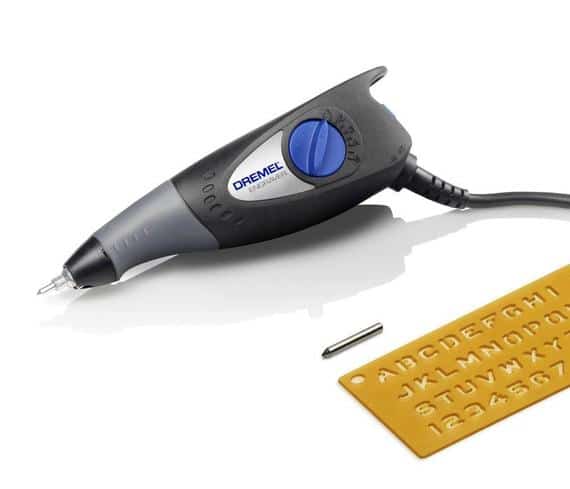
If your hands get tired when doing repetitive motions like cross hatching, or pressing hard on narrow tools to incise lines in plexiglass, you can etch your plexiglass plate with this small electric Dremel.
Belinda, this was a wonderful tutorial! Thank you – I am about to go try it out!!! I’m going to go finish that watercolor I’ve been working on, too!!
Yayyy, Deb! You’re on a roll! Keep going, and *do* try the drypoint! Creative Super Powers to you!