

Drypoint Etching from Plexiglass
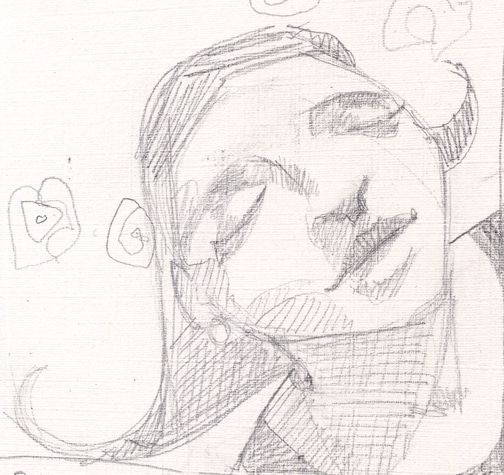
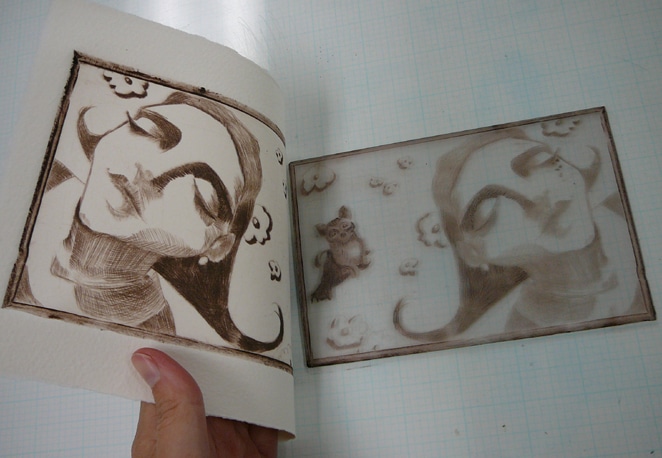
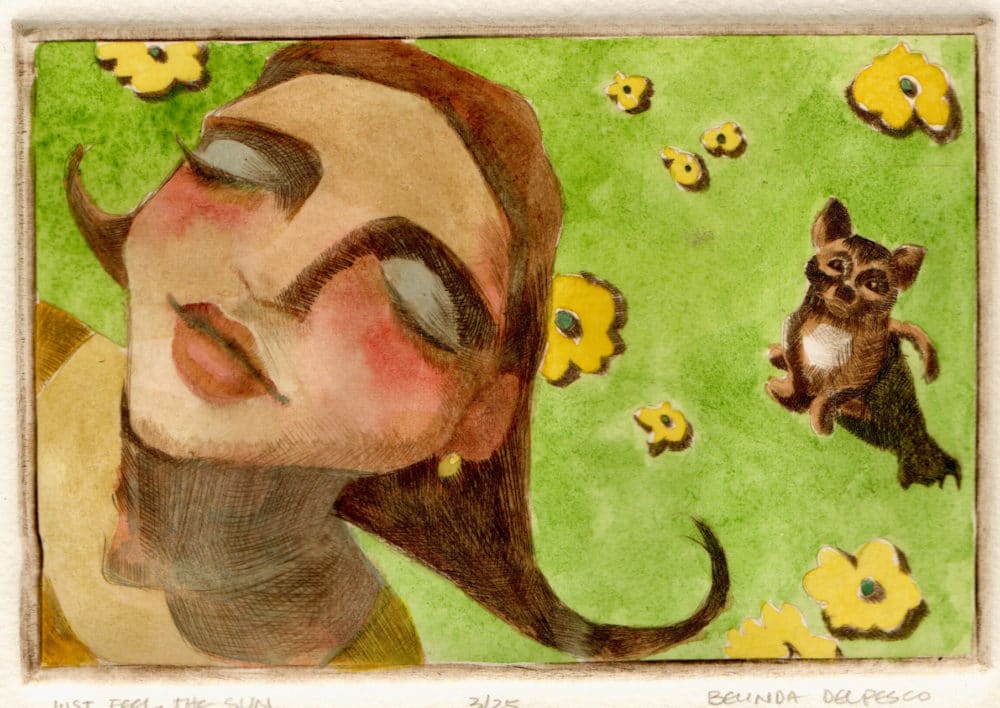
Here’s a frivolous little twirl from the studio; the drypoint etching in this post started with a sketchbook doodle (above) during a rough period in my life. I was talking myself out of the pity party, and re-targeting my focus on the wonderful things in my life. Sometimes, it’s as simple as that; stop over-thinking, breathe deep, and just feel the sun. Find your Gratitude.
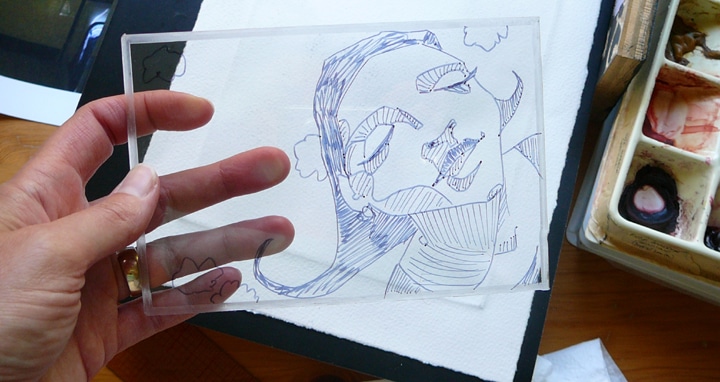

Plexiglass Drypoint Plates
I was just starting to make drypoint etchings when I made this print. I wanted to experiment with printing the drypoint from plexiglass instead of metal.
Acrylic and plastic plate material are much easier to acquire, and less expensive than traditional copper or zinc plates. My hands find that plexi (or lexan or perspex) are also much easier to inscribe. (If your hands are tender, consider scribing your plates with an electric engraver.)
What’s a Drypoint Etching?
Drypoint Etching (also known as Drypoint Engraving) is a form of printmaking that uses a hard plate and a sharp tool to scratch or incise line work into the surface of the plate. The plate is then coated in ink, and wiped off, which leaves ink embedded in the recessed lines of the drawing made with the tool. Printmaking paper is soaked and blotted, and pressed against the inked and wiped plate, usually on a printing press, to collect the ink from the drawn line work in the plate.
Traditionally, drypoint engravings are done on copper plates, or even zinc. In this post, I’ve used a smooth sheet of plexiglass.
A drypoint engraving doesn’t get dipped into an acid bath, like the process of traditional etching. Since the process depends on the artist simply scribing into the plate material, without using caustic chemicals to create the marks on the plate, it’s called a DRYpoint.
Drypoint Printing
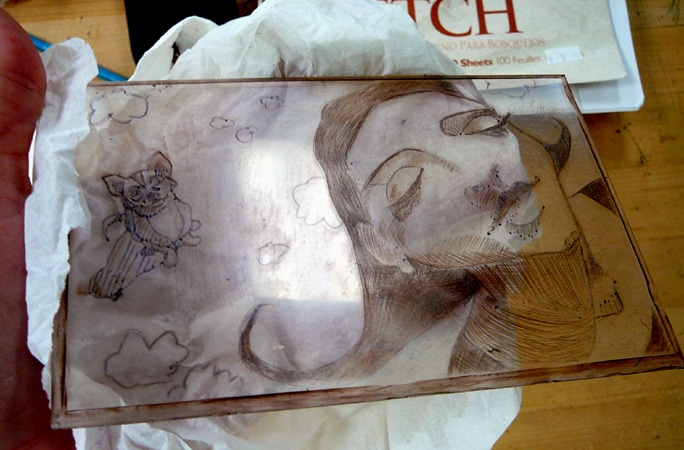
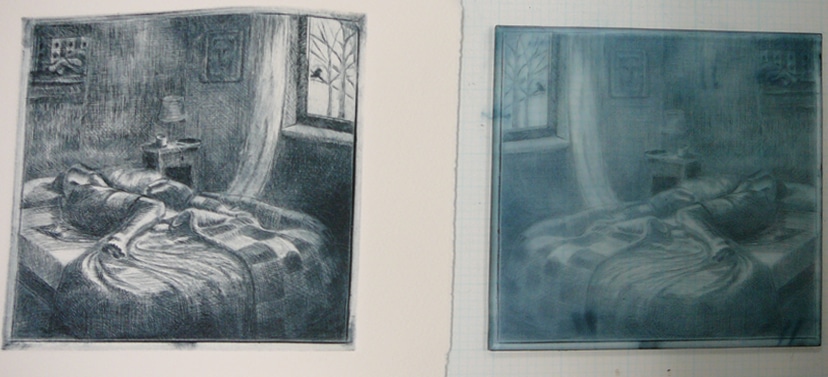
After the artist is satisfied with the incised lines of the art on the plate, intaglio etching ink is applied over the entire surface of the plate with a dauber, and then wiped off. The upper, un-engraved surface area of the plate gets cleared of ink, leaving the ink nestled below the surface, inside the gouged rows of line work plowed by the sharp tool.
When damp printmaking paper is pressed firmly against the plate by a cylinder on an etching press, the ink laying in the recessed drawn lines is lifted out by the paper, duplicating the drawing on the plate, in reverse.
Drypoint Etching Editions
The artist re-inks the plate, and wipes it carefully again. Another sheet of soaked and blotted printmaking paper is laid on the inked plate and run through the press. This process is repeated over and over, until the printmaker has what they regard as the right number of acceptable prints. No folds, smudges, blank spots, etc.
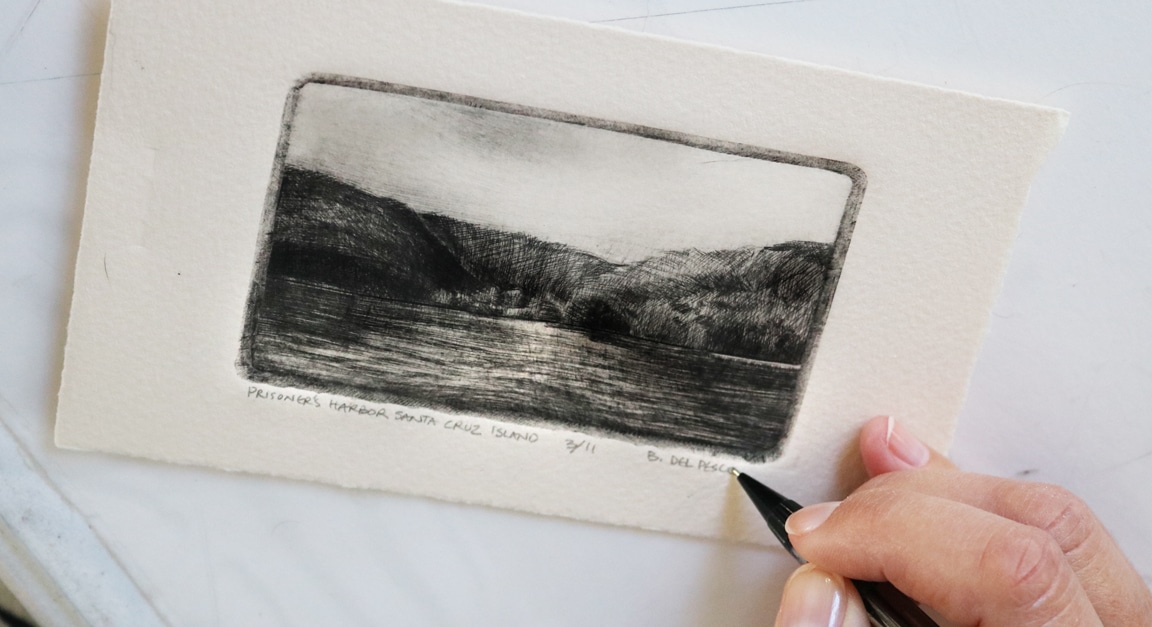
The prints are each dried, signed, titled and numbered in pencil, usually along the bottom of the art, just beneath the plate impression.
Drypoint Etching Printing without a Press Resources
In this series of printmaking projects using stuff around the house to make art during the Pandemic, we’ve explored drypoint etchingin thsoes posts, in case you missed them:
- Printing a drypoint etching from a plastic Trader Joe’s biscotti container with a stomp-method (hint: your feet are the press)
- Making a Monotype without a press, from a blueberry container using acrylic paint and watercolors (hint: this one is great if you don’t have inks)
- Printing a Drypoint Etching without a press, from a plastic lettuce box, using a spoon, and then adding watercolor (hint: this one has a tutorial video)
Make a Drypoint Print
Printmaking terminology can be a brain teaser, but make rather than study, and learn as you go. Keep experimenting with all forms of printmaking, and you’ll be rewarded with years of creative adventure, Ahhas!, increased skills and deep satisfaction. Pinky promise.
Here are two terms for you. Relief prints refer to printmaking that is inked from the uppermost surface of the plate. When you roll ink onto a linocut or a woodblock, you’re making a relief print. Intaglio – from the Italian word intagliare: to engrave – refers to prints made from areas beneath the top surface of the plate. So, if you’re printing a drypoint, an etching or an engraving, you’re creating an intaglio print. Each printmaking method – intaglio and relief – uses different inks.
Drypoint etching is suited for almost any style of drawing. Give it a whirl. C’mon now, we both know you have some gestural drawings and watercolor drypoint ideas floating about in your sketchbooks, right? Wink-wink, nudge-nudge….
Thanks for stopping by, and I’ll see you in the next post,
Belinda
P.S. Do you know there are over 300 art books in the Getty Museum Library than you can download and read for free? Have a look.
Gift Ideas for Creative Friends and Family
Hand-Made Pottery: Plates, Mugs, Planters and Bowls
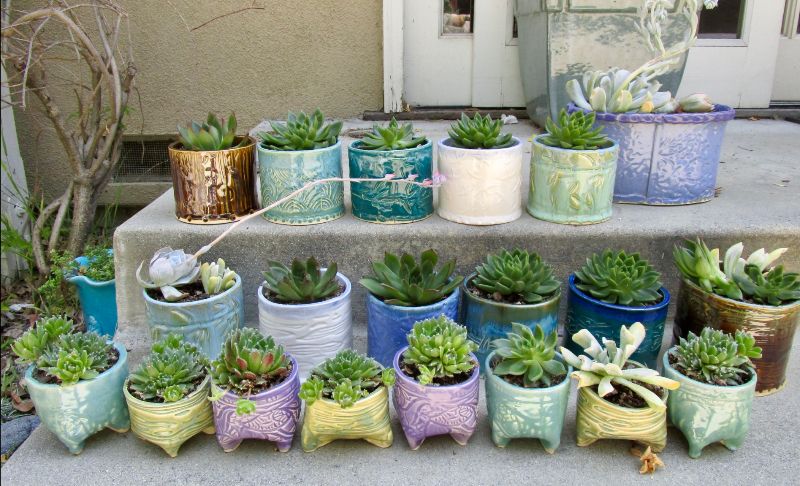
If you know someone who loves pottery and ceramic vessels, my friend Mims makes *beautiful* plates, bowls, planters, mugs and trays. I have several trays that make gorgeous centerpieces in table settings when we entertain, and friends always compliment her work. Take a look at Mim’s website here, and her shop on Etsy is here.
Fabric Lover Resource
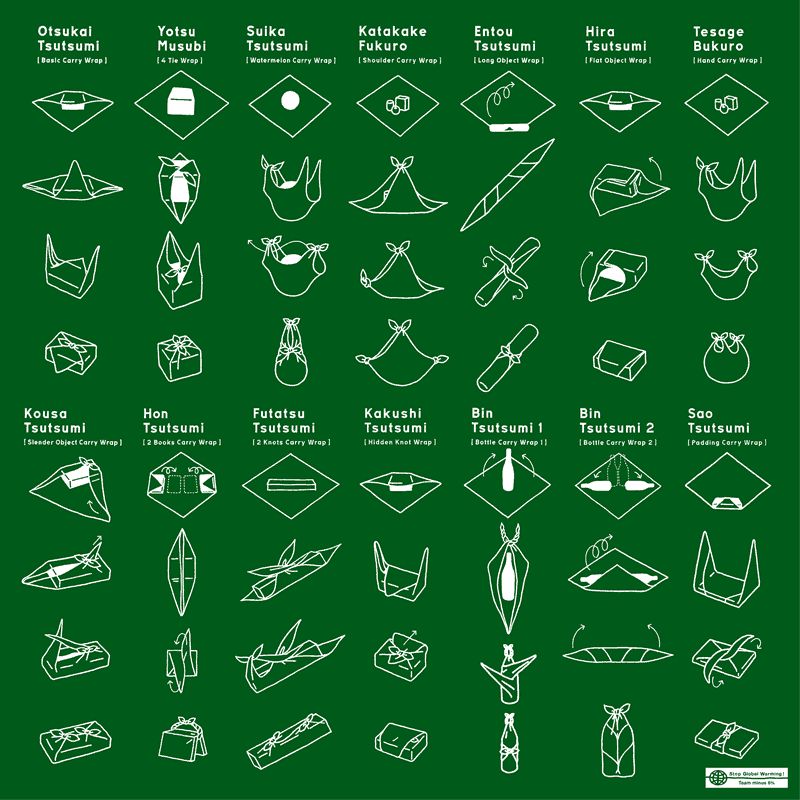
Kelly Stevens owns a small-but-amazing fabric store in my neighborhood called Super Buzzy. Her newsletter is always full of ideas. She just shared the Furoshiki folding image above, and described the thousands of years old tradition of using cloth to wrap and carry personal items to the bath, or keep cloths together while soaking yourself in hot springs. (Doesn’t that sound marvelous?) People interested in reducing waste are returning to this tradition to carry goods on shopping trips, and wrap gifts. Do you have a fabric lover on your gift list? Read more about Super Buzzy here.
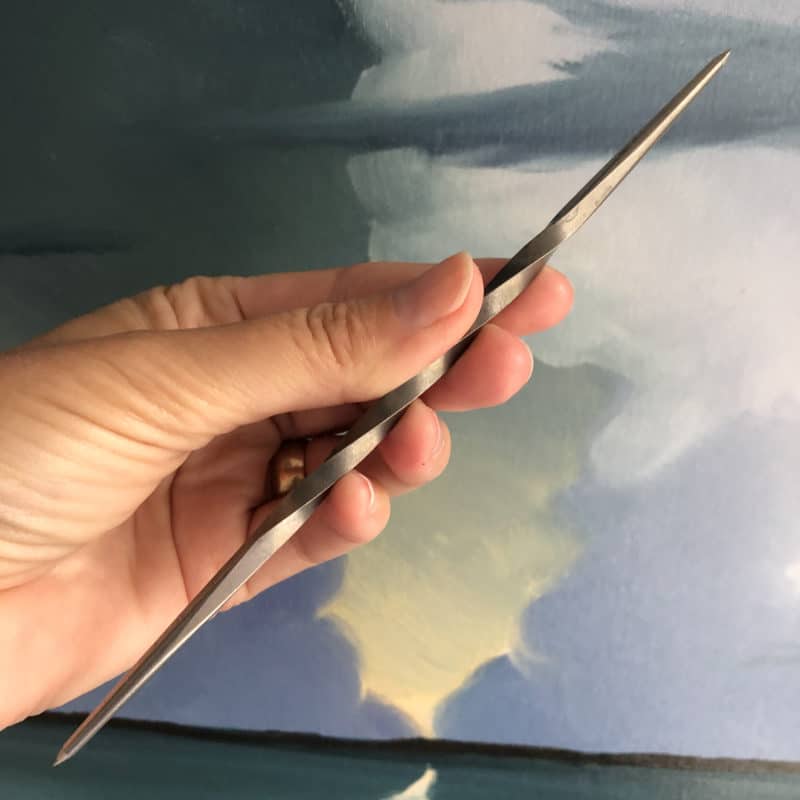
Drypoint and Intaglio Engraving Tool Set
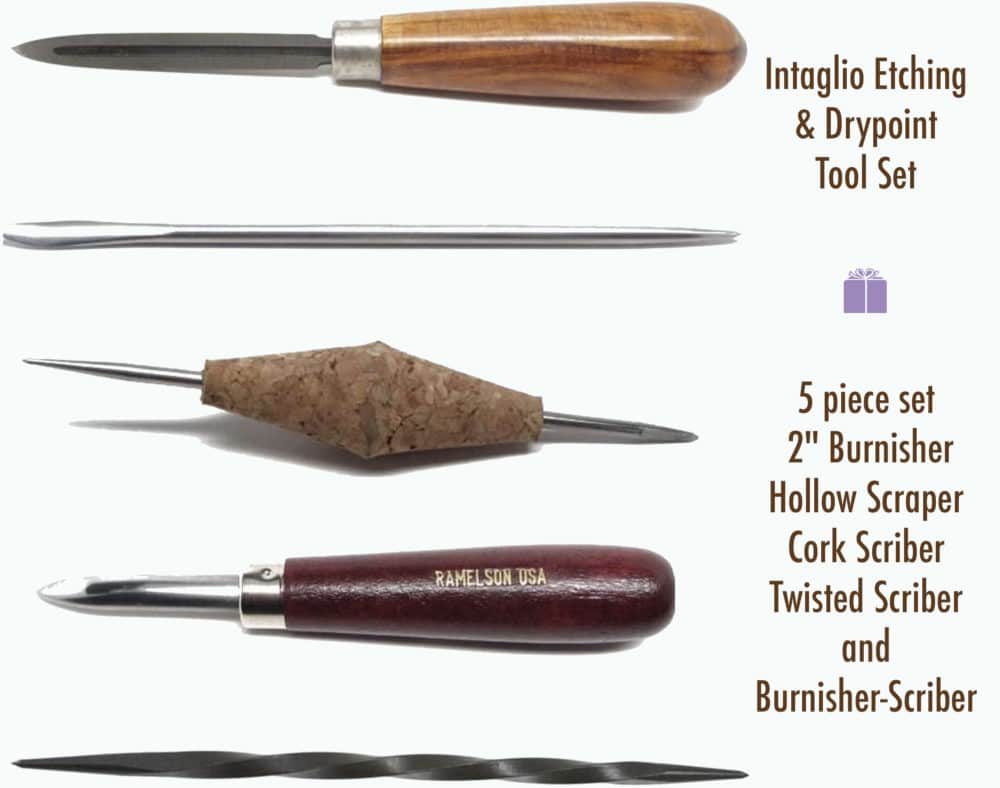
I mentioned above that a twisted scribe is an excellent tool for drypoint prints made on plexiglass. There are a number of other tools used in intaglio printmaking where controlled mark-making in metal or plastic plates is the goal. The five piece set above is an excellent choice for a variety of intaglio printmaking methods. It’s also perfect as a source of discovery; everyone’s hands are different, and we need to find the tool that fits our physical grip, and mark-making style. I use all five of these tools, especially the cork handled scribe, the twisted scribe and the wood-handled burnisher. Ramelson offers them as a set here.
Printmaking Paper (Cost vs Yield Considerations)
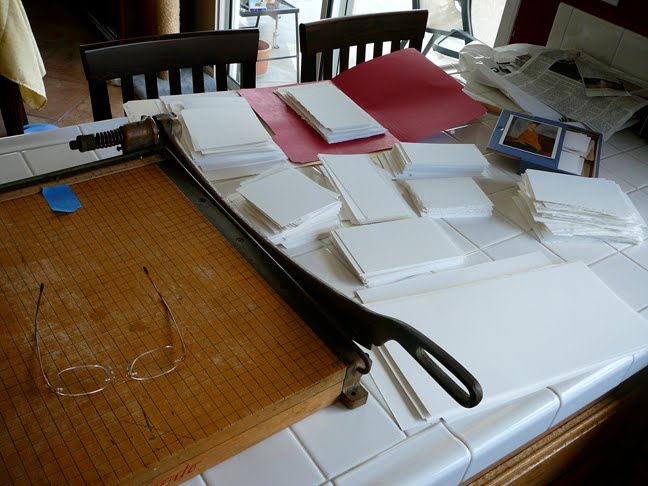
Successful printmaking hinges on a good match between plate, ink and paper. One of my favorite printmaking papers for a hand transferred (no press) print is BFK Rives lightweight paper. You can get five 19X26 inch sheets of the cream-white lightweight paper for $3.45 each (totaling $17.25, at the time of this writing). Take the five sheets and tear or cut them down to 6″x8″, which is a nice size to print a 4″x6″ relief block or intaglio plate. You will yield 9 pieces of printmaking paper per sheet, for a total of 45 6’x8″ sheets of very good, lightweight printmaking paper that will cost you about 38 cents per sheet. Pick some up for yourself, or your favorite printmaker here.
Cherry Blossom Embroidery Kit
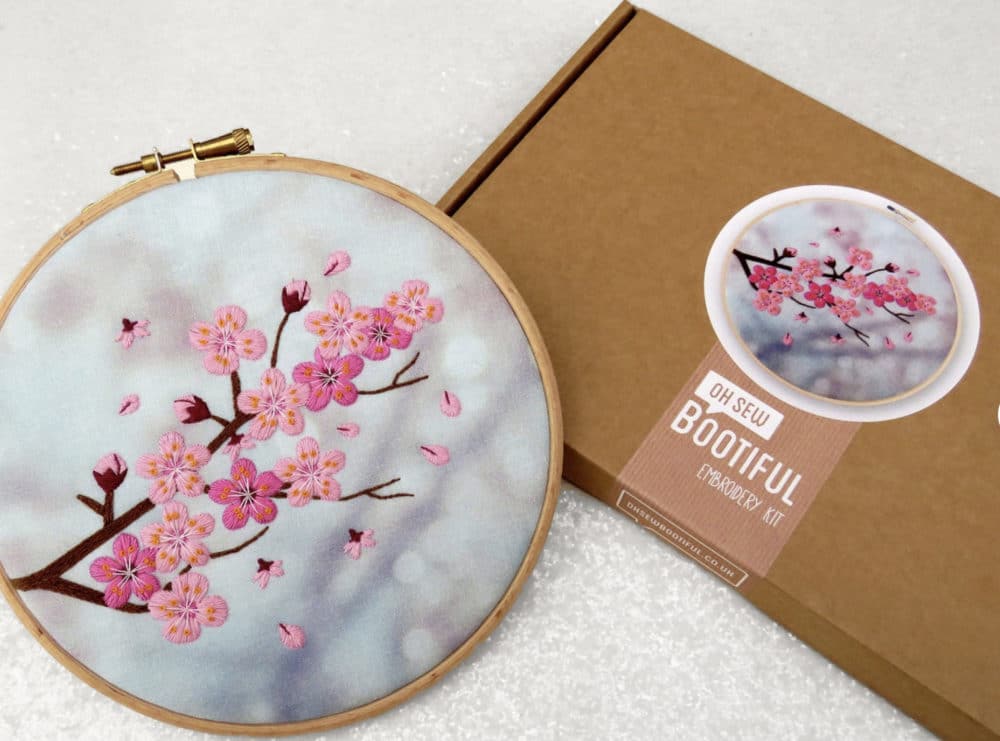
When I was a kid, I thought a bag of assorted embroidery floss was as beautiful as a paint palette. I imagined all sorts of sketches coming to life with a needle and a rainbow of floss in some white linen caught in a hoop. I’m so glad stitching – in all its fun iterations – has made a comeback. This beautiful kit of cherry blossoms is just simple enough to be beginner friendly, and striking enough to go on display when it’s finished. Don’t you think? See more about it here.
Creative Kids, Grandkids, Nieces and Nephews?
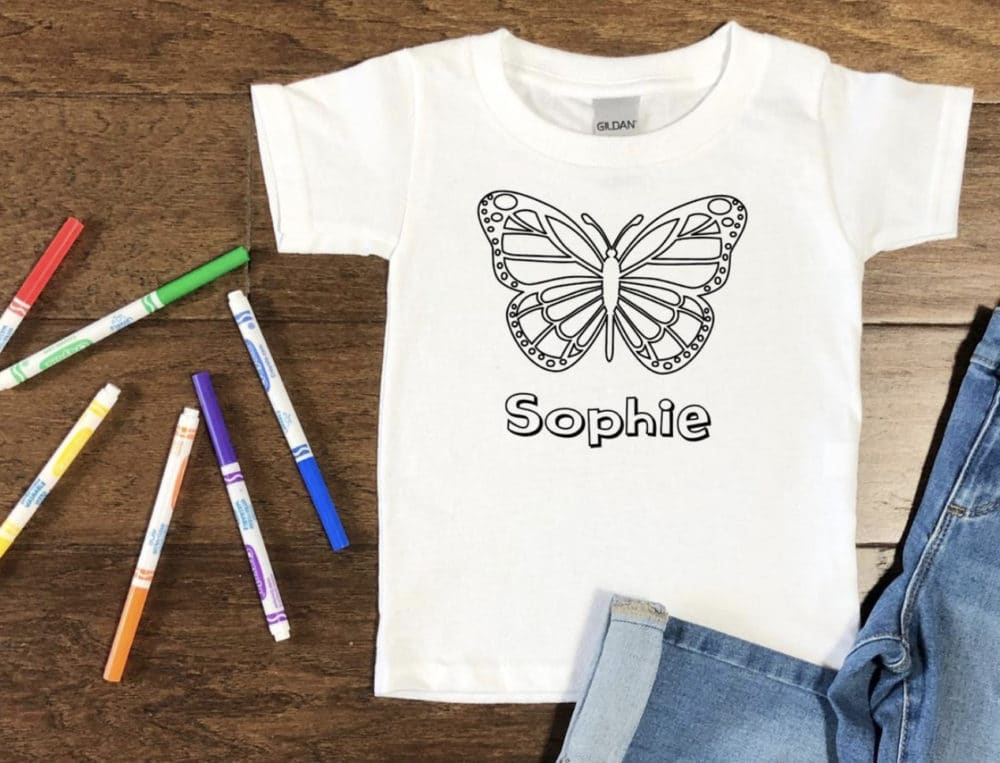
My grandkids have pilfered my husband’s undershirt drawer to create hand-painted night shirts, and this gift is a classier, customized version of daytime t-shirts. Rather than old grampa shirts and the mess of acrylic paints, brushes and mixing palettes, markers are a simpler (cleaner) coloring option. And I love that each child has their name to color too. See more of their design options here.
Art Quote
Learning is not attained by chance, it must be sought for with ardor and attended to with diligence.
Abigail Adams
Hi Neighbor Belinda,
Nice to hear from you. For a long time I had the picture of you in the Provence lavender fields as my inspiration. Even tried to buy a chair like you had to try and transport myself there! Thank you for all your inspiring and encouraging words, and for sharing your art.
Celia
Hello down there, Celia! You must be warmer today than we are up here, but clear skies and crisp light, no? And yes, the Provence lavender, and my trusty field chair are still good things in my treasure box of inspirations.I’m grinning to know they inspired you too. Thanks for visiting and leaving a basket of encouragement. That was very kind of you. I hope you take a trip to Provence too. It will be a well to your inspiration for the rest of your life.
Hello again. I’ve had several different embossing machines over the years and have watched as they have evolved. I wore out a Cricut Cuttlebug. After that I bought an Epic Six Letterpress, which also did embossing and die cutting. I tried to do drypoint printing with it, but couldn’t get the right combination to apply enough pressure. The Evolution Advanced I believe is made by the same company. It has pressure adjustments for letterpress, embossing and die cutting, but I’ve had to experiment with various platforms and press blankets in order to find the right combination for a good print. I finally came up with the right combination and have been able to turn out some lovely drypoints using recycled plates and also Akua plates. You know this already, but my husband made me a base plate out of MDF that is the perfect size for my little press. On top of that I use the rubber mat that comes with the machine, then place the plate on top of that. Damp paper is next, topped with three press blankets cut to size. I use a setting between letterpress and die cutting and it seems to be just right for a nice, crisp print. It was a relief to finally be able to make a lovely drypoint. I love using the recycled small plates. Thanks again for your encouragement and creativity.
Mickey, Thank you for describing your journey, and the specifics of your set up. I think this will be *very helpful* to printmakers who are just starting to climb this hill towards small press alternatives. I really appreciate your time and willingness to share.
Good morning, Mickey! That’s so helpful, thank you! I’ve seen folks demo drypoint with the pin press, but it seems that you have to use quite a bit of of pressure (what if you’re a small stature?), and a particular sequence of modifiers on the plate, and specific paper too. I’ve never tried it, but I know how frustrating it can be to try over and over with assorted methods to get a clean drypoint when you don’t have a press. So far, the results I’ve seen with the embossing/die cut machines are phenomenal. I’m temped to get one myself, just to work outdoors or in other locations. (My press is a beast, I dare not even move it to another part of my studio.) What made you select the Evolution Advanced?
Hi Belinda, In response to Sally’s question about the Akua pin press, it is best used for mono prints using Akua liquid inks. I’ve tried to use it for dry points but you really can’t apply enough pressure to make a good print. I use an Evolution Advanced embossing/die cut machine. It has adjustments for pressure which is important for getting a good print. The prints are small, but are really fun to make.
Hi Belinda, I always enjoy your posts. Does Akua’s pin press work with this type of drypoint printmaking? Thanks! Sally
Hi Sally, I’ve never used one, so I can’t describe it, but I’ve seen a demo on the Akua YouTube channel. Maybe take a look at that. Also, I’d recommend looking into a die cut/stencil machine. Small footprint and no muscle or body weight required. Take a look at all the brands and examples in the craft printmakers Facebook group… they’re all very generous with the alterations to make those machine perfect little presses for both relief and intaglio: https://m.facebook.com/groups/1544918272204523/