Can You add Watercolor to Collagraph Prints?
Yes, you can, as long as the ink you used to print your collagraph dries permanent, and the paper you printed it on can handle wet media. (Here’s a post that covers the caveats of wet media on ink and printmaking papers.) (You can test a small swatch of one of your prints.)
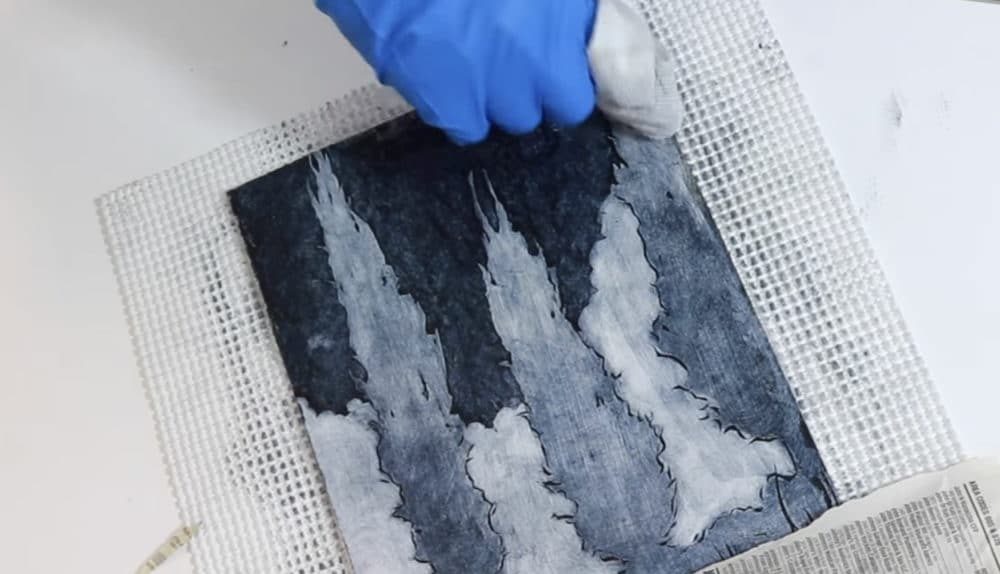
When you print a collagraph intaglio style, you can control the amount of ink covering your paper. Less ink equals more room for watercolors.
In the collagraph print in this post, you’ll see that ink is left along the curbs and crevices of the design – but most is wiped away to leave the paper clear for some watercolor fun after the ink dries.
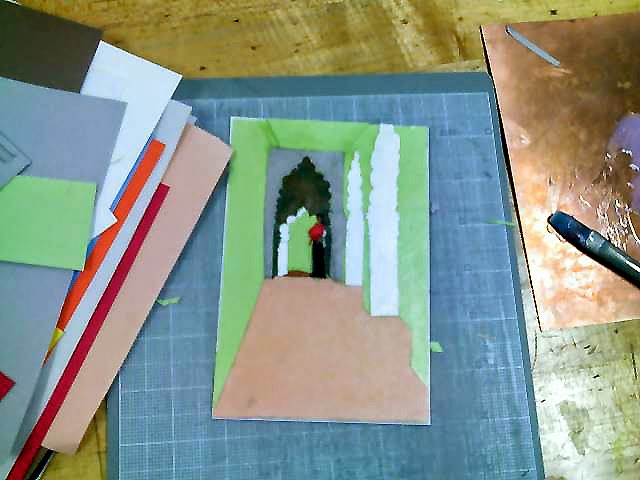
Building a Collagraph Plate
This collagraph plate was made with mat board and construction paper. You can get mat board online, or ask your local frame shop if you can collect a handful of cut outs from their recycling bin.
The construction paper is kid-grade. If you have kids, or grandkids, you can sneak into their art supplies and “borrow” some colored construction paper. 🙂
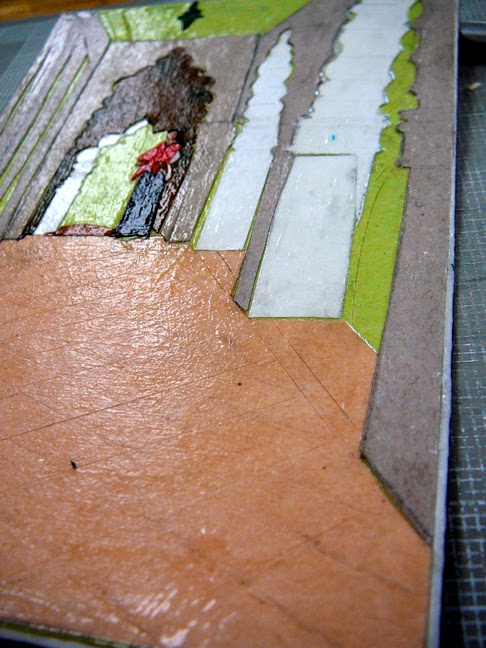
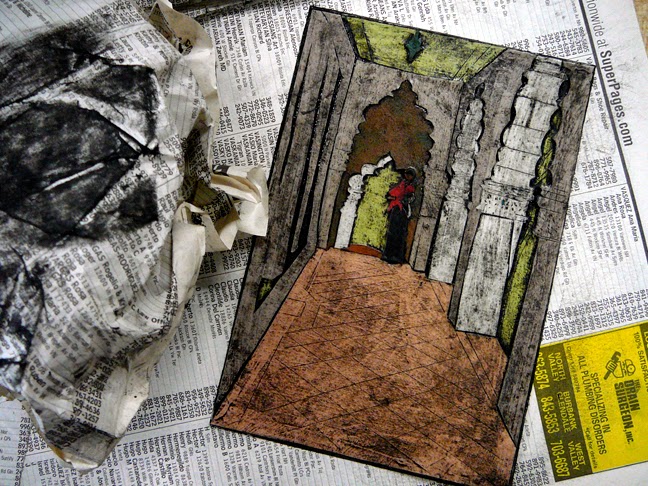
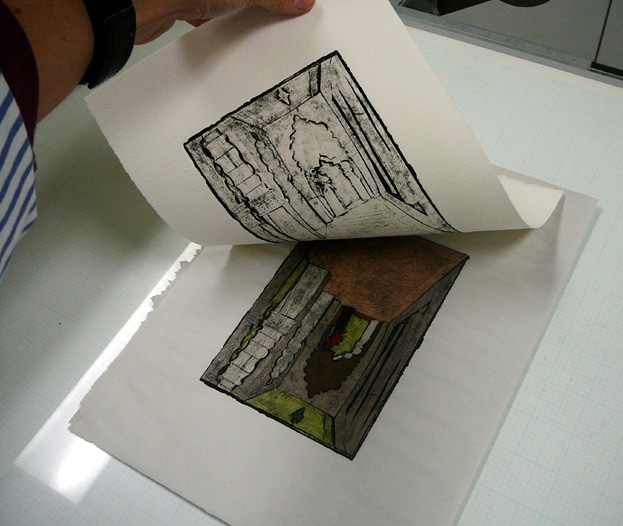
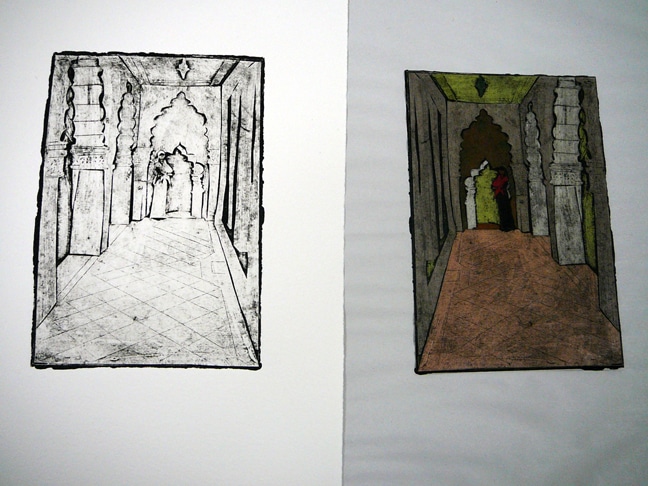
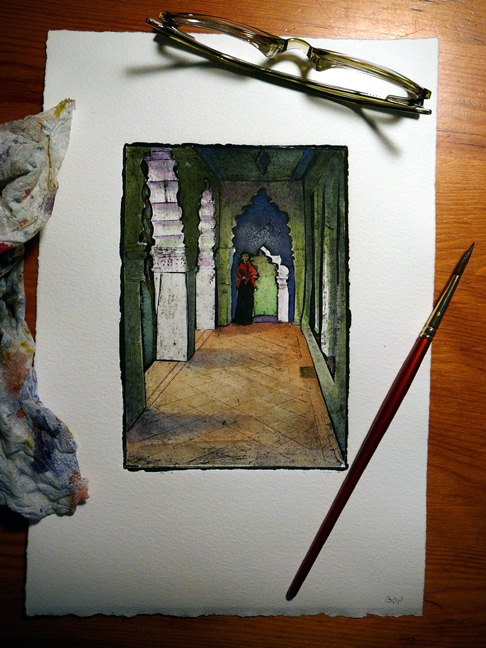
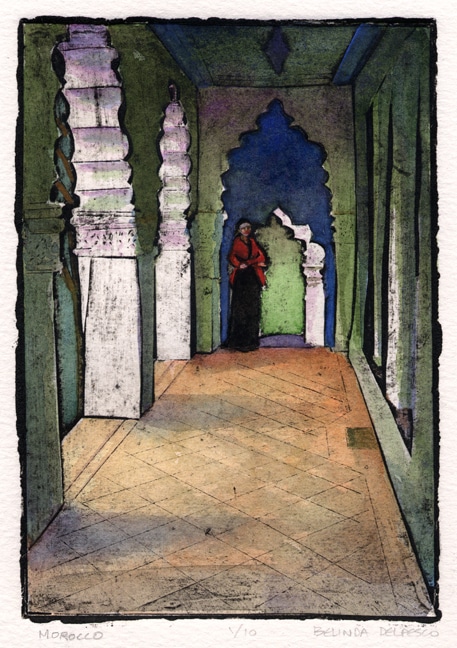
Give Your Old Prints New Life with Watercolors
If you’ve pulled prints and found them a little short of your expectations, pull them out for a little watercolor fun.
And if you know the paper you printed on can’t handle wet media, or your inks are water-soluble even after they dry, apply colored pencil to your collagraph print (<–see this example), or pastels (oil or chalk) instead.
If you didn’t like your old, stuffed in a cupboard prints much, this is an especially freeing exercise, because you have nothing to lose if the additional media misses the mark.
Tell yourself to have fun, and just experiment. Listen to an audiobook (I’m listening to this one right now), or a podcast (this is a printmaking podcast), or some music and have at it!
Thanks for stopping by and I’ll see you in the next post!
Belinda
P.S. On the subject of printmaking inspiration, this is my favorite printmaking magazine on the planet – Pressing Matters.
Collagraph Print Supplies
(Note: These links may include affiliates - which means if you make a purchase, I receive a wee commission. Using these links does not affect the price you would otherwise pay. This is a list of the supplies I use when making a Collagraph plate and print.)

Choose a good reference photo
(select something with simple lines and curves. Example: a coffee cup with a few stems of daisies would work well... but a cut-crystal vase of densely petaled roses might be a bit too much to carve.) :)

Standard Framing Mat Board (also called mount board)
https://amzn.to/2uvXutW

Construction Paper
https://amzn.to/3uS7Z5t

Pen
https://amzn.to/36l0xEO

X-Acto knives:
Standard Xacto knife
https://amzn.to/3lfcJxo

Retractable #9 (tiny) blade knife
https://amzn.to/36et6Us

Fiskars Swivel Tip Tiny Finger Knife
https://amzn.to/358iK9q

Fiskars Fingertip Craft Knife (uses standard #11 blades)
https://amzn.to/36gCwib

Rubber Pencil Grip (these are very helpful if your hands get tender while gripping)
https://amzn.to/3eFfQMD

Liquitex High Gloss Varnish to seal your mat board plate
https://amzn.to/2IfcljG

Paint Brushes to ink the plate
https://amzn.to/2I8oXtq

Rubber Gloves (always wear them while handling printmaking inks and modifiers)
https://amzn.to/2IfORLy

Akua Ink starter set
https://amzn.to/3p9jUcK

Akua Paynes Gray Intaglio Ink
https://amzn.to/2U4yJyL

Akua Graphite Intaglio Ink
https://amzn.to/3kazmlg

Akua MagMix (modifier to thicken the ink)
https://amzn.to/3n5l07v

Akua Transparent Base (this makes beautiful, transparent ink colors)
https://amzn.to/35aNBSD

storage jars for leftover ink
https://amzn.to/2I8ncMQ

BFK Rives paper Heavier Weight (for use with a press)
https://amzn.to/2Ih3ONz

BFK Rives paper (lightweight) for use with hand rub/transfer
(*recommended if you plan to add other media*)
https://amzn.to/2Cl75WI

Kozo Mulberry paper (for hand rub/transfer, and no watercolor or wet media on the print, but works well if you want to add colored pencil)
https://amzn.to/3pcEyZg

Tarlatan cloth for wiping the plate
https://amzn.to/38mDaxg

Pointed Cotton Swabs
https://amzn.to/3582ZiO

Self Healing Cutting Mat
https://amzn.to/3eBAv46

Colored Pencil (optional)
https://amzn.to/3eBAzRo

apron
https://amzn.to/3eCcoCn

Non-skid shelf liner to secure your plate while drawing, cutting and then inking and wiping
https://amzn.to/3k7hQhL

metal ruler with cork back for paper tearing
http://amzn.to/1ATQx1f

spatula for mixing/laying out ink
https://amzn.to/3p7eE9r

Mylar sheets (tape one down to mix ink on, if you don't have a piece of glass or plexiglass to use as a slab)
https://amzn.to/358LU8g

Takach etching press
https://www.takachpress.com

If you need a printable list of supplies you can download, with links to resources I've found online, here's one.
Art Quote
One day work is hard, and another day it is easy; but if I had waited for inspiration I am afraid I should have done nothing. The miner does not sit at the top of the shaft waiting for the coal to come bubbling up to the surface. One must go deep down, and work out every vein carefully.
Arthur Sullivan

Hi Belinda , I am a Visual Artist and Printmaker from South Africa. I like to add more colour to my collographs, by just inking ( not watercolour, pastel or poli crayons) any sugesstions?
Would it just be alla popee?
Cryselda
Hello Cryselda,
You have many options with collagraphs: You can hand-color the plate for an ‘a la poupee’ print, or you can create additional plates for particular colors, and print them in layers on your paper. You can also create additional collagraph plates, and then slice them into shapes and ink them separately – and then re-assemble the shapes before laying your paper over the inked ‘jig saw’ plate to print. You can also mix and match your printmaking, and use a woodcut or a linocut to lay down blocks of color, and then align and print your collagraph over that. Many, many ways to print color. 🙂
The collograph prints have been lovely, and it looks like you’re having so much fun with the process. I love the textures!
This is stunning, Belinda. All your coolographs have just been wonderful and, again, I appreciate the step-by-step photos; thanks!