Colored Pencils to the Rescue
Have you ever added colored pencil to your monotype prints? (If you’ve never made a monotype, read on…) Whether your subject is portraits, abstract, still life or landscape, adding colored pencil will transform a mediocre print into a monotype jubilee.
I’m not kidding. If you have a stash of old monotypes you were less than thrilled with, pull one out, and abracadabra your oh-well into that’s-what-I’m-talking-about Glorious. Just add colored pencils.
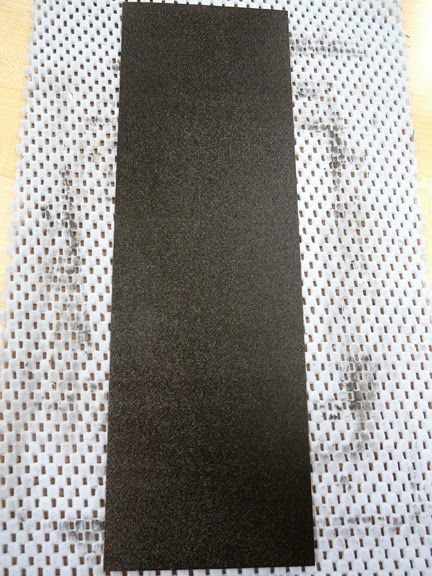
Monotype Inspiration
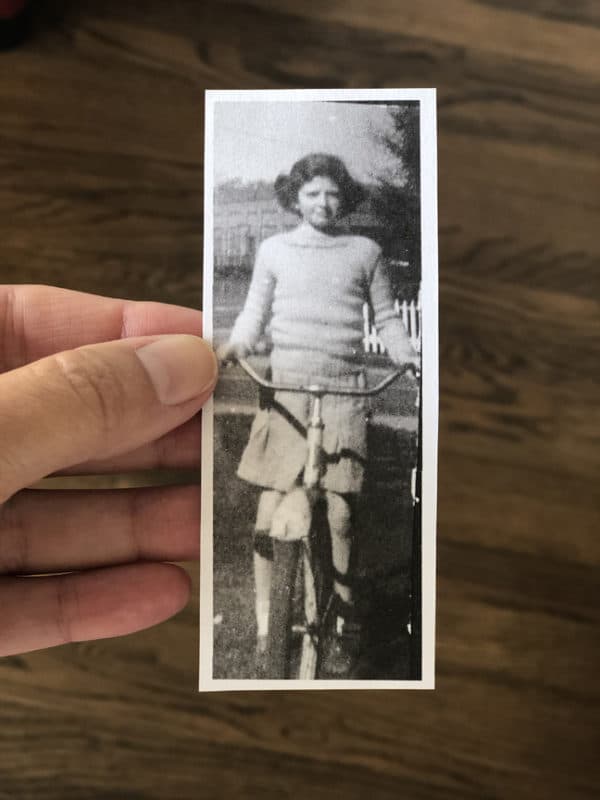
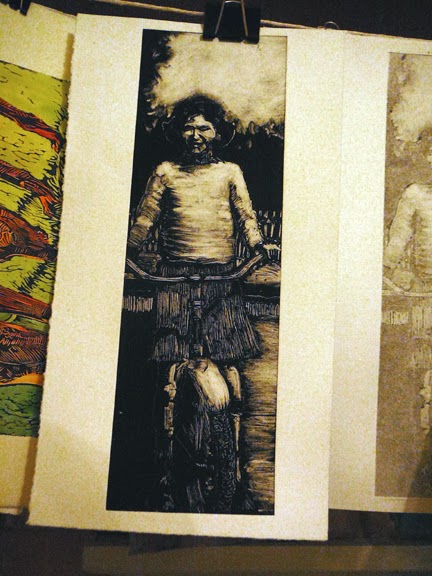
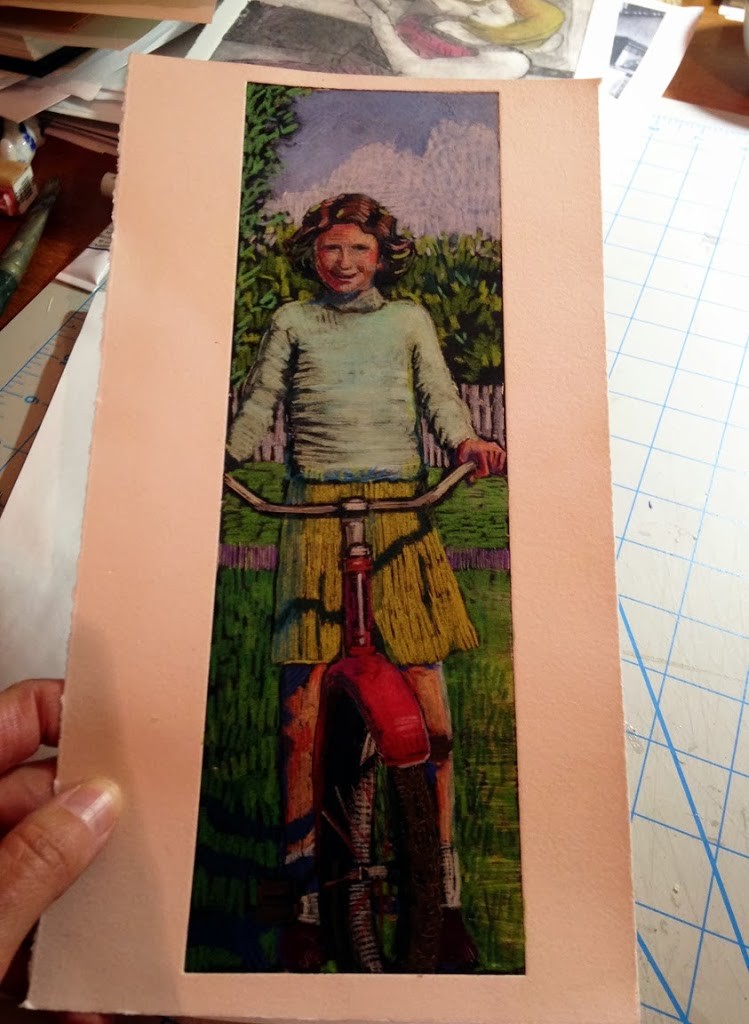
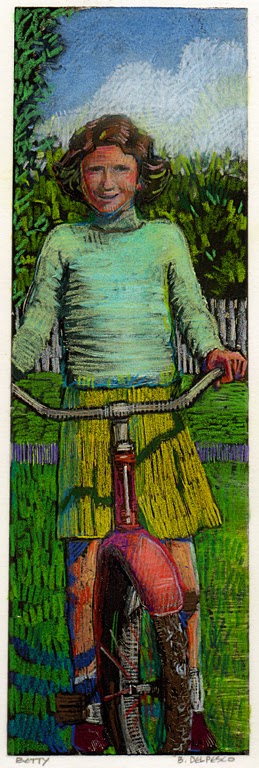
The reference for this monotype was a tiny, mid 1940’s photo of my mother on a new bike. Her name isn’t Betty, but in cycling lingo, the term is used to refer to a girl who is a novice biker.
For the record, I’m a Betty too. My bike is hanging, dusty and neglected, on a wall in the garage, while I play with art supplies in the studio.
Read More About Monotype Prints
- This monotype print tutorial will introduce you to the basics of making a dark field monotype print without the need for a press.
- When you create a monotype print, you often have enough ink left on the plate to pull a second, faint version of the first monotype. These soft, transparent siblings of the original image are perfect candidates for colored pencil or watercolor enhancements, and they’re called monotype ghost prints.
- If you’re on Facebook, be sure to join the Monotype Printmaking Group, as there are lots of helpful posts, inspiring images and shared How-To’s.
What to Use as a Monotype Plate
I used a scrap of copper discarded by another printmaker for this print, but you can use a monotype plate made from lots of different materials:
- a sheet of plexiglass (also called perspex, acrylite, lexan or acrylic in other parts of the world)
- a pane of glass, like one borrowed from a picture frame, a glass shelf or a mirror. (But only if you’re printing by hand, and not on a press. It’s also a wise to attach duck tape [this zebra print duct tape is my fave] around the edges of the glass to avoid cutting yourself.)
- a piece of Yupo paper – this is watercolor paper made from 100% polypropylene. The surface is white, waterproof, strong and slick.
- a sheet of Dura-Lar drafting film – this surface is a mix of Acetate and mylar, made from polyester. The clear sheets make flexible, very durable printmaking plates.
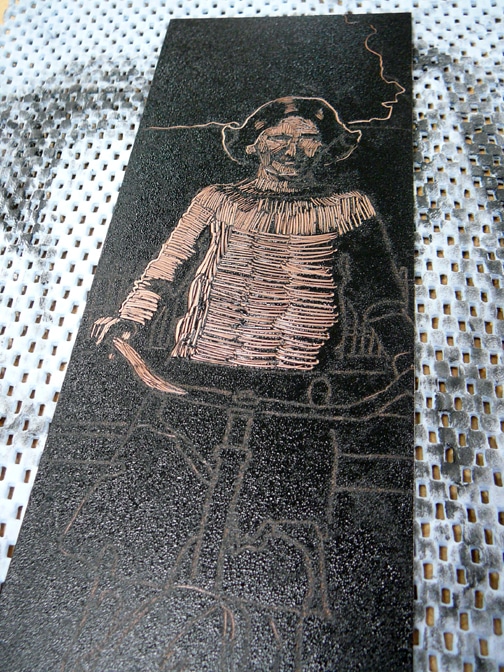
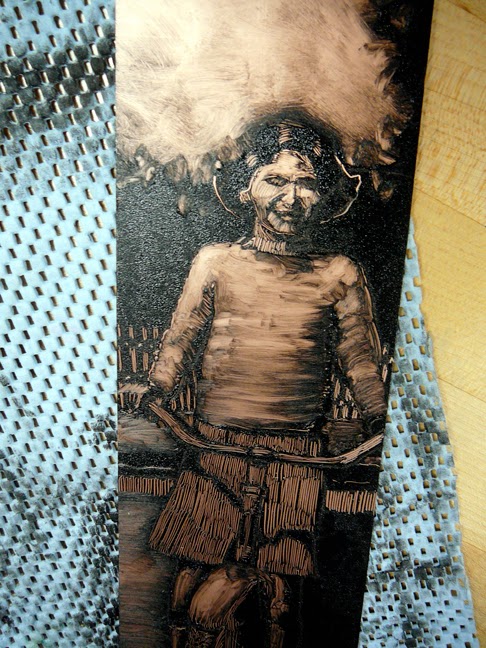
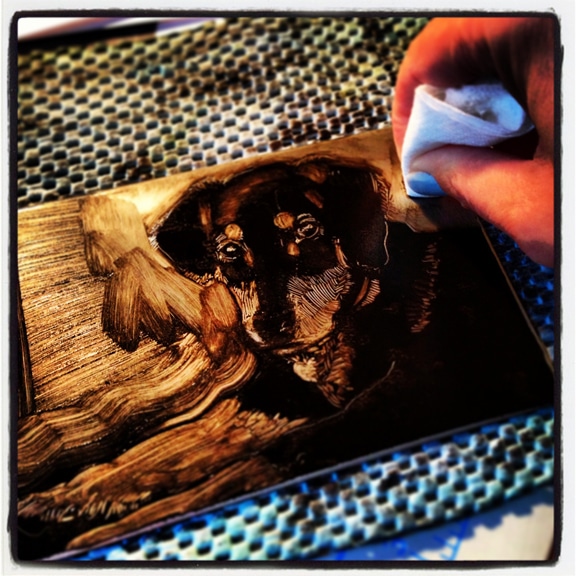
Think of it like you’re carving light from a dark field.
Adding Colored Pencil to Your Monotype Print
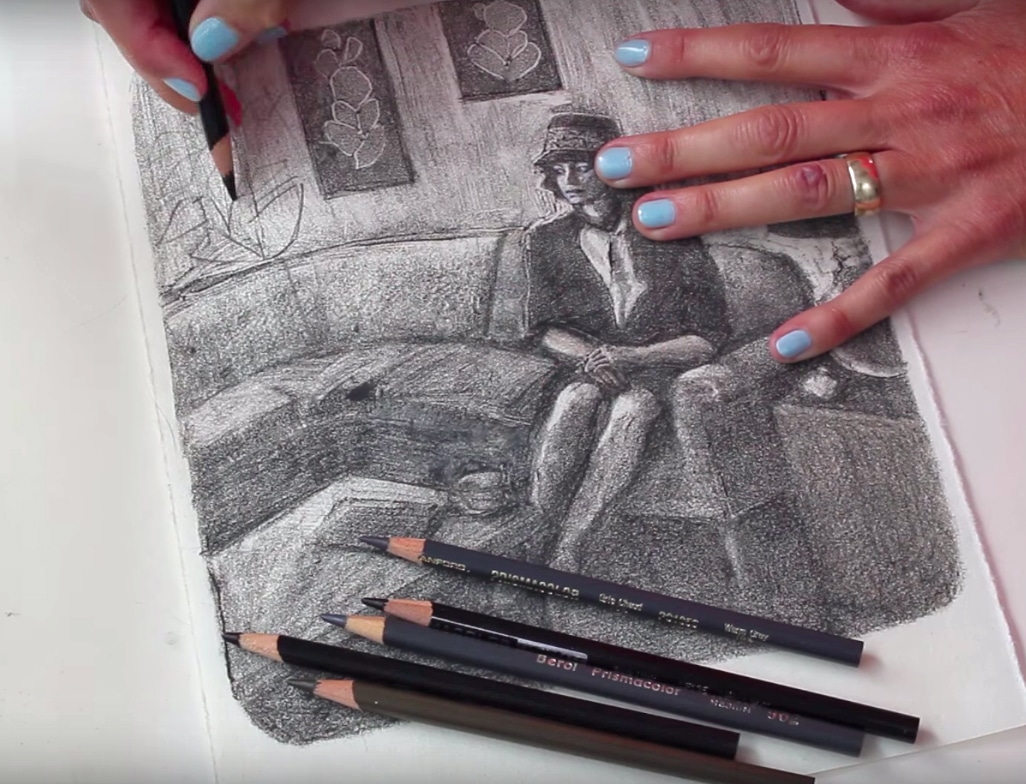
Once the ink is dry on your monotype portrait print, you can have so much fun adding colored pencil!
The pigments in most colored pencils are wax based, mixed with differing ratios of powdered color and binding agents. A good pencil’s core color will adhere to intaglio printmaking ink like chalk on a black board. The higher the pigment load in the core, the more color you’ll see on the ink.
For the past two decades, I’ve used a mix of Prismacolor Pencils, and Caran D’Ache Luminescent Pencils. I still have pencils from the original set I bought in 1999, and they adhere beautifully and brightly to most printmaking inks. They are one of my favorite art supplies for enhancing monotypes and watercolors. (Here is a post about using colored pencils to repair watercolors.)
Monotype and Colored Pencil
I hope you’ll try mixing your printmaking with other media. Especially if some of the prints in your stash need a little Color Bling.
During this time of staying in, and staying safe from Covidi19, an evening spent immersed in art adventures is a salve. Applying bold strokes of color on an old print could be just the thing to make you smile. And it might even be habit-forming!
If you have any questions about this process, leave them in the comments and I’ll get back to you.
Thanks for your visit, and I’ll see you in the next post.
Be adventurous,
Belinda
P.S. The How to Make a Monotype Print instructions below might be helpful.
P.P.S. I’m building an online monotype course, so you can get an email when it’s posted by signing up right here.
How to Make a Monotype Print
If you've ever wondered how to make a dark field monotype print, you've come to the right place! Here are step by step monotype process photos, videos, and a supply list with links to the items you'll need to get started.
You don't need a press, or any fancy printmaking equipment.
And if you learn best by watching a demonstration, here is a list of monotyping tutorial videos that cover dark field and light field monotype, as well as trace monotype printmaking demos.
With a little space cleared on a kitchen table, a few supplies, and some reference photos, you'll be making monotype prints in no time at all! Happy Printing!
Materials
Tools
Instructions
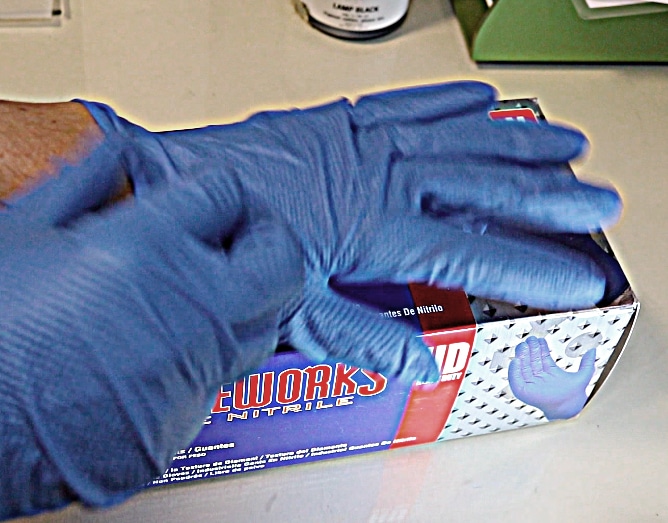
- Prepare a flat, clear surface to work on by covering it with newspapers. Gather all supplies close at hand, and put on your apron and rubber gloves.
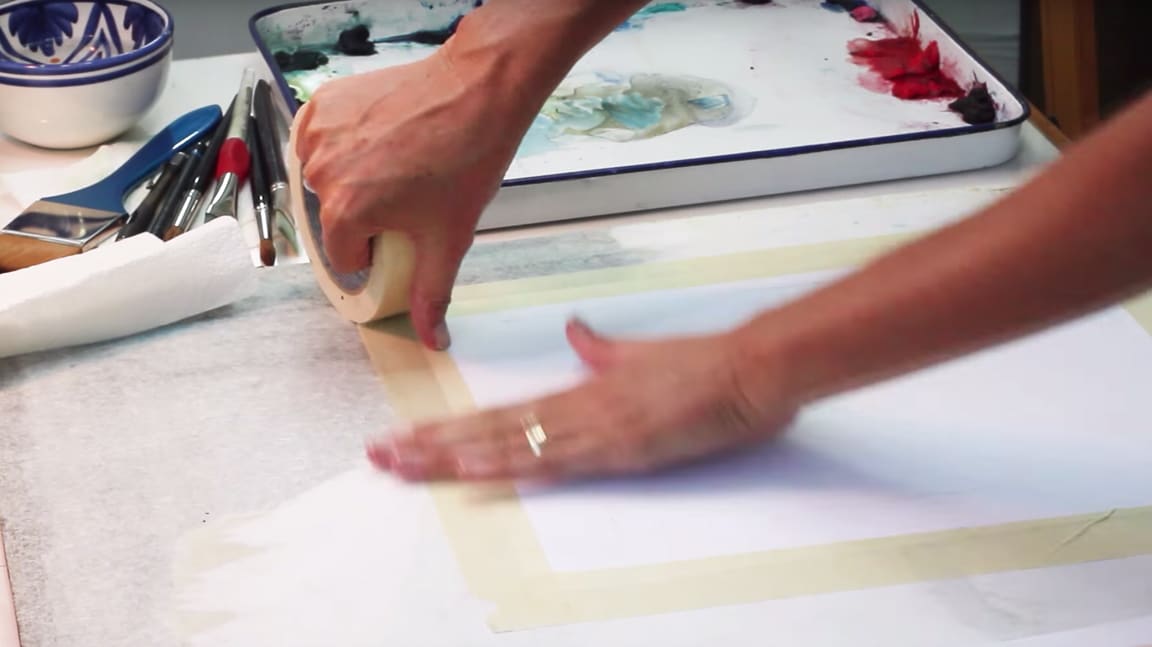
- Tape down your ink slab.
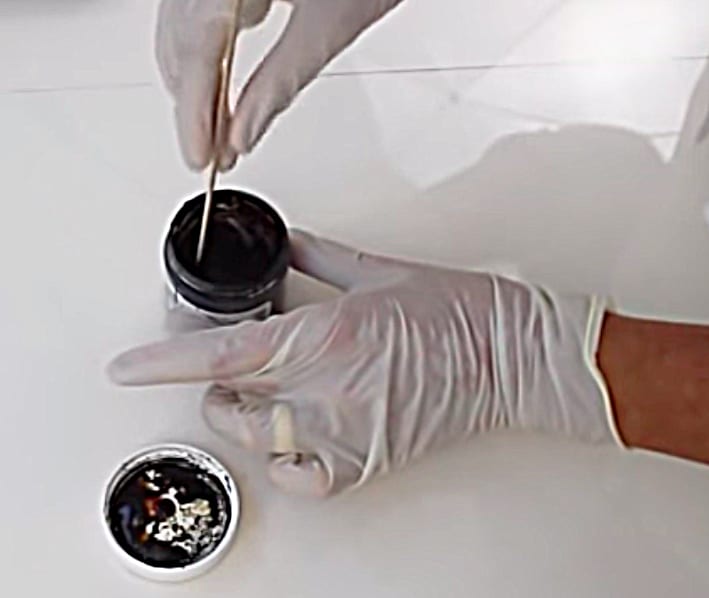
- Stir your printmaking ink until it's smooth and mixed well. Put a dollop of ink on the slab about the size of a cashew nut.
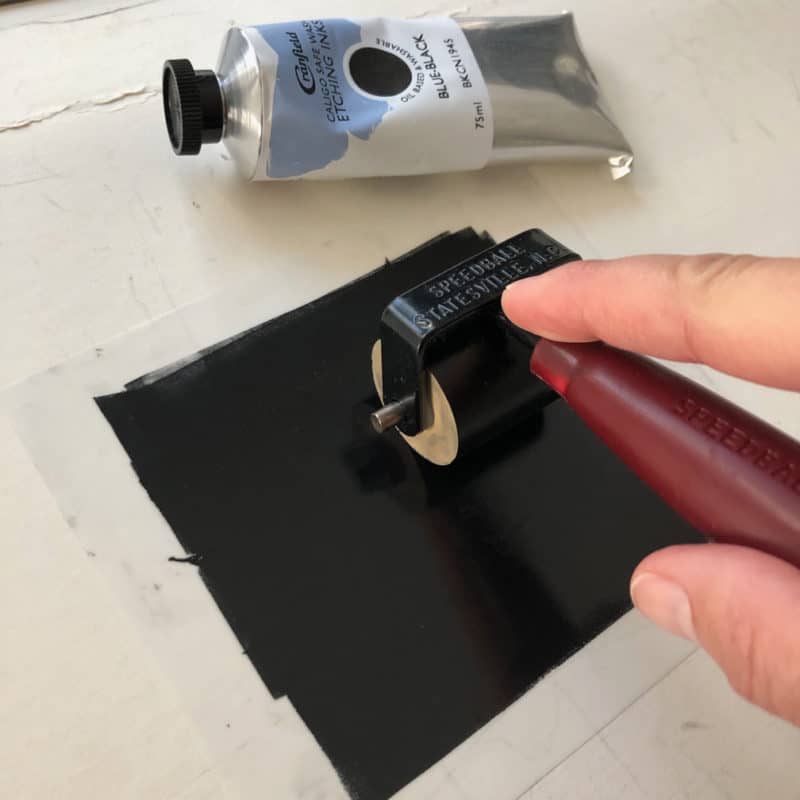
- Use your brayer to roll the ink out on the slab until it's evenly covering the brayer, and the slab, and you hear the ink "hiss" as you roll back and forth
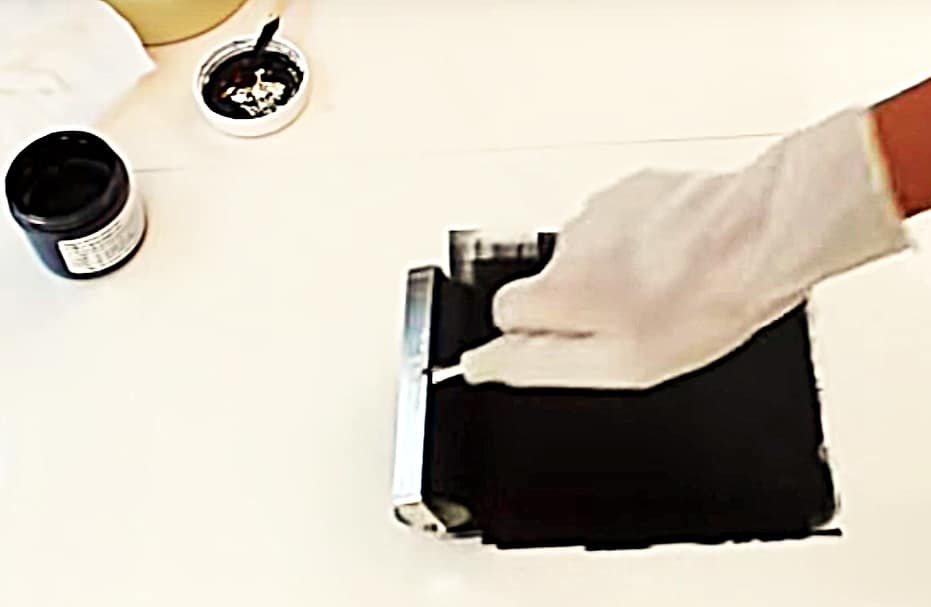
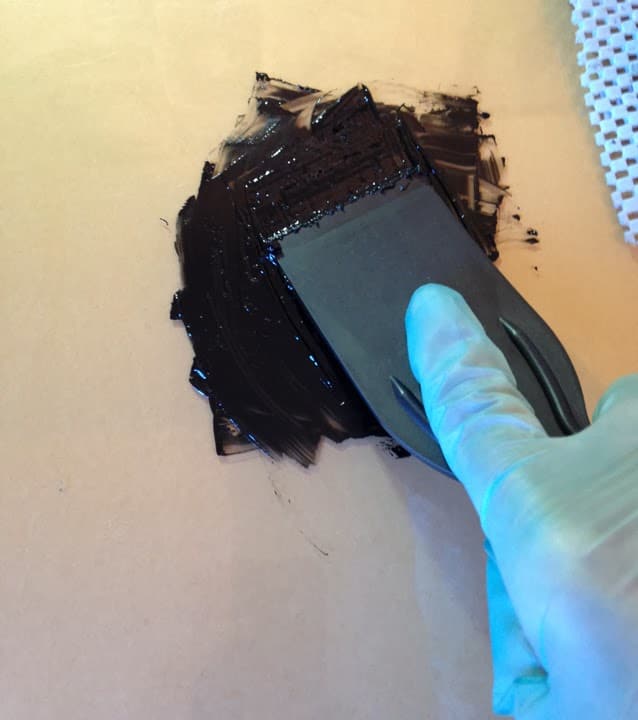
- Put a piece of non skid under your plexiglass printmaking plate (not necessary if you're printing from a gelli plate) and begin coating your plexiglass with a smooth, even coat of ink
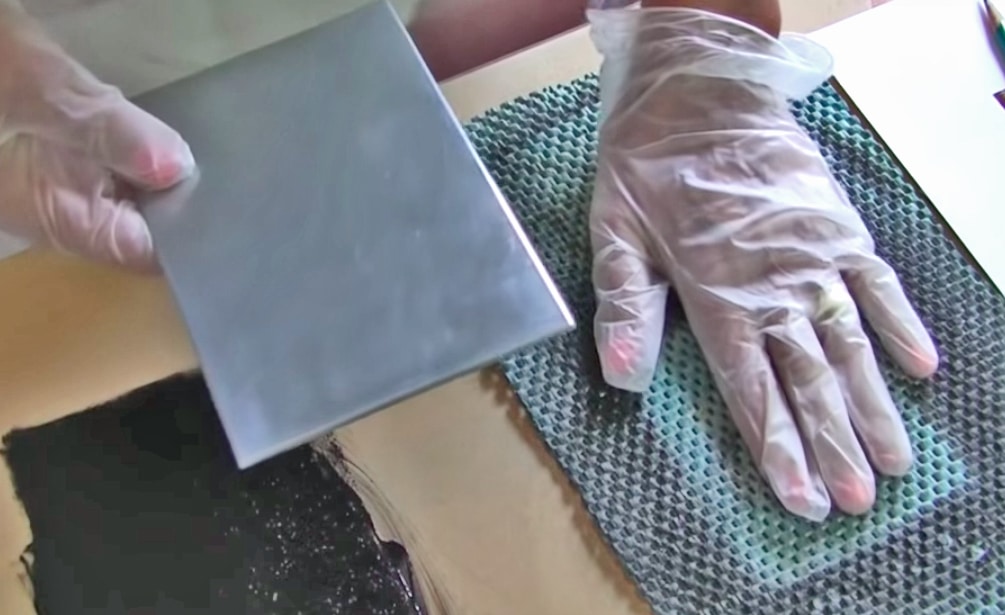
- When the plate is completely covered, if the ink appears loose, shiny or thick, lay a piece of newsprint on the plate, and very gently, with light pressure, smooth it with your hand as though you were smoothing a wrinkle from a bed sheet
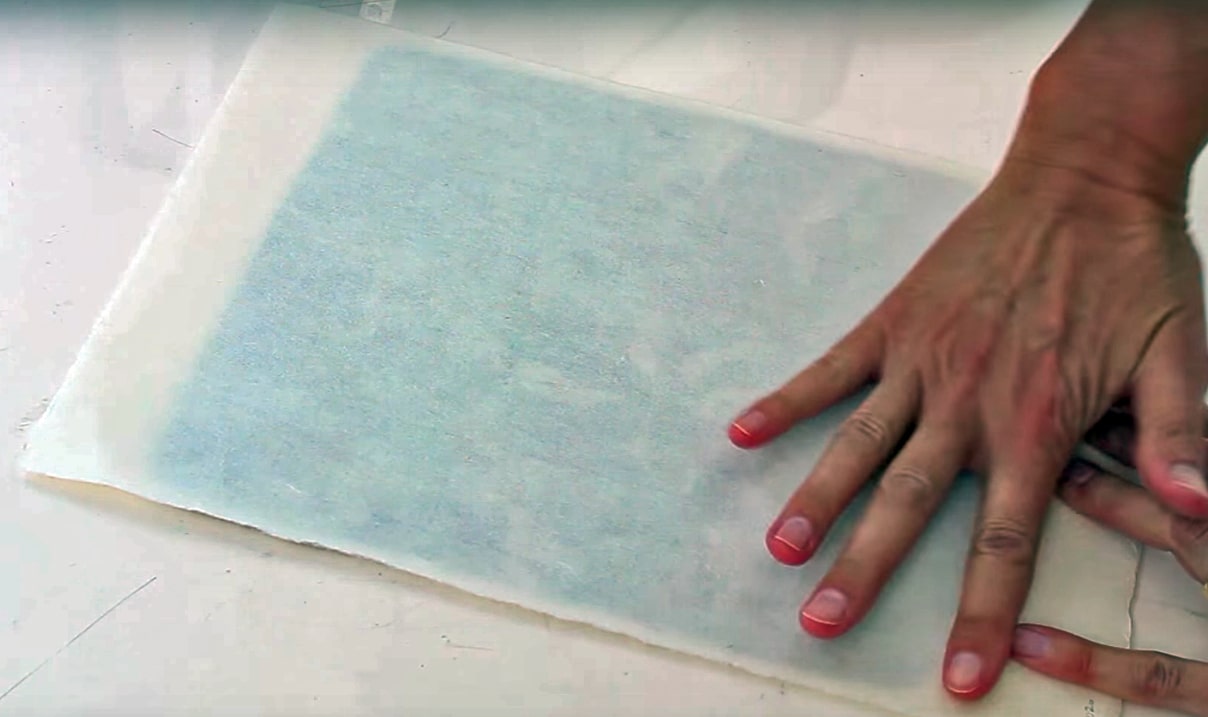
- Peel the newsprint from the inked plate and discard it. Now that your ink has been blotted, it should be less shiny, and a bit thinner on the plate.
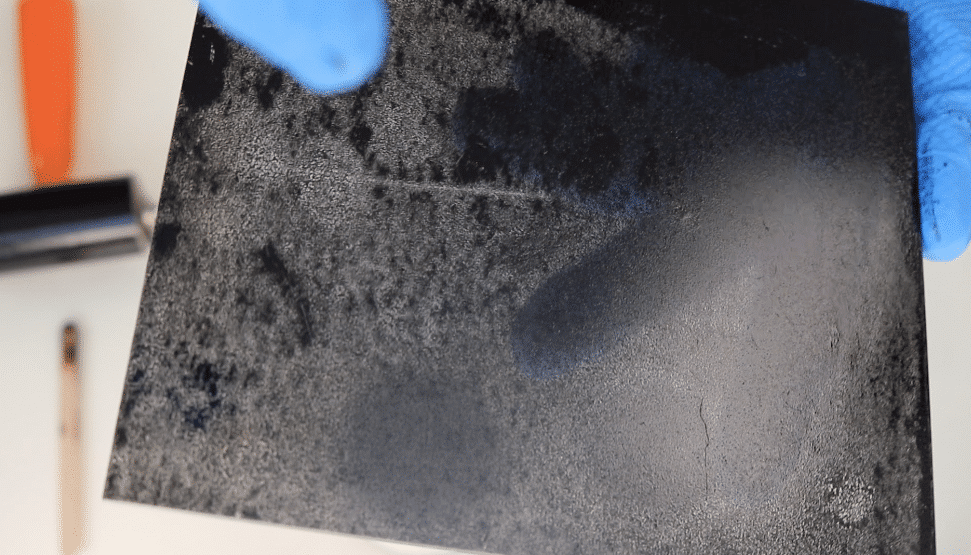
- Pull out a reference photo, and without touching the inked plate with your hand, begin drawing into the ink with your rubber tipped tool, and cotton swabs.
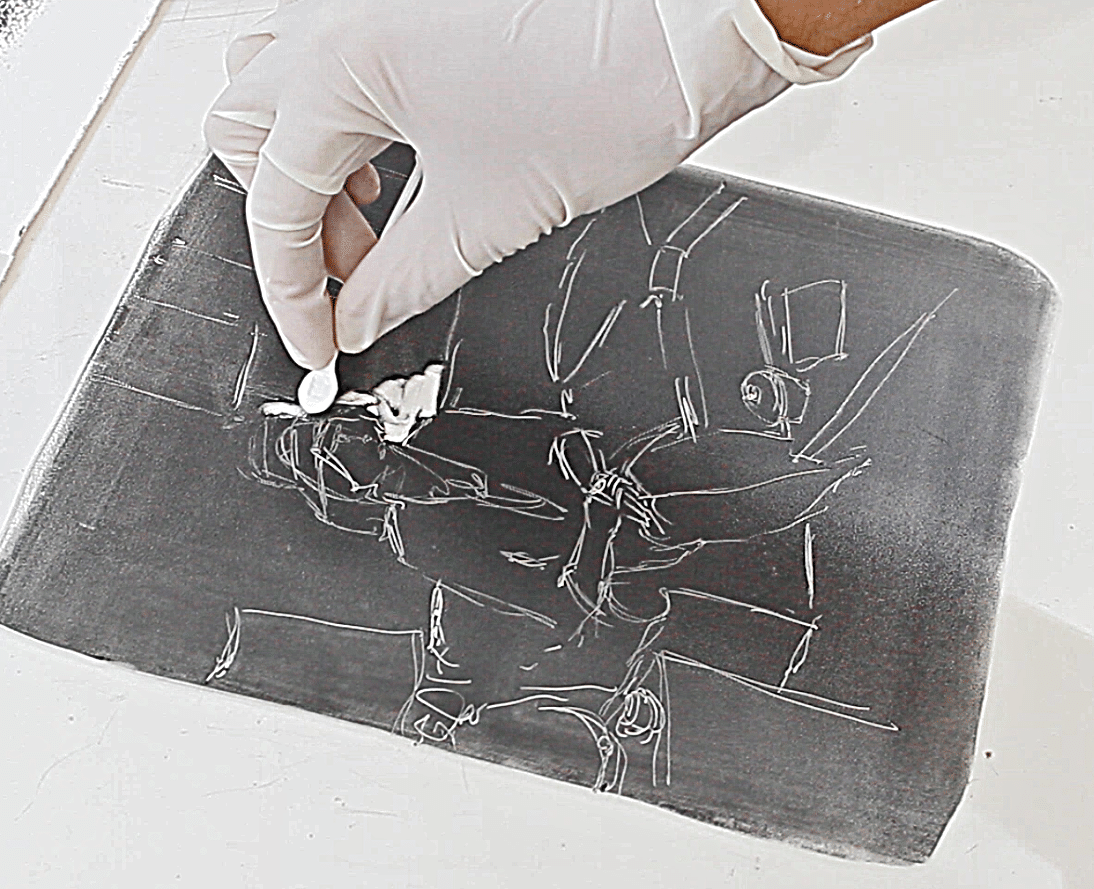
- If you need to rest your wrist while drawing, slide your drawing bridge over your ink plate so you can rest your hand on it above the ink.
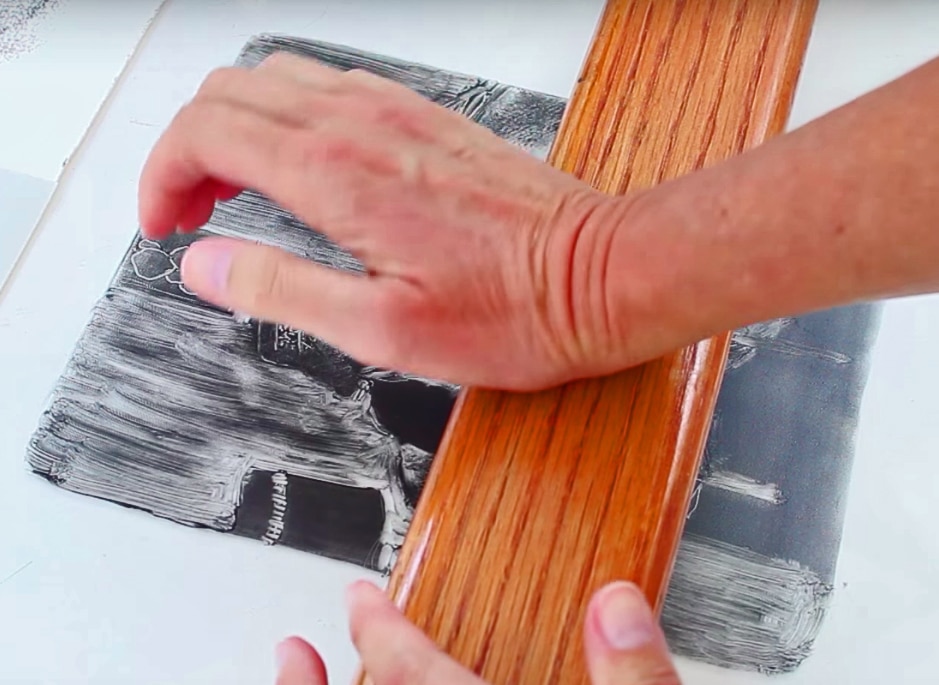
- Use your brushes or your gloved finger tip, or rolled paper towel, or cotton swabs to feather halftones in your design. You can also use them to add more ink by dipping in the ink slab and adding darks to your design.
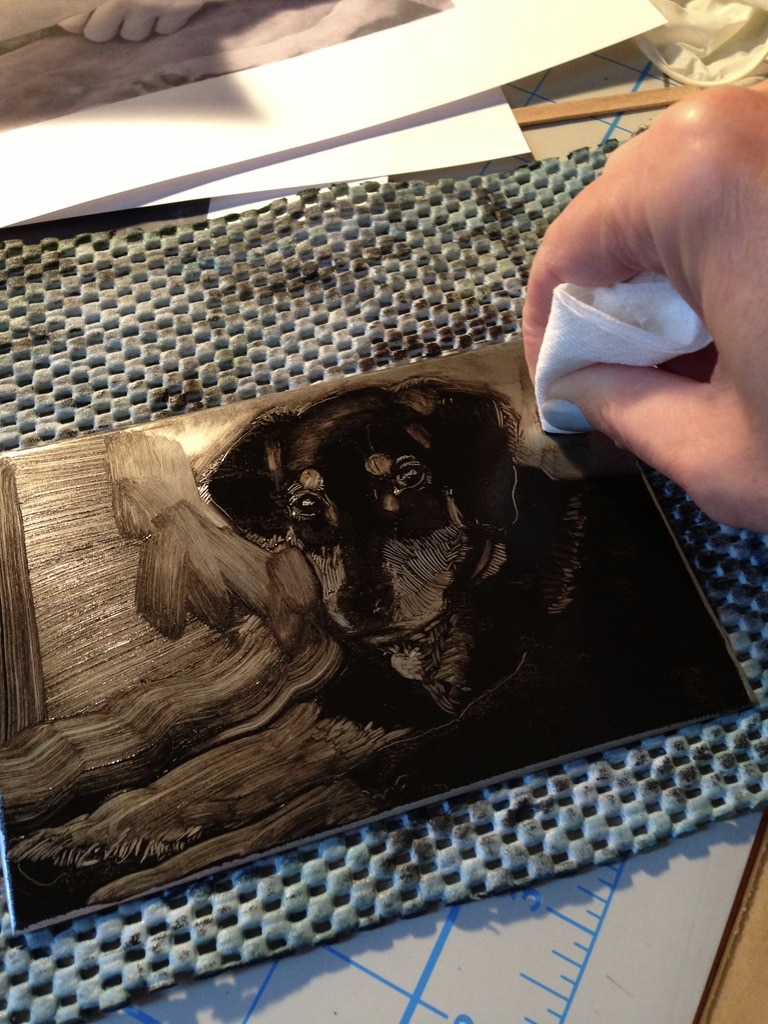
- When your design is ready to print, pull a sheet of printmaking paper from the package or pad, and with your spray bottle, lightly spritz the side you'll be printing on. Blot with a paper towel, and lay the damp side down on your inked and designed monotype.
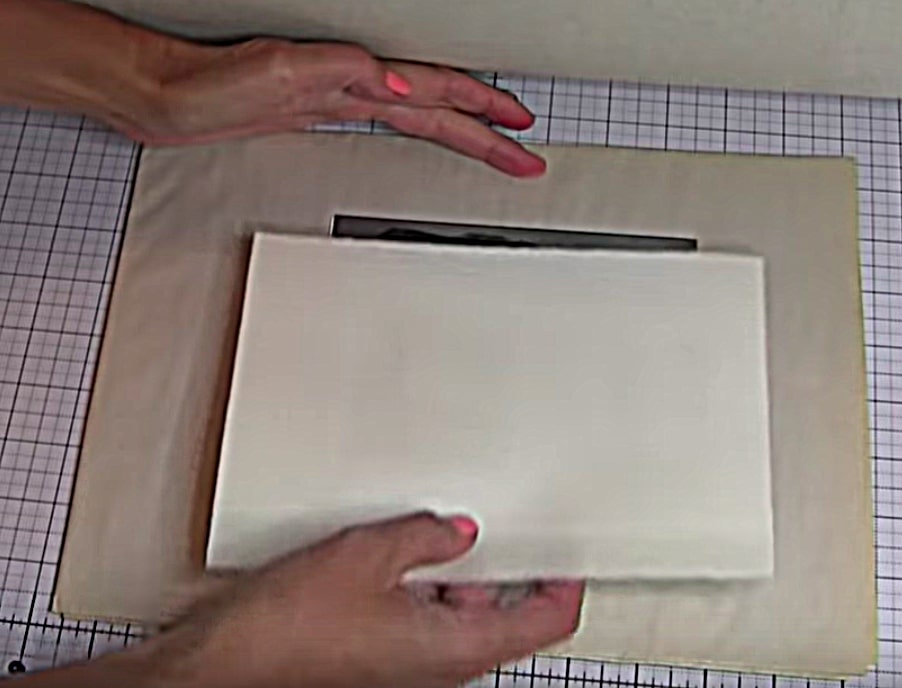
- Hold the paper steady with one hand, while rubbing the back of the paper with either the baren or a metal spoon.
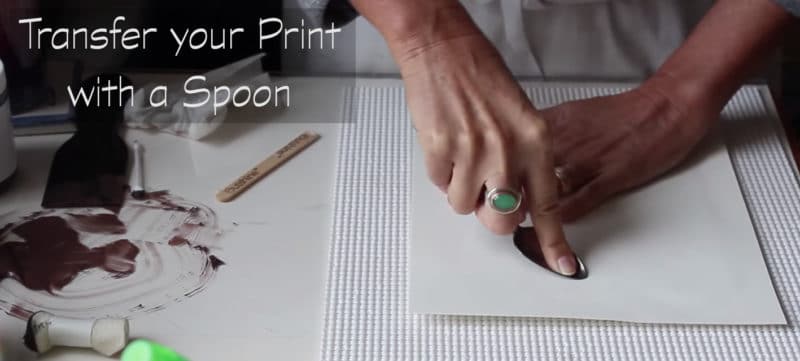
- Keep the paper in place with a firm hand, and peel up a corner to see how your ink is transferring to the paper. If it looks too light, or mottled, apply more pressure with the spoon in circular motions.
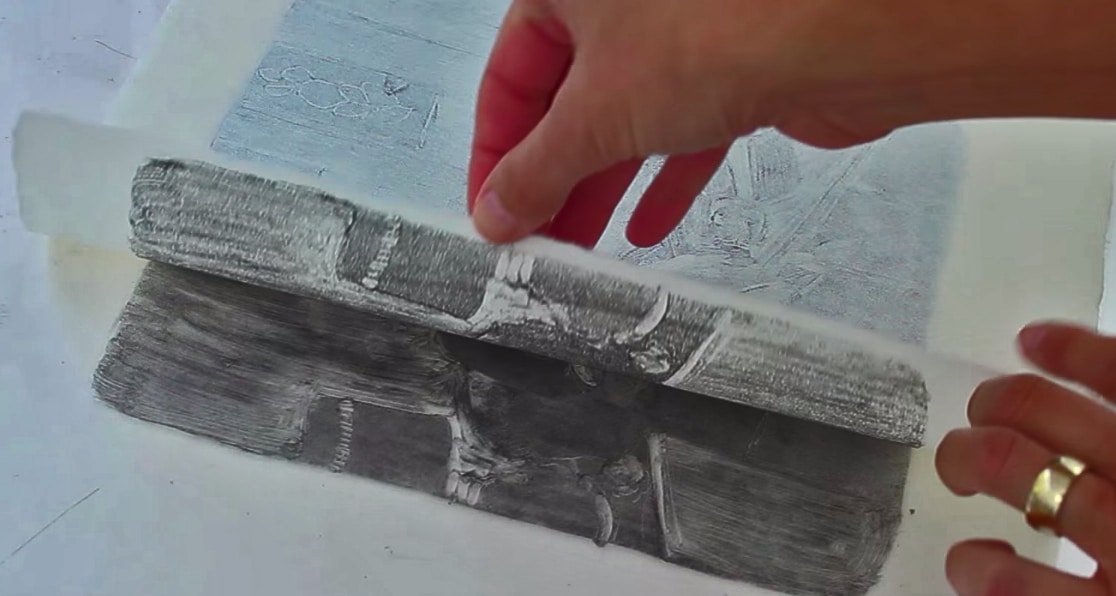
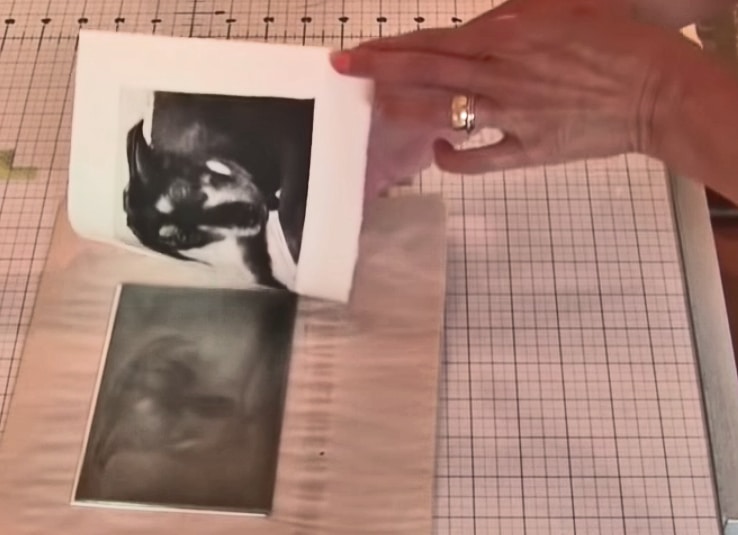
- When you feel like you've transferred enough ink from the plate to the paper, pull your print, and take delight in your beautiful monotype.
- After the ink is dry, feel free to add color to the print with colored pencil, pastels, or watercolor (provided you didn't use re-wetting ink, like Speedball).
Notes
If you make a mistake on a portion of your plate while you're designing and clearing ink, re-roll your ink, and re-blot if necessary. The inks (if you're using akua) stay wet for a very long time, until they are pressed to paper, so take your time, and get the hang of this painterly printmaking process.
Art Quote
I devoted free moments, particularly evenings, to etchings, both reproductions of paintings and directly from life. I attached little importance to this pursuit, but was entertained by the surprises inherent in this game of chance, that lines that I incised with a steel needle on a treated black copper plate became light red against a dark background, and when printed would be black on a white field, and reverse to boot; it was like playing blind-man’s bluff, a game which delighted me then, and still delights me now. ~Anders Zorn (1860-1920)
Anders Zorn (1860-1920)

Belinda, you are consistently encouraging, clear, and kind. Thank you for all your good ideas and directions!
Hi Julia, Thanks for your encouraging note. I’m glad we’re twins on the need for instructions, and Go-Gettums… I wish you lots of pleasant art-making time.
That is a very nice use of the monotype technique. Additionally, I very much like how you document the steps you take in achieving your final result. Thank you.