
Printmaking without a Press?
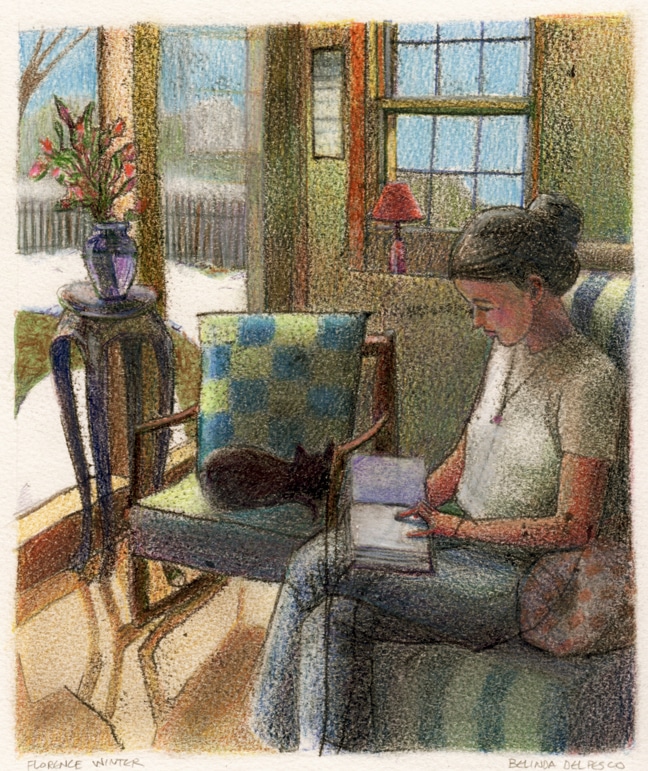
The process for this trace monotype (above) was filmed for the second printmaking tutorial in a series of three posted on my youtube channel .
How about you grab some supplies, clear a seat at the kitchen table, and make one yourself? I’ve listed all the bots and bobs you’ll need with links to vendors under the video window in the “show more” section.
The set up is simple enough to arrange on a kitchen table, with friends, neighbors & kids jumping in! See more images below. 🙂 #printmakingparty
What is a Trace Monotype?
If you’re new to the method of trace monotype, here are some basics on the process. You don’t need a press to make a trace monotype. You can make one at your kitchen table or kitchen counter, as long as you have a smooth surface to roll in out on – like a piece of glass, or a sheet of smooth acrylic. You don’t need drawings skills, because you can – as the name implies – trace your image if you’d like.
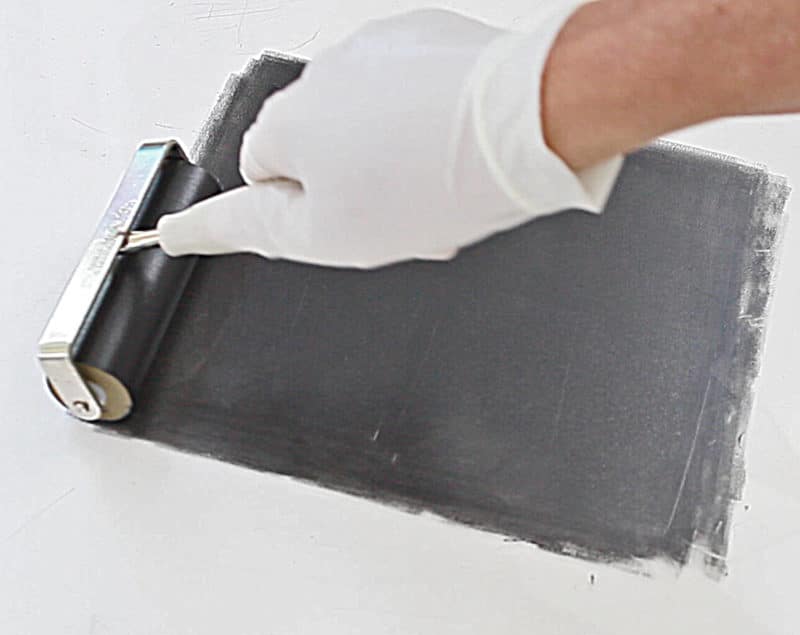
- Roll your ink with a brayer onto a smooth surface in a rectangle that measures an inch or so smaller than the paper you want to print on.
- Lay a sheet of printmaking paper gently on top of your rectangle of wet, rolled out ink, and use an inch of tape to hinge it to the glass along the top. (If your ink is very loose, and there’s a lot of it on your smooth surface, lay a sheet of newsprint over the ink, pat the newsprint gently to collect a thin layer of ink on the other side, and then peel it off and toss it in the trash.) Now lay your printmaking paper in place.
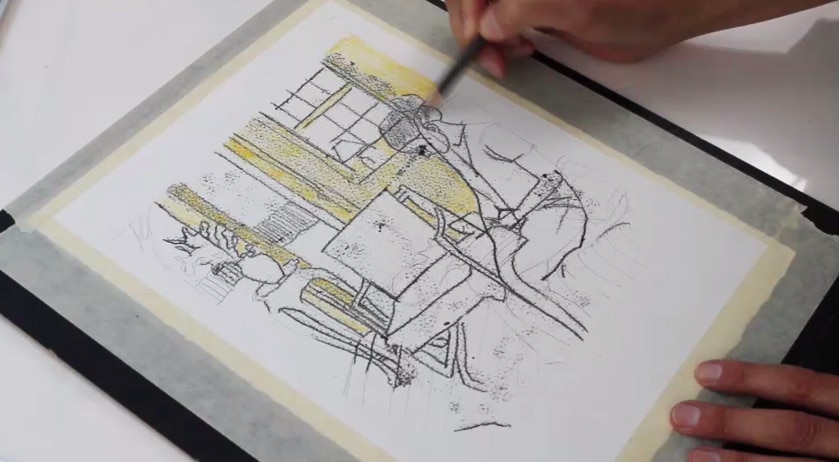
- Lay the image you want to trace on top of the printmaking paper, and use small strips of tape to lightly stick the reference photo to the paper, aligned so the reference photo is over the wet ink.
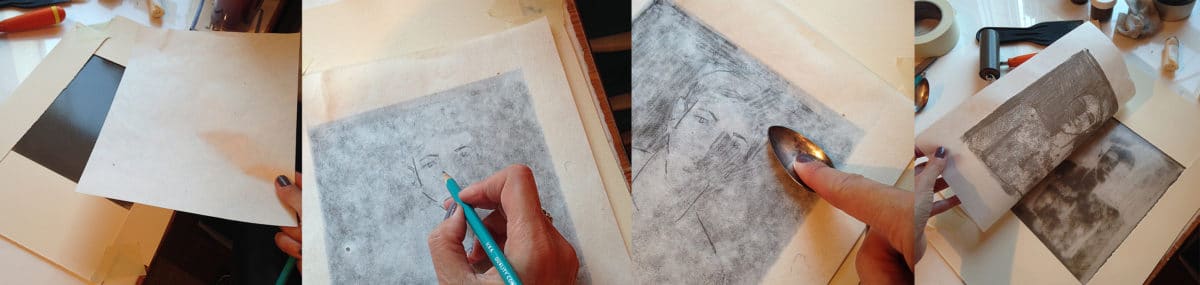
- Using a pencil, or a colored ball point pen, trace the elements on your reference photo that you’d like to include in your print, being careful not to rest your hand on the paper where it will pick up ink (I’m using a drawing bridge for this in the video tutorial).
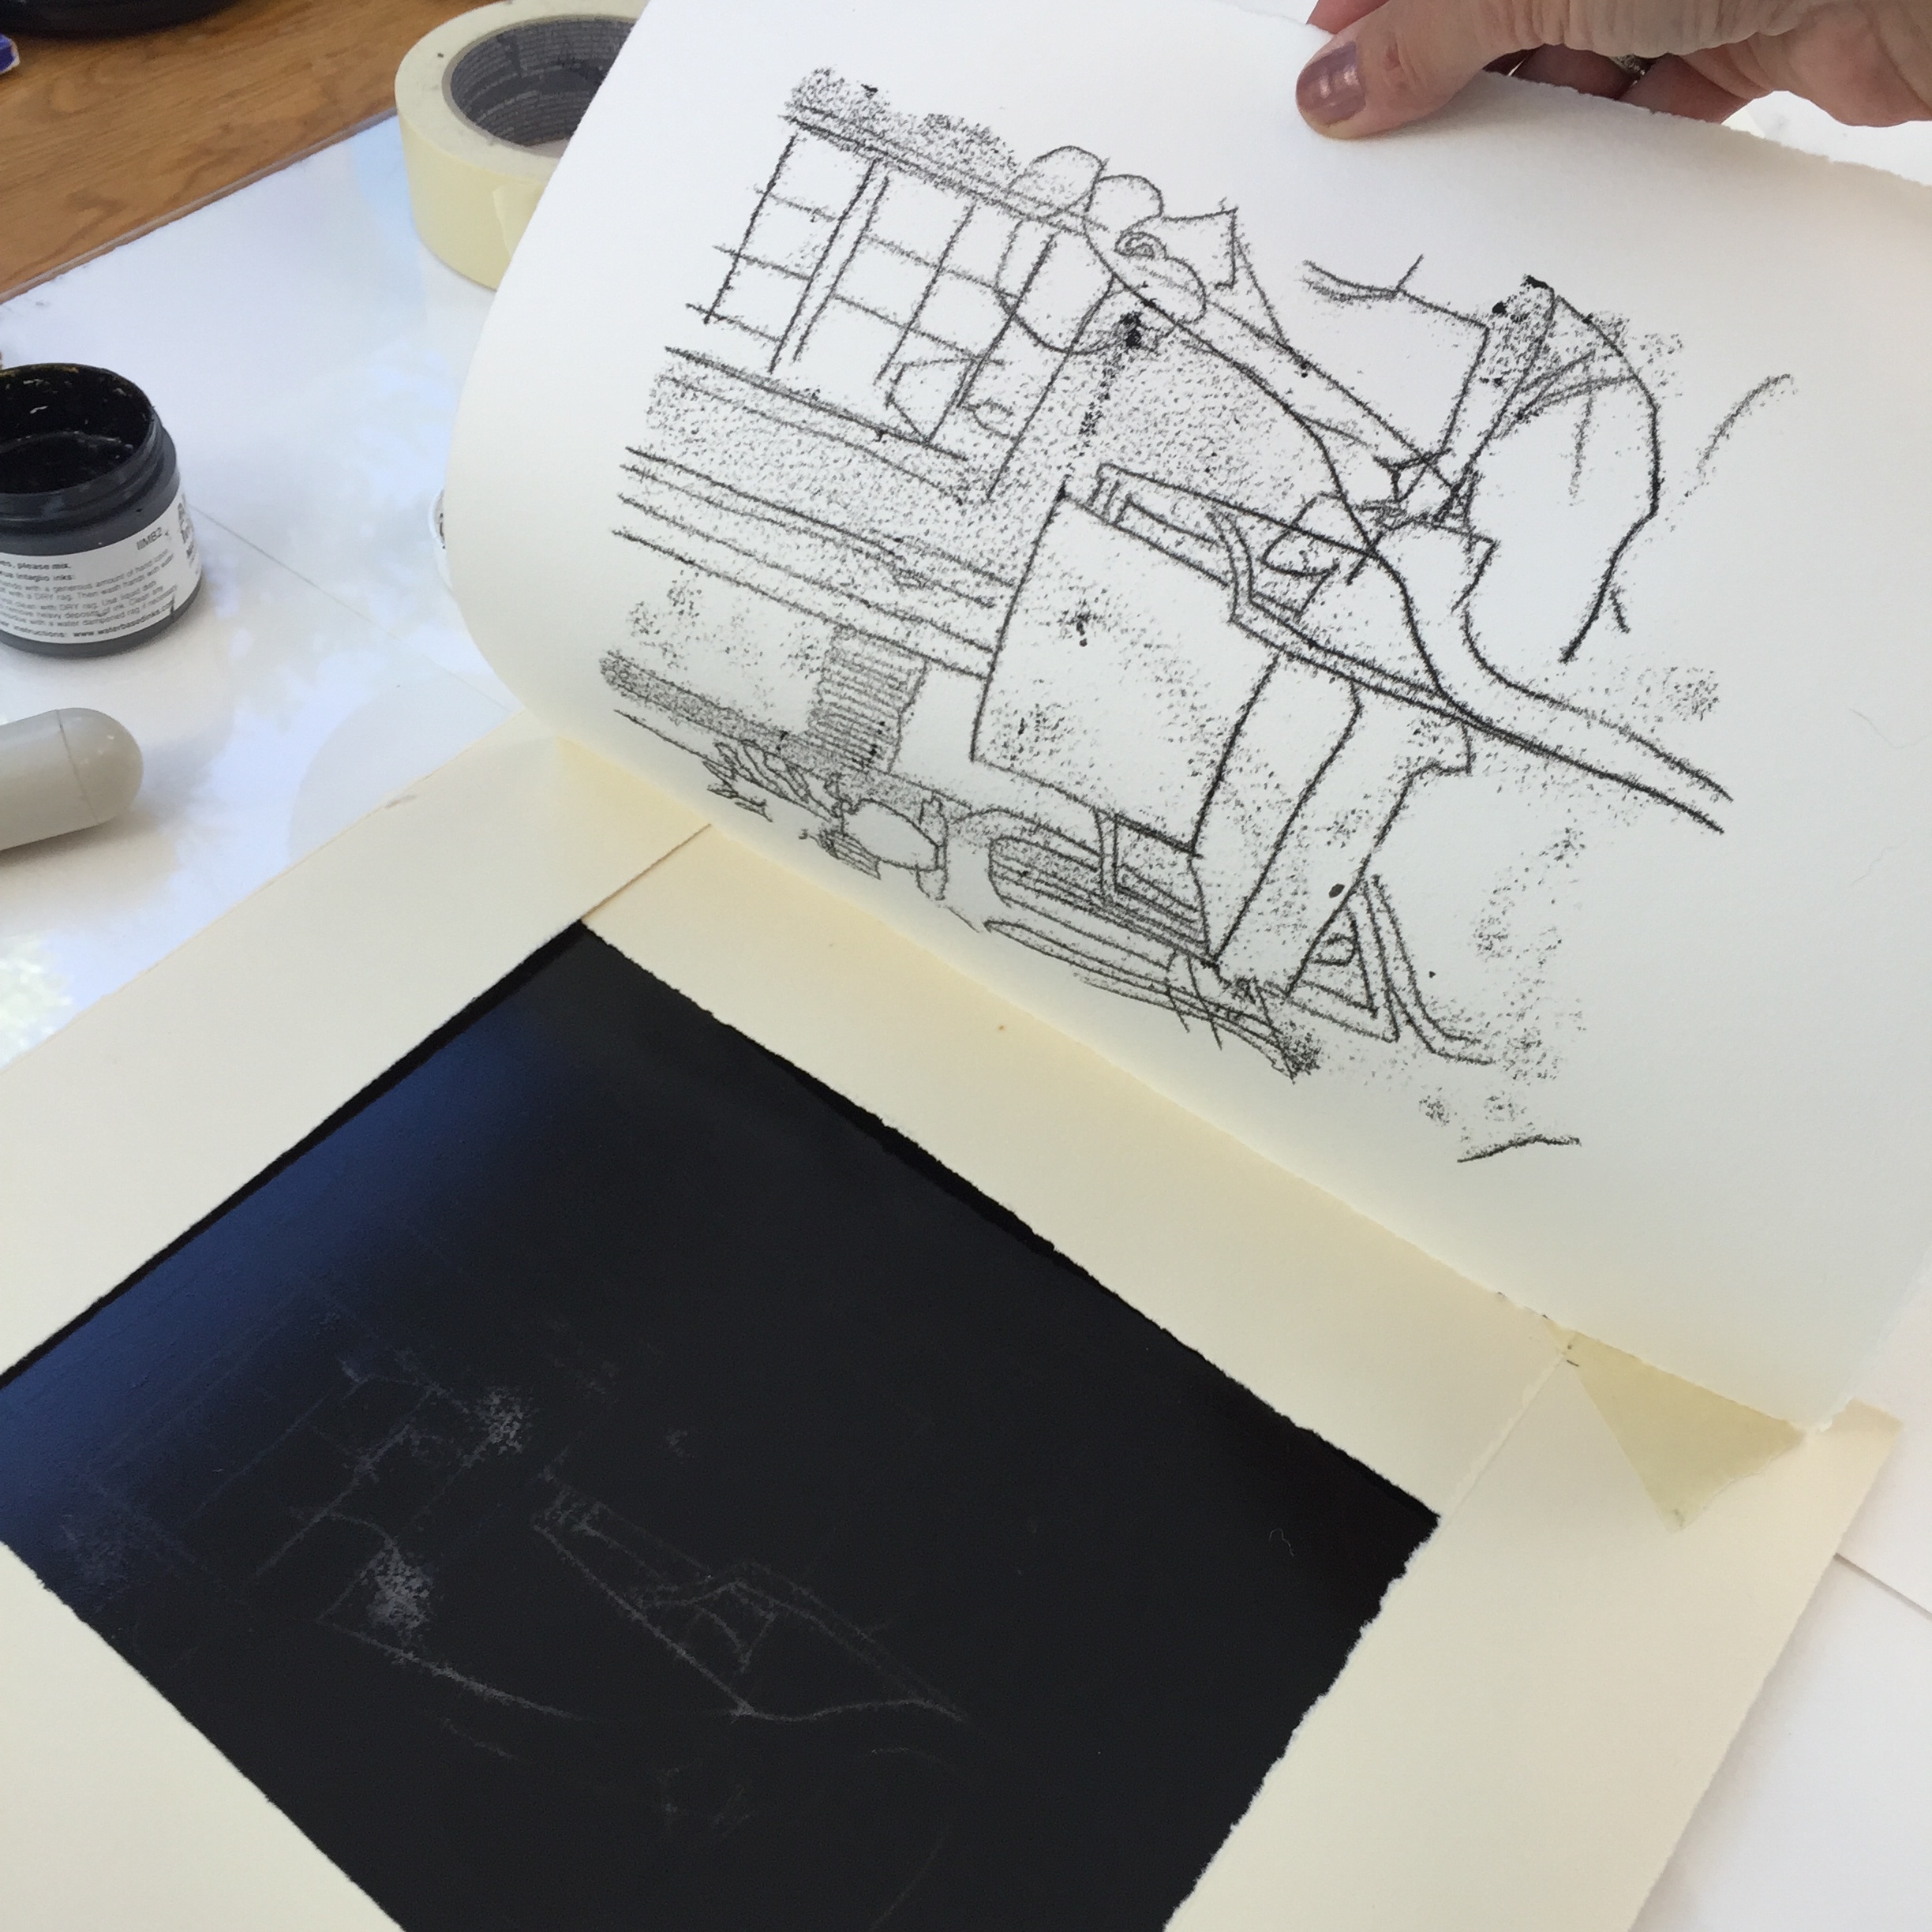
- You can peek under your printmaking paper to see how your line-work is coming, and if you want, you can tap the paper with your fingers to shade areas of your drawing.
- When you like what you’re peeking at on the print, pull it away from the tape and let the ink dry. You’ve just made a trace monotype!
If you want to sit back and watch the process, click here.

Adding Other Media to a Monotype
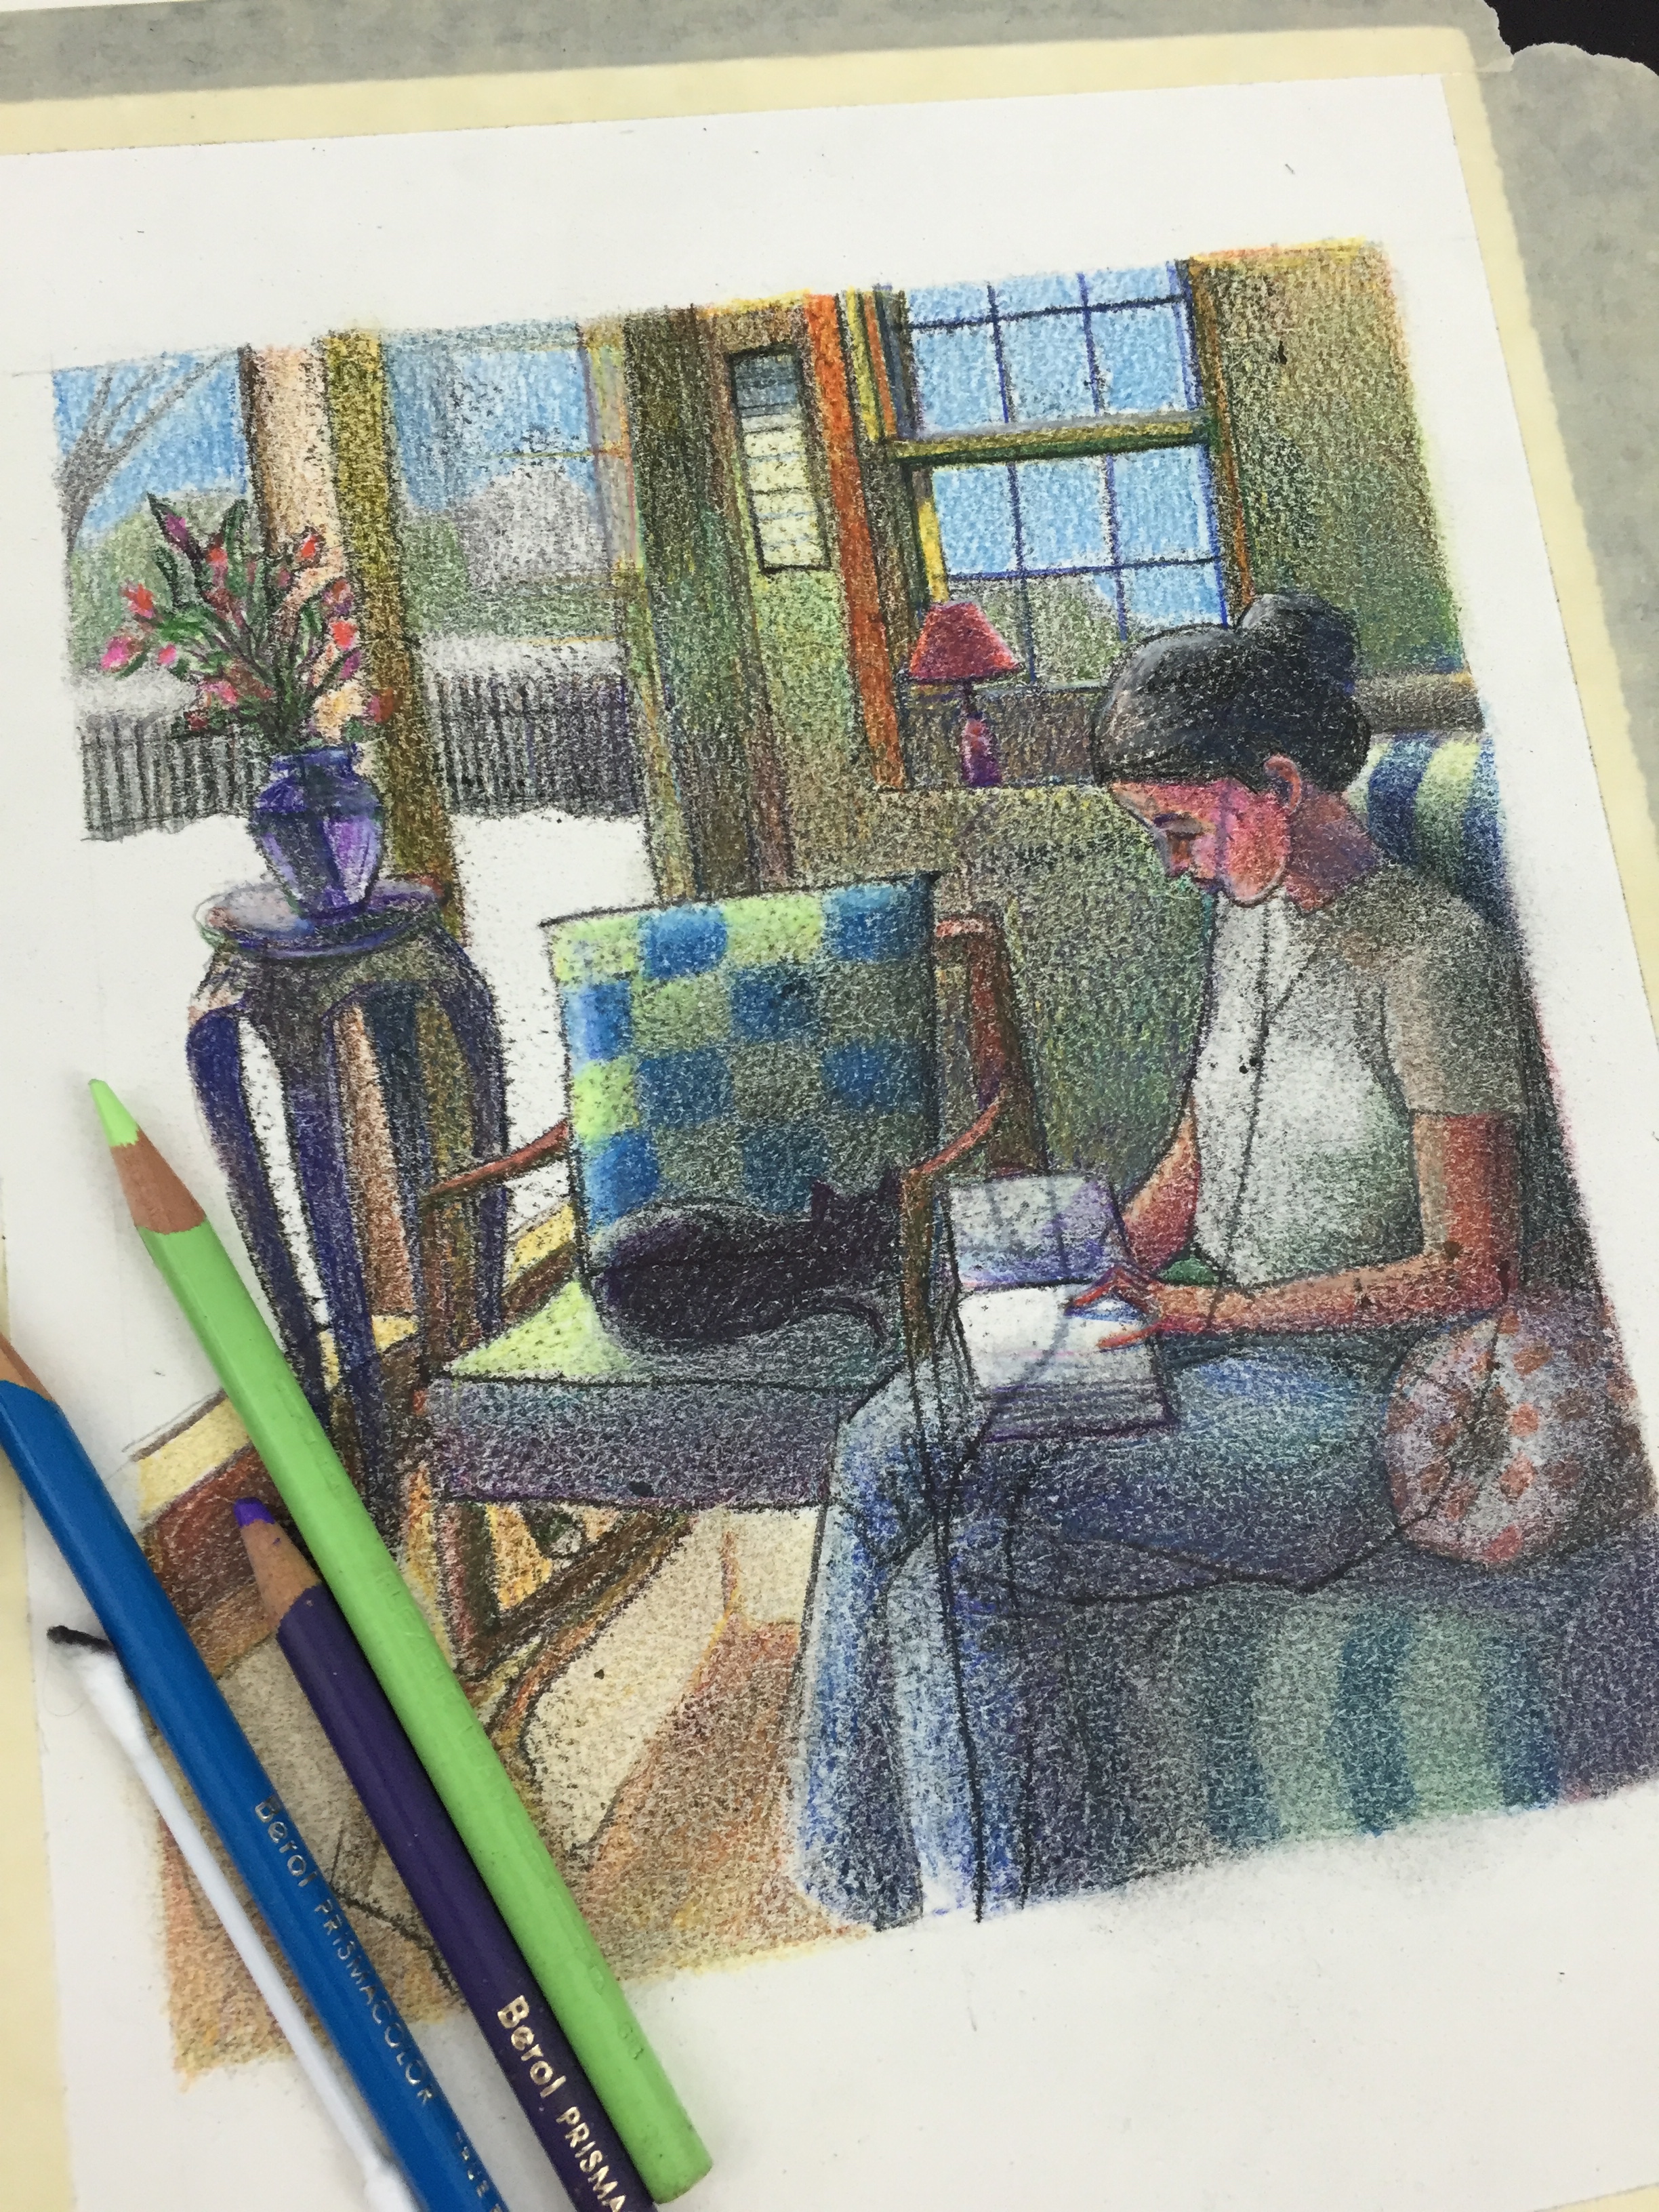
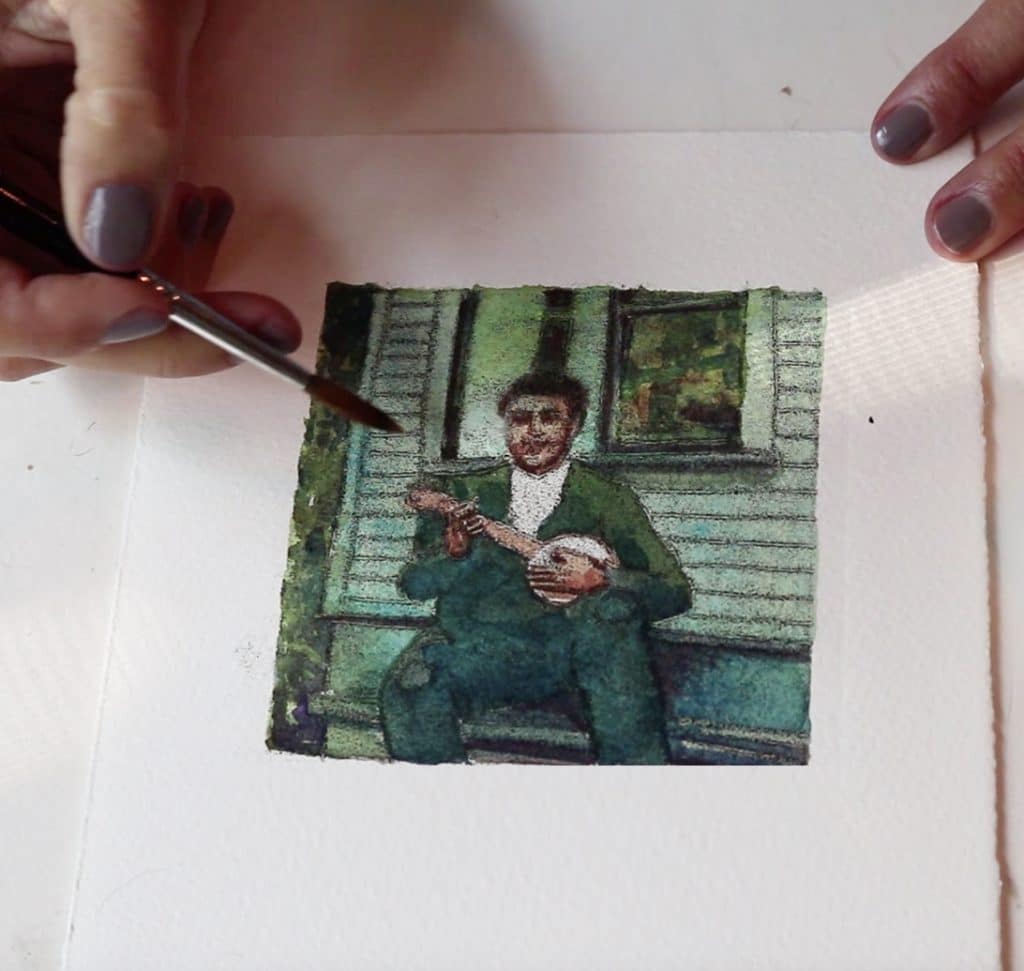
Since one of the hallmarks of trace monotype is thin lines of ink with feathered and stippled edges, the narrow-trails of ink dry pretty quickly. The style of this versatile printmaking form will step you up to a perfect leaping off point so you can add other media to your print. In the three tutorial videos (click the video window below to watch the second video in it the series), I’ve used watercolor, colored pencil, graphite and pastel.
Just Dip Your Toe In
Now that you know how to make a trace monotype, I hope you’re excitedly gathering reference photos, and all the basic supplies you’ll need to make one (or a whole series) soon. And here is my monotype/monoprint board over on Pinterest. Follow along to see other artists I’ve been “collecting” for inspiration. If you get stuck as you’re planning the approach to this process, don’t be shy; leave your questions in the comments here, or type them into the comments under the video windows of each trace monotype tutorial on my channel. The answers to your questions might help the next person who reads the comments after you’ve become an expert. 🙂
Happy printing to you, and I’ll see you in the next post!
Belinda
P.S. You can subscribe to get each new post via email by signing up here.
Art Quote
Writing and reading decrease our sense of isolation. They deepen and widen and expand our sense of life: they feed the soul. When writers make us shake our heads with the exactness of their prose and their truths, and even make us laugh about ourselves or life, our buoyancy is restored. We are given a shot at dancing with, or at least clapping along with, the absurdity of life, instead of being squashed by it over and over again. It’s like singing on a boat during a terrible storm at sea. You can’t stop the raging storm, but singing can change the hearts and spirits of the people who are together on that ship.
~Anne Lamott
Monotype Transfer Drawing Print Supply List
Here are the basic supplies you'll need to create a monotype transfer drawing print without a press. These versatile prints can be left as standalone original works of art, or you can add color with all sorts of pigments like watercolors, gouache, colored pencils, pastels and wax crayons.
Caligo Safe Wash Etching Ink
This ink looks and feels and prints similar to traditional oil-based etching ink, but it washes up with soap and water. Solvents aren't necessary. The ink stays wet on the brayer and roll-out slab for a good, long time. Note: Don't use watercolor paper with sizing in it, as that will block absorption and slow the ink drying time. See paper recommendations in this list.
Inking Plate
Four 12x12 Clear Acrylic Sheets
These shiny, clear sheets of plastic are *perfect* for rolling out ink on all your printmaking projects. If you're printing in multiple colors, you can roll for colors - one per sheet - or 8 colors if you use the right and left sides of each sheet. You can also use these to print dark field and light field monotypes. The bonus for monotype prints is that the plates are totally clear, so you can trace your image in printmaking inks for better accuracy.
Printmaking Paper
This is the paper I printed my monotype transfer drawing on, and it works beautifully for both allowing the printmaking ink to dry, and for painting with watercolor afterward.
Rubber Gloves
Whenever you're working with pigments, it's wise to wear protection to keep the inks from getting on your skin. The inks I've recommended here are water wash up, but that doesn't mean they're non-toxic. Repeated exposure to paint, inks and modifiers are best done with a good barrier to protect the container we'll be cruising around in all of our lives. When handling ink, wear gloves.
Watercolors
Here is a good starter set for watercolors if you're not experienced with painting your printmaking projects. You'll be able to mix all sorts of new colors from these tubes of basic hues.
Watercolor Brushes
This set will give you plenty of options to add color to your monotype transfer drawings in broad strokes or fine details.
Making Monotypes (book)
If you've never made a monotype print before, this book is a treasure trove of history, approaches, supplies, methods, and ideas. It's out of print, but you can get it used, or at your local library.
This is so interesting and the finished art work is wonderful. Thank you!
Thanks, Donna! Let us know if you try it (highly recommended!) 🙂